Home
» 🎮 Esports
»
How to Practice Anti-Air Timing in Street Fighter 6 Training Mode
How to Practice Anti-Air Timing in Street Fighter 6 Training Mode
When a jump-in catches you before your anti-air comes out, the problem is often timing and recognition rather than a missing combo. In Street Fighter 6, you can build that reaction in Training Mode by giving the dummy a repeatable jump, then practicing the same response from a controlled distance. Start with one jump-in, make the timing consistent, and add variation only after you can respond reliably.
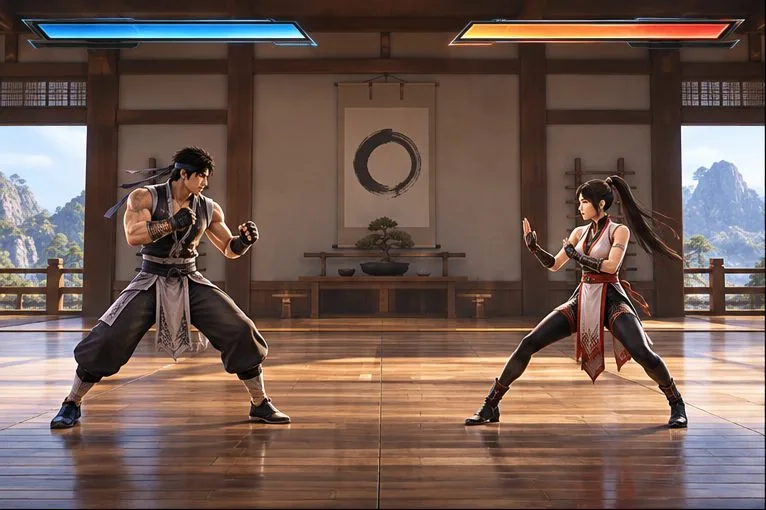
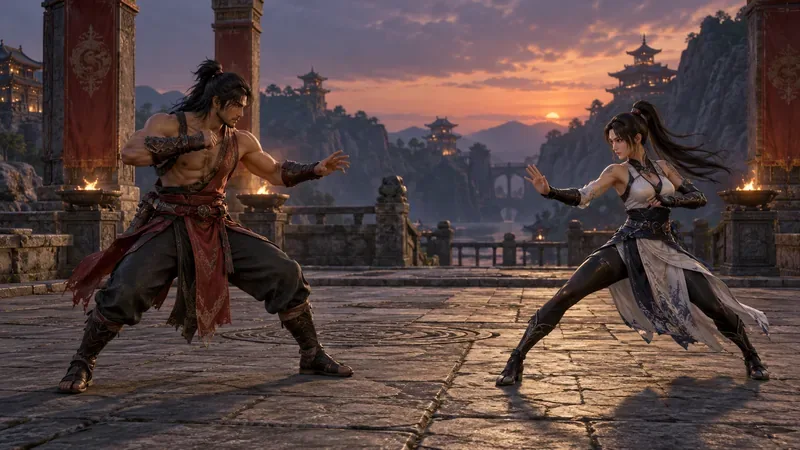
Begin at a range where the opponent’s forward jump will land in front of you.
What you are training
An anti-air is an attack used to stop an opponent who is jumping toward you. The goal is not to press as soon as you notice any movement, nor to wait until the opponent is already hitting you. You want to recognize the jump, choose an attack that reaches the opponent’s path, and start it early enough for its active hit to meet the airborne character.
Timing depends on your fighter’s move, the opponent’s jump arc, and the spacing. A fast anti-air normal may work at a different distance from a dedicated special move. Some attacks also have different coverage in front of or above your character. Treat this practice as learning your own character’s reliable answer, not memorizing one universal frame-perfect cue.
Set up a repeatable jump-in
From Fighting Ground, enter Training and select the character you want to practice. Pick one anti-air option to begin with: a normal, a special move, or an anti-air-specific command if your character has one.
Open the pause menu and look through Dummy Settings for the recording controls. Capcom’s manual describes Training as a mode for customizing practice and points players to Simple Training Settings for a quicker setup. Menu labels and controller shortcuts can vary by platform and configuration.
Choose a recording slot and record the dummy performing a forward jump followed by a common airborne attack. Start from a position where that jump will cross into your character’s range. If the recording includes a long delay or extra movement, record it again with a simpler sequence.
Switch from recording to playback, enable the slot, and start playback. Capcom’s official recording tips describe recording and replaying dummy actions, with up to eight recorded actions and options to turn slots on or off. That makes it possible to add more situations later; one is enough for the first drill.
If you are unsure which command opens the menu, check the on-screen control guide or the Training entry in the official manual for your platform. Avoid relying on a shortcut remembered from another platform; shortcut assignments can be changed.
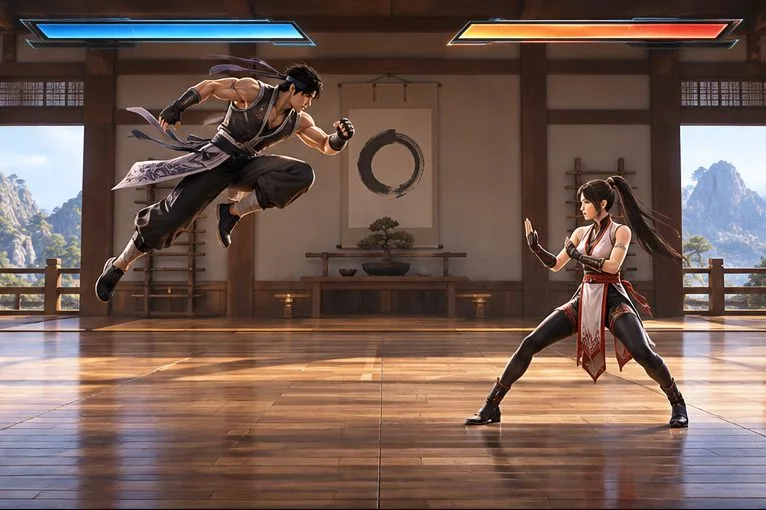
Watch the opponent’s takeoff and jump arc before committing to the anti-air.
Use a three-part timing cue
1. Notice the takeoff
Keep your attention on the opponent, not only on your character’s animation or the input display. The first useful cue is that the opponent has left the ground and is traveling toward you. For the first few attempts, let the dummy’s full jump play without attacking. This separates recognition from execution and helps you see how long the jump takes to reach your position.
2. Judge whether the jump is actually a threat
Some jumps will land short, pass over your head, or arrive from a different angle. Look at the opponent’s distance and trajectory. If the dummy is still far away, you may have time to hold your ground and wait. If the opponent is about to cross into your attack’s reach, prepare the input. The useful cue is the opponent entering your anti-air’s range, not simply the opponent being airborne.
3. Start the move before the jump-in connects
Press your chosen anti-air when the opponent reaches the cue you identified. A move with startup needs to begin before the opponent’s attack reaches you. If you act too late, your character may be hit during startup. If you act too early, the attack may finish before the opponent arrives. Use the replay to adjust by a small amount: slightly earlier after a late trade or getting hit, slightly later after a clear whiff.
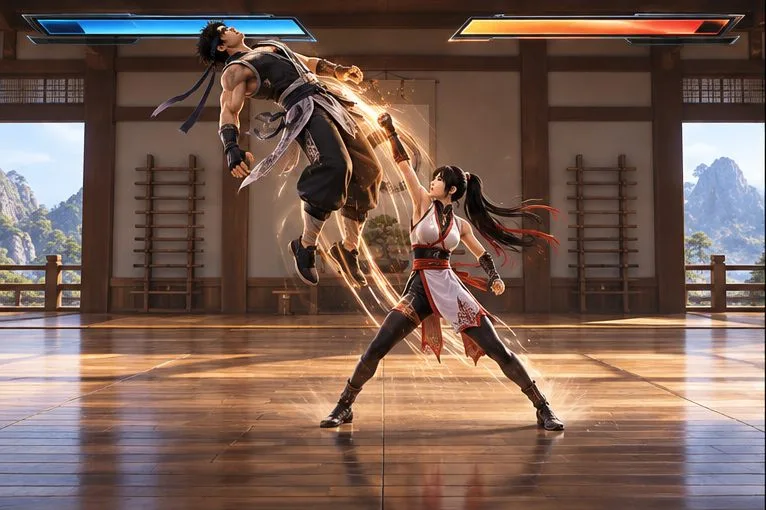
Start the anti-air as the jump enters the move’s coverage, leaving time for its startup.
Build consistency before adding choices
Repeat the same recording until the response feels deliberate. A simple practice target is to stop eight of ten clean jump-ins in a set, while recording misses separately from wrong guesses. This is a personal benchmark, not a game rating. If the dummy jumps from the same range every time, vary your own starting position slightly after you can hit the target consistently.
Getting hit: You reacted late, chose a move that does not cover that angle, or started too close to the opponent’s attack. Try the same recording again and move the input earlier by a small interval.
Whiffing under or past the opponent: The move may be too early, the dummy may be at a different range, or the attack may not cover that jump arc. Check spacing before changing the timing.
Trading hits: Your attack connected, but the opponent’s attack also reached you. Test a faster or more suitable anti-air, or begin the input earlier. A trade is useful evidence that the timing or move choice needs adjustment.
Blocking instead of attacking: Check whether you are holding a direction that makes your character guard, and confirm the correct normal or special input for your control type.
Use the Training Mode input history, when available in your layout, to confirm that the intended direction and button were entered. That helps distinguish a timing problem from an execution error. Do not change several things at once: keep the recording and distance fixed while testing a different timing or move.
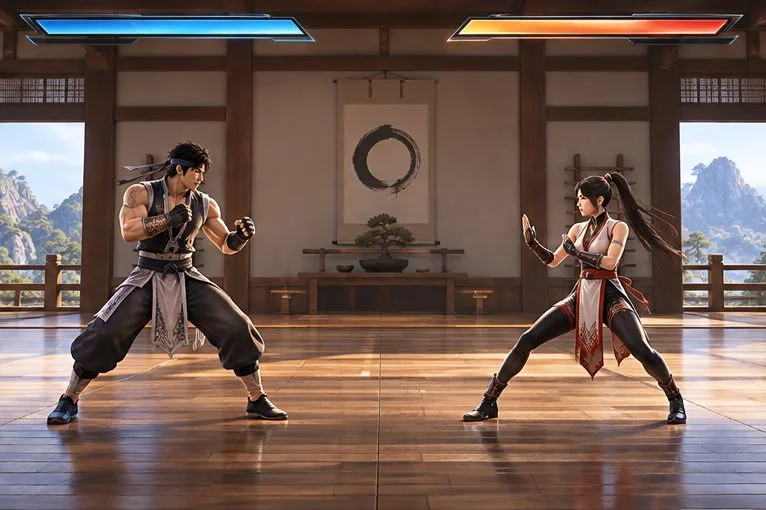
Reset after each attempt and repeat the same jump until the response is consistent.
Progress to a less predictable drill
Once one jump-in is reliable, record a second dummy action in another slot. For example, use a neutral jump or a delayed forward jump, then enable both recordings for playback. This makes you decide whether the opponent is truly coming toward you before spending an attack. Add one behavior at a time and keep the first action in rotation so the drill still tests your original response.
Next, practice from two distances. At close range, an attack can cross over your character and change which direction you need to face. At longer range, a jump may land outside the reach of a quick normal. If your move misses only at one distance, adjust your positioning or use a different answer for that spacing instead of forcing the same timing everywhere.
Finish by returning to a match or a live set and focus on one goal: recognize a jump and attempt the response you practiced. Real opponents can delay, alter their approach, or stop jumping, so Training Mode builds a repeatable reaction but cannot reproduce every decision. Keep grounded defense available when no jump comes; an anti-air drill should sharpen your response, not make you attack automatically.
Quick review
Use one repeatable forward jump-in first.
Watch takeoff, confirm the jump is entering range, then start the anti-air.
Use a move that covers the jump’s angle and your character’s spacing.
Review whether each miss came from late timing, spacing, move choice, or input.
Add another dummy behavior only after the basic response is consistent.
Capcom’s official Training Mode manual explains the practice mode and its customizable settings. Its official recording settings tips describe recording dummy actions, switching to playback, and managing replay slots. Check the manual for your platform if menu labels or shortcuts differ.