Home
» 🎮 Esports
»
How to Get the Double-Action Revolver in GTA Online
How to Get the Double-Action Revolver in GTA Online
How to Get the Double-Action Revolver in GTA Online
To get the Double-Action Revolver in GTA Online, complete the Treasure Hunt that starts with an in-game email from vanderlinde@eyefind.com. Stay in one Freemode session while waiting, open the email’s photo clue, investigate the marked area, collect the three follow-up clues, and retrieve the revolver from the final chest. The unlock is a free clue chain; you do not need to wait for a Halloween event or buy the weapon from a rotating shop.
The email can take time to appear, so this is not an instant menu purchase. Rockstar Support says to remain in one session for a prolonged period and to aim for at least one in-game day. It may take longer, especially if newer campaigns are active. The illustrations below show the process; clue and chest locations can vary, so follow the markers in your game.
How to get the Double-Action Revolver: step-by-step
1. Load into Freemode and wait in one session
Start GTA Online and stay in the same Freemode session while the Treasure Hunt email is pending. Give the game time to trigger it: Rockstar’s current support article recommends at least one in-game day and notes that the message may arrive later. The support page also says that completing other missions may improve the chance of the hunt appearing, although it is not a guaranteed shortcut.
Once the email arrives, prioritize it. Avoid changing sessions or entering a building before you open it. Rockstar warns that either action can make the email disappear, after which you will need to wait for it to appear again.
Stay in one Freemode session while waiting for the Treasure Hunt email; timing varies.
2. Open the email from Vanderlinde
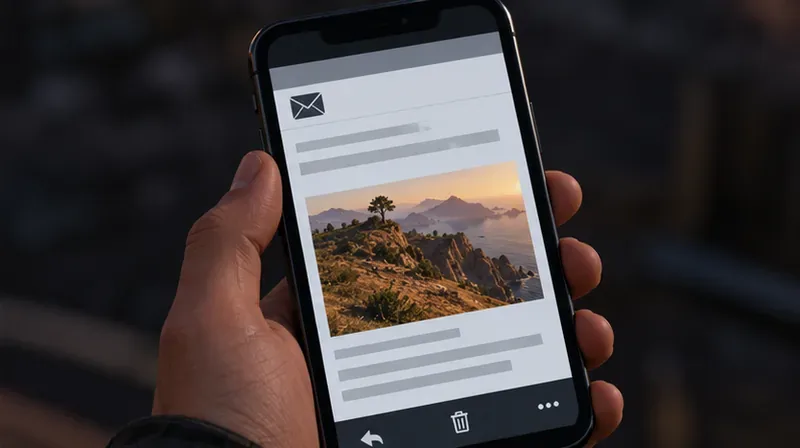
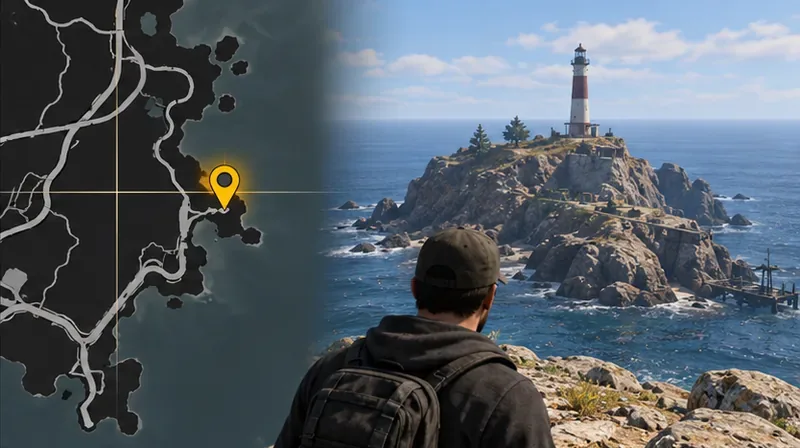
Use your in-game phone and open the message from vanderlinde@eyefind.com. It contains a photograph pointing to the first search area. Read the message and study the image before driving away; the landscape, structure, or coastline in the photo is the useful clue, not a fixed coordinate shared by every player.
The message from vanderlinde@eyefind.com includes the photo that starts the hunt.
3. Search the first marked area
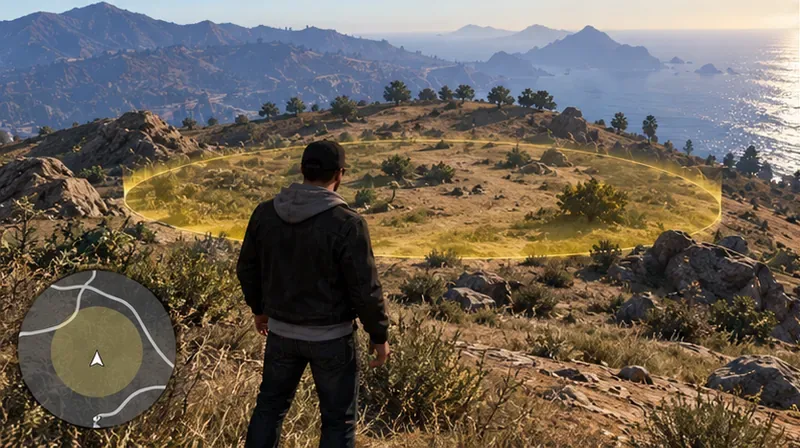
Travel to the search area shown on your map and look for the clue object nearby. The marked area is a broad search zone rather than the exact pickup point. Move through it slowly, scan nearby surfaces and landmarks, and interact when the game prompts you. The hunt advances after you investigate the correct clue.
If the photo is hard to match, compare its horizon and nearby landmarks with the terrain around the marker. Avoid leaving the session to look up a universal coordinate: the first clue’s location can differ, and the image in your email is specific to the hunt you received.
Use the search area and landscape shown in your own session to locate the first clue.Interact with the clue in the marked area to advance the Treasure Hunt.
4. Follow the three additional clues
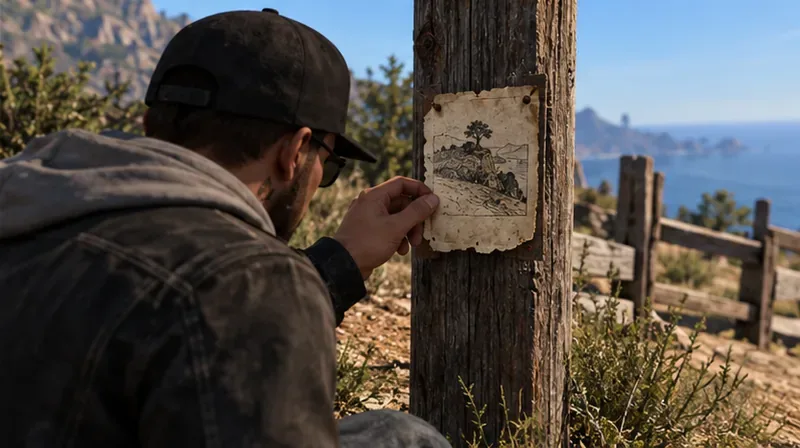
After the first clue, the Treasure Hunt reveals three more clue locations. Check the map after each interaction, travel to the next marker, and investigate the clue there. Complete them in the order the game reveals them; the next step appears as you make progress.
These are part of the same hunt. You do not need to search for pumpkins, skull icons, graves, or a separate Halloween activity to advance the Double-Action Revolver mission.
Collect each of the three follow-up clues revealed by the hunt.
5. Go to the final chest marker
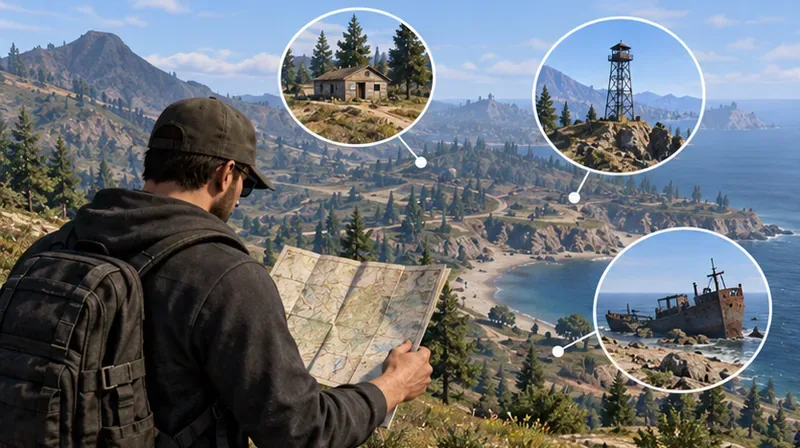
Once all three follow-up clues are collected, the game marks the treasure chest location. Set a waypoint and head to that marker. The final location may differ between hunts, so use the marker shown in your current session rather than following an old guide’s fixed map coordinate.
Follow the final chest marker generated in your session; the location can vary.
6. Open the chest and collect the revolver
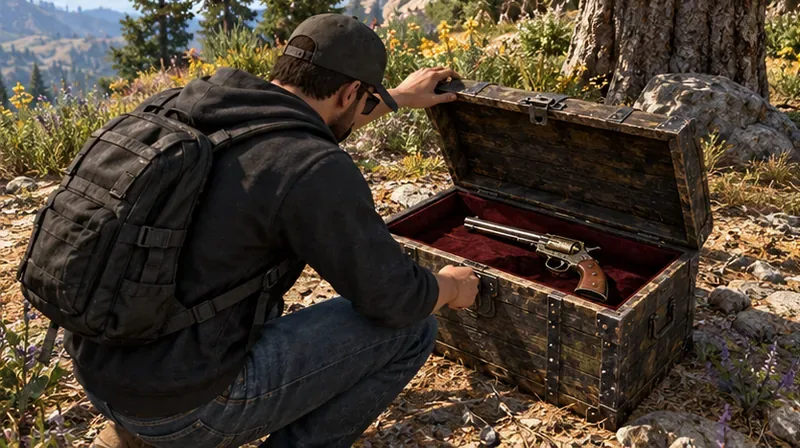
Approach the chest and take the Double-Action Revolver. That pickup completes the core unlock. You do not need to finish the headshot challenge, buy a trade-price version, or wait for the Gun Van to own the weapon.
Pick up the Double-Action Revolver from the chest to complete the unlock.
7. Complete the optional 50-headshot challenge
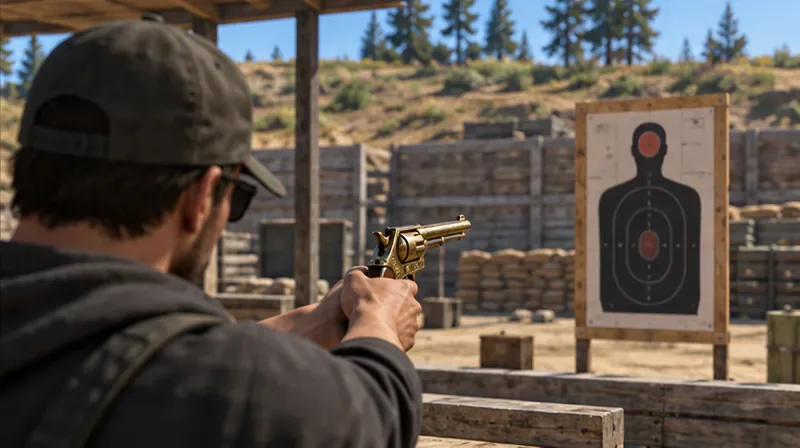
After unlocking the revolver, you can work on its separate Headshot Challenge. Use the Double-Action Revolver in Freemode and score 50 headshots. Rockstar’s original announcement attached a GTA$250,000 reward to the challenge; the headshots are optional and are not required to keep the weapon. Make sure you have the Double-Action Revolver equipped rather than the Navy Revolver or Heavy Revolver.
The optional Headshot Challenge requires 50 headshots with this revolver in Freemode.
Fixes if the email, clue, or weapon is missing
No email yet: Stay in one Freemode session longer; Rockstar recommends at least one in-game day, and says the wait can be longer. Completing other missions may help. If you have just switched sessions or entered a building, return to Freemode and wait for the email to reappear.
The email disappeared: Rockstar says changing sessions or entering a building can remove it. The support guidance is to wait for the message again, then prioritize the hunt once it arrives.
The first clue is hard to find: Search the full marked area and compare the email photo with nearby landmarks. Do not assume another player’s screenshot gives the exact coordinates for your hunt.
The revolver seems missing: A Custom Weapon Loadout can hide a weapon without removing ownership. Rockstar Support recommends changing the loadout at a Gun Locker or disabling the custom loadout in the Interaction Menu’s Health and Ammo section.
Unlocks that are easy to confuse
The Double-Action Revolver comes from the Vanderlinde Treasure Hunt. Maude’s bounty chain is a different activity associated with the Stone Hatchet, and the serial-killer mystery awards the Navy Revolver. Those activities do not replace the email-and-clue steps above.
What you want
Correct route
What it is not
Double-Action Revolver
Vanderlinde email and Treasure Hunt chest
Maude’s bounty chain or the Navy Revolver mystery
Optional cash bonus
50 headshots with the Double-Action Revolver in Freemode
A requirement for the weapon unlock
FAQ
Can you still get the Double-Action Revolver in GTA Online?
Rockstar Support still documents the Treasure Hunt email trigger, with its support article updated in August 2025. The unlock route is the emailed clue chain, not a seasonal Halloween pickup.
Do you need 50 headshots to unlock it?
No. The chest grants the revolver. The 50-headshot challenge is a separate optional reward activity.
Why is there no fixed list of chest coordinates here?
The game reveals the chest marker after you finish the clues, and its location can vary. The in-game marker is the reliable destination for your current hunt.