How to Fix Street Fighter 6 Slow Motion Gameplay on PC
Fix Street Fighter 6 slow motion on PC by checking frame rate, lowering graphics, selecting the right GPU, and verifying game files in a safe order.
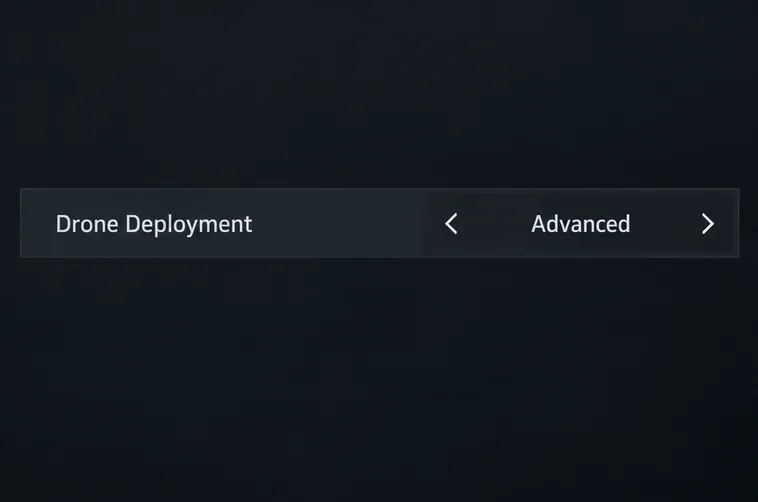
For fast entry in Rainbow Six Siege, start with Drone Deployment set to Advanced. It separates throwing your drone from opening its camera, so you can choose when to stop watching your surroundings. Pair that with an easy-to-reach observation-tool control and a deliberate plan for leaving the preparation-phase drone view.
The benefit is control over your sequence, not a documented increase in drone speed or a shorter weapon animation. A fast entry works when useful information reaches the attacker before the attacker crosses a dangerous doorway.
Hypothetical example: Alex is the entry player, meaning the attacker taking the first contested space. Jordan is the teammate providing information. They want to enter an exterior room, check its corners, and establish a position before moving farther into the building. This example is fictional; it is not a match report or a measured performance test.
Alex needs to deploy a drone without being pulled into its camera at an inconvenient moment. Jordan needs to describe what is visible without treating an unchecked hallway as safe. Their goal is a short, useful check followed by a controlled entry, rather than a full tour of the map.
| Setting or control | Starting recommendation | Practical tradeoff |
|---|---|---|
| Drone Deployment | Advanced | You choose when to enter the camera, but must remember the separate observation-tool input. |
| Drone After Prep | Use the behavior that returns you to your operator when your entry role requires immediate movement. | Staying on the drone suits an information role, but can delay the entry player's movement. |
| Enter and exit observation tools | Comfortable, reliable inputs on your current device | A reachable binding helps only if you avoid accidental activation. |
| Observation-tool cycling | A predictable preference you have practiced | Unexpected camera switching wastes attention when teammates need a specific view. |
Ubisoft's July 23, 2018 Patch 2.2 notes define the difference: Standard automatically opens the deployed drone's view, while Advanced requires the player to enter that view manually. Those notes also document observation-tool cycling preferences and separate PC entry and exit bindings.
Verification scope: these official documents were reviewed for this article on October 8, 2026. They establish the documented behavior, but a live 2026 game client and its exact menu arrangement were not independently inspected. Follow the setting names and the descriptions displayed in your installed build; menu placement and button prompts may differ by platform or update.
Open the game's options and locate Drone Deployment. Select Advanced and apply the change if your menu requires it. Avoid changing several unrelated settings at once: you want to recognize exactly what this option does.
In a low-pressure practice session or custom match, deploy an ordinary attacker drone from cover. You should remain in operator view instead of automatically opening its camera. Then use your observation-tool input to access the drone and practice returning to your operator. Follow your own on-screen prompts rather than copying a keyboard key or controller button from another player's setup.
In the hypothetical example, Alex rehearses that separation before the round matters. If the drone lands and Alex stays in operator view, the setting is doing its job. If Alex cannot promptly open and close the camera, the binding needs attention before the entry routine does.
The preparation phase is the period before attackers begin their action-phase approach. Drone After Prep concerns the transition out of that phase; it is different from the option controlling what happens when you throw a drone during play.
Ubisoft's Operation Void Edge notes document an option to remain in drone observation tools after preparation ends. For an entry role, choose the available behavior that lets you begin moving as intended. For a dedicated drone teammate, remaining on information may be more useful. Read the current menu's description and test the transition instead of assuming a label has the same meaning in every build.
Alex plans to move toward the chosen door when the action phase begins. Jordan plans to keep checking the approach. That division is a tactical recommendation, not a requirement imposed by the setting. If Alex plays alone, leaving the camera does not remove the need to check the room again before entering.
Approach a protected position before deploying. Advanced does not make the deployment animation harmless, and it does not protect an operator who opens a camera while exposed. Finish the throw and decide whether you can safely use observation tools.
For Alex and Jordan, the immediate question is whether the doorway, nearby corners, and the next visible approach contain a threat. A drone that travels several rooms ahead may provide interesting information while missing the angle that can stop Alex's first move.
If you are checking your own drone, keep the task specific: inspect the floor near the opening for visible hazards, look into the corners your initial view missed, and check the doorway or connecting route you intend to cross next. Do not call an entire room clear if furniture or an angle blocked part of the view.
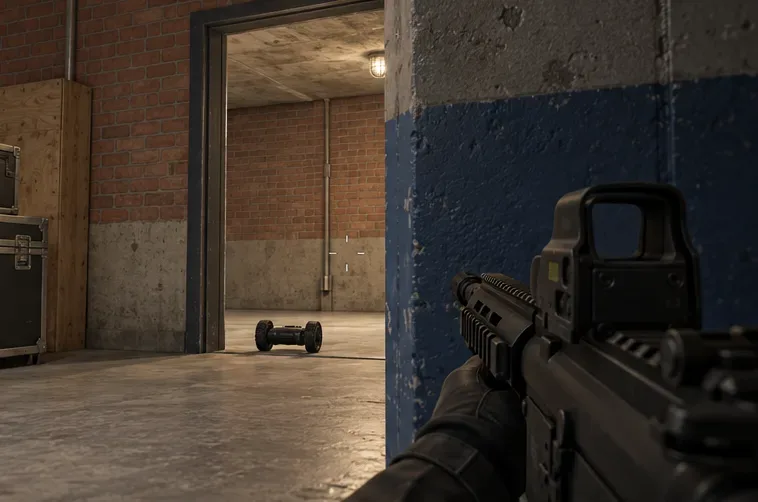
Keep communication equally narrow. Jordan might say, “Near left checked; far doorway not checked.” That gives Alex a usable boundary. “Everything is clear” suggests more certainty than a limited camera view can support.
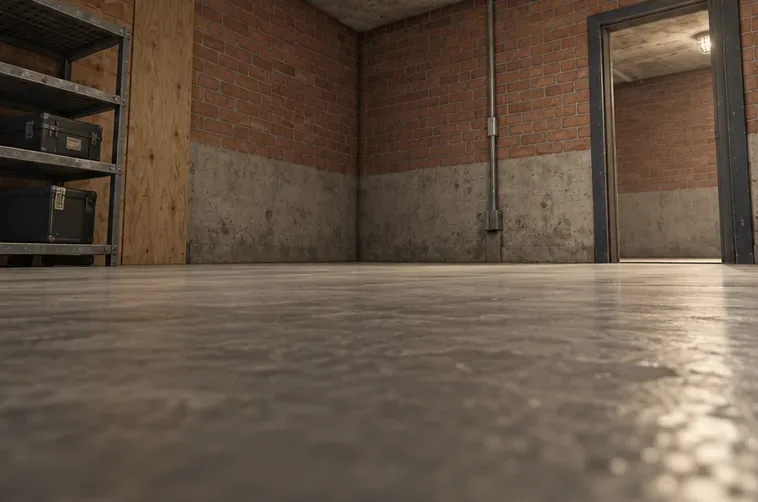
Return to operator view before moving into the contested space. Let your weapon become ready, orient your crosshair toward the next likely threat, and move according to the angles actually checked. Advanced is useful because it lets you choose these transitions; it does not eliminate them.
In the example, Alex enters only after Jordan has reported the immediate area. Jordan continues watching the relevant route and reports any change. If the drone is destroyed, loses its useful view, or spots a defender repositioning, Alex pauses or adjusts instead of treating the original callout as permanent.
There is no universal number of seconds that keeps a room safe. Distance, intervening doors, defender movement, and the drone's viewing angle all matter. If you spend time changing equipment or taking a different route after the check, obtain fresh information before committing.
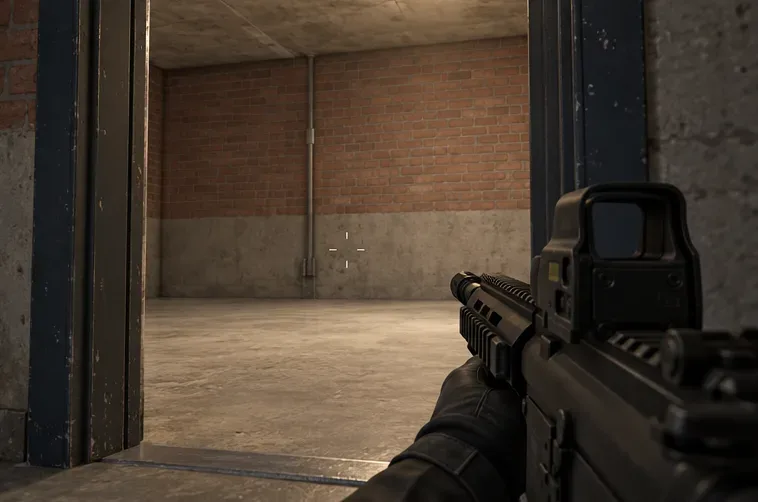
Solo entry: Advanced is a strong starting point because you can throw, settle into cover, inspect, and return deliberately. The cost is the manual camera input. Keep your scouting close to the space you can actually reach next.
Coordinated entry: decide who provides information before approaching the door. Two attackers both sitting on cameras can leave the push without anyone ready to act. Alex and Jordan's useful habit is an explicit division of work, followed by a specific callout.
Dedicated drone support: staying in drone view after preparation can fit your role. Your entry teammate still needs information about the immediate approach, rather than commentary on a distant defender who cannot affect the next move.
Controller or keyboard: use the same decision rule. Choose controls you can operate consistently without confusing drone deployment, camera entry, camera exit, and camera cycling. Avoid adopting a full sensitivity preset to solve a deployment problem. Change look sensitivity only if you have identified an actual problem inspecting corners or controlling your aim.
Repeat the four-part routine in a practice environment. Check that deploying does not force camera view, that you can enter and exit observation tools reliably, and that the preparation transition matches your assigned role. Then ask whether your room check answers a specific question before you cross the opening.
For the fictional Alex and Jordan, success means a predictable handoff: Alex is ready to move, Jordan describes the space actually observed, and both respond when the information changes. No win-rate gain or time saving is claimed here. The recommended baseline is Advanced deployment, comfortable observation controls, and a role-appropriate preparation transition—supported by fresh, limited, actionable information.
Fix Street Fighter 6 slow motion on PC by checking frame rate, lowering graphics, selecting the right GPU, and verifying game files in a safe order.
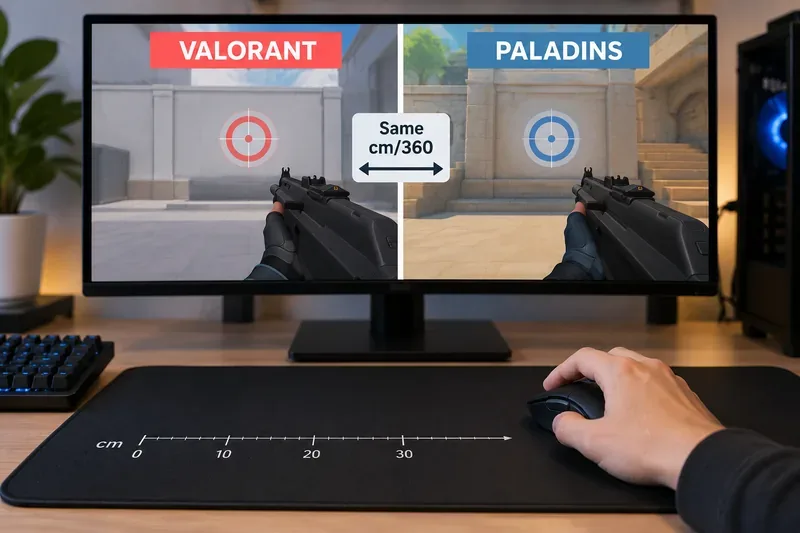
Convert VALORANT sensitivity to Paladins with a practical 7.65× starting ratio at the same DPI, then verify the result with cm/360 for a reliable match.
Use Advanced drone deployment in Rainbow Six Siege, choose a prep-phase transition, and pair fresh intel with a controlled entry routine.
Free up Mobile Legends storage safely. Learn the difference between cache and game resources, clear Android cache, check iPhone options, and avoid deleting account data.
Learn which Heroes of the Storm Variables.txt frame-cap edits are worth testing, when lowering graphics matters more, and how to verify results safely.
Turn off Street Fighter 6 match commentary before your next fight, or compare it with changing the commentator lineup and adjusting audio.
Fix CS2 stuttering on a high-end PC by separating frame-time spikes from network jitter, checking shaders, files, drivers, background apps, and settings.
Check the Siege config’s raw-input setting, disable Windows pointer acceleration if needed, and test aim consistency without changing sensitivity by mistake.
Learn when to use Competitive gameplay, Authentic gameplay, or the older Competitive Master Switch in EA SPORTS FC, with practical settings advice.
Choose StarCraft II camera hotkeys that fit your keyboard, organize base locations, avoid binding conflicts, and test your setup with a practical checklist.