Home
» 🎮 Esports
»
Fix GTA Online’s “Rockstar Games Launcher Exited Unexpectedly” Error on PC
Fix GTA Online’s “Rockstar Games Launcher Exited Unexpectedly” Error on PC
Fix GTA Online’s “Rockstar Games Launcher Exited Unexpectedly” Error on PC
If GTA Online closes with an “exited unexpectedly” message, start by checking which program actually exited. A Rockstar Games Launcher crash before the game opens is different from the game message “Grand Theft Auto V Legacy exited unexpectedly.” The fixes below separate those cases and move from quick checks to a clean reinstall only when needed.
Quick path: check Rockstar’s service status, fully restart and update the launcher, launch GTA V from the store where you own it, then verify the game files. If you use mods, restore a clean game folder before changing Windows settings. No single fix is guaranteed because the same wording can have different causes.
Step 1: Confirm the error and check Rockstar service status
Write down the complete message or take a screenshot. If it names Grand Theft Auto V Legacy, Rockstar has a specific troubleshooting article for that game crash. Its guidance, last updated August 18, 2025, starts with removing third-party mods and recommends reinstalling both GTAV Legacy and the Rockstar Games Launcher if the issue remains. If the launcher itself disappears before GTA V opens, continue with the launcher and platform checks below.
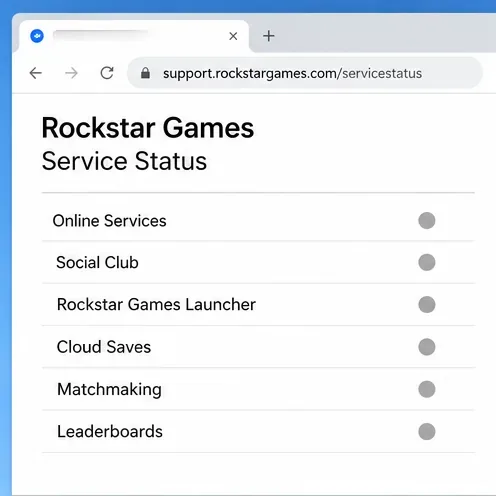
Before changing files, open the Rockstar Games Service Status page. If Rockstar reports an outage or maintenance, wait and try again later. A service interruption cannot be repaired by deleting local files or reinstalling the game.
Check the live Rockstar status page; the indicators shown here are illustrative and do not report current service conditions.
Step 2: Close the launcher fully, let it update, and open GTA V from its store
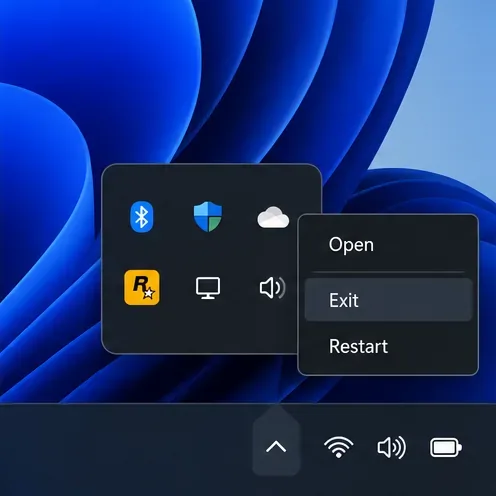
Close GTA V and any open Rockstar titles. If the launcher is still running in the Windows notification area, right-click its icon and choose Exit. Restart Windows, reopen the launcher, and let any launcher or game update finish before clicking Play. Rockstar’s Error Code 209 guidance says an outdated or updating launcher can trigger that code, so apply pending updates before testing again.
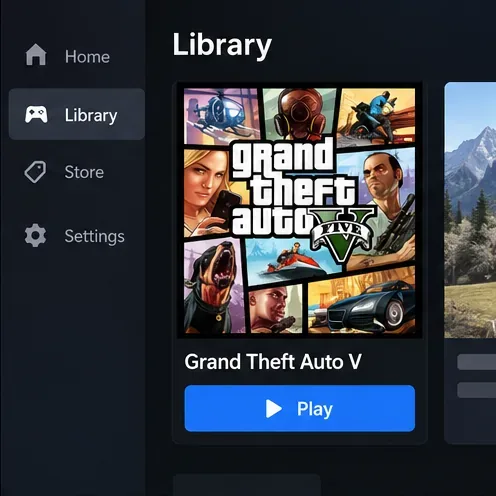
Start the game from the platform that owns the installation: Rockstar Games Launcher, Steam, or Epic Games Launcher. Rockstar’s current BattlEye troubleshooting guide says to launch through the respective platform, not a desktop shortcut, batch file, or Command Prompt. If you previously added custom launch arguments, remove them for one test.
Exit the launcher from its notification-area menu, then restart the PC separately before reopening it.Open GTA V from the library where you installed or purchased it; avoid alternate shortcuts while troubleshooting.
Step 3: Verify GTA V files in the platform that installed the game
File verification replaces damaged or missing installation files without requiring a full reinstall. Verify through the same platform that manages your GTA V install, and let the scan finish before testing again.
Rockstar Games Launcher
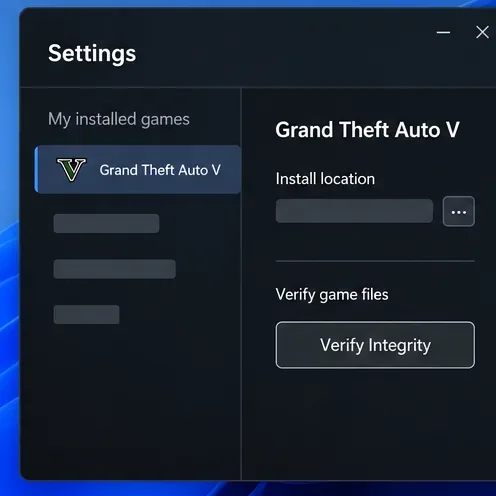
Sign in to Rockstar Games Launcher and open Settings.
Select Grand Theft Auto V under My installed games.
Choose Verify Integrity under the game-file verification options.
In Rockstar Games Launcher, select GTA V under My installed games and choose Verify Integrity.
Steam
Open your Steam Library and right-click Grand Theft Auto V, or open its library page and select the gear menu.
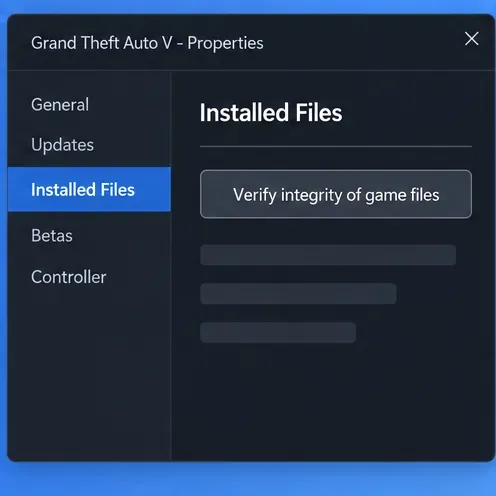
Choose Properties, then Installed Files.
Select Verify integrity of game files and wait for Steam to finish.
Steam says some local configuration files may not pass verification; that can be normal and does not mean the entire scan failed. See Steam’s official verification guide.
Steam’s current route is Properties, Installed Files, then Verify integrity of game files.
Epic Games Launcher
Open Library and find Grand Theft Auto V.
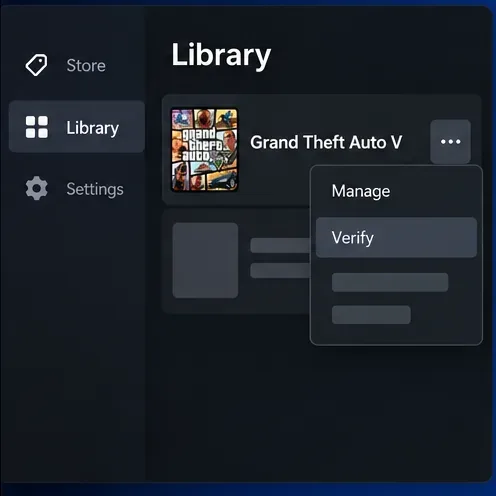
Select the three dots beside the game, then choose Manage.
Click Verify and wait for validation to complete.
Epic says verification checks for damaged or corrupted files and does not affect saved data. Follow its official file-verification steps.
In Epic Games Launcher, open the GTA V menu, choose Manage, and select Verify.
Step 4: Remove unsupported mods and check BattlEye settings
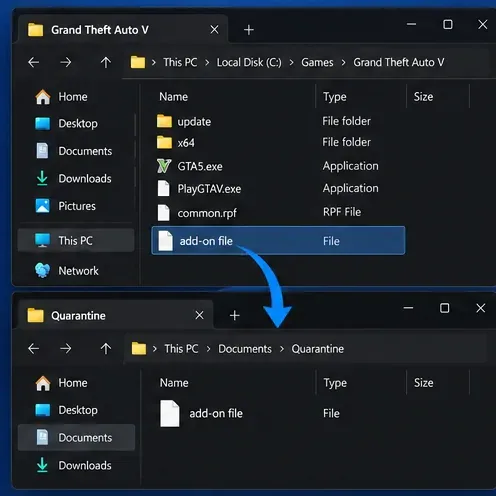
If you installed mods, graphics injectors, or other files that alter the game, move them out of the GTA V folder and test with a clean installation. Do not delete unrelated files by guesswork. Rockstar’s Legacy crash article says third-party mods are unsupported and may interfere with game files. Its BattlEye guidance specifically identifies ReShade and Special_K as software that may prevent launch or work incorrectly.
If you added mods, keep a backup outside the game directory while testing a clean, unmodified install.
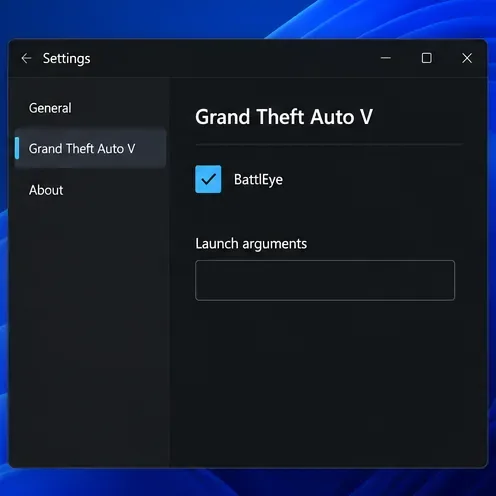
For GTA Online on official servers, keep BattlEye enabled. In Rockstar Games Launcher, open Settings, select Grand Theft Auto V, and check that the BattlEye option is enabled and the launch-arguments field is blank. Also remove custom launch options in Steam or Epic for the test. Rockstar’s BattlEye instructions were updated February 24, 2026; launching GTA Online without BattlEye will not connect to official GTA Online servers.
For official GTA Online, Rockstar says BattlEye should run and the launcher’s custom arguments should be blank.
Step 5: Isolate background conflicts and repair only relevant Windows components
Temporarily turn off one game overlay, capture tool, or tuning utility at a time, restart the launcher, and test. This helps identify a conflict without changing several settings at once. If security software reports that it blocked a Rockstar, GTA V, or BattlEye file, use its official controls to review that specific alert. If you briefly disable real-time protection as a diagnostic test, turn it back on immediately; do not leave protection off or add broad exclusions for an entire drive.
Rockstar’s GTAV PC troubleshooting guide recommends updated graphics drivers. Get them from your GPU maker’s official update tool or website. If the message specifically mentions DirectX or Visual C++, use the redistributable installers in the game’s own Redistributables folder rather than downloading individual DLL files from third-party sites.
If the crash seems tied to background software, a Windows clean boot can help isolate the conflict. Follow Microsoft’s clean-boot instructions and restore normal startup settings after the test. Use DISM and System File Checker only if Windows also has system errors or instability; Microsoft’s sequence is DISM.exe /Online /Cleanup-image /Restorehealth, followed by sfc /scannow. See Microsoft’s repair guidance.
Step 6: Reset local profile data only for sign-in or cloud-profile errors
Deleting the launcher’s local profile is not a general cure for every crash. Use it when the launch problem also includes a Rockstar sign-in, account-profile, or GTA Online cloud-profile error. In Rockstar Games Launcher, open Settings, select Grand Theft Auto V, confirm cloud saves are enabled, then open Account information and choose Delete local profile. Sign in again afterward. Rockstar says this removes local profile details and requires another sign-in, but does not delete the Rockstar account or saved games. Follow the exact GTA Online profile instructions.
Step 7: Reinstall only if the targeted fixes fail, then send Rockstar useful logs
If you have the exact GTAV Legacy exited unexpectedly message and the clean-file and mod checks did not help, Rockstar’s recommended next step is to reinstall GTAV Legacy and Rockstar Games Launcher. During launcher removal, leave Uninstall the game data unchecked. If removing remaining launcher folders, delete only the exact folders listed in Rockstar’s Legacy error instructions; Rockstar warns that deleting other files can remove game data. Restart Windows, reinstall the launcher from the official Rockstar site, then reinstall or locate GTA V through its owning platform.
If the issue remains, submit a Rockstar Support request with the full error, whether you use Legacy or Enhanced, your store platform, and the steps you tried. Rockstar asks PC players to include Documents\Rockstar Games\Launcher\launcher.log; if the launcher will not start, include prelauncher.log. You can also attach a DxDiag report and MSInfo export. The paths and export steps are in Rockstar’s Windows PC troubleshooting files guide.
In short: check the exact error and service status, restart and update the launcher, verify GTA V through its owning platform, and test without mods. Save profile resets, Windows diagnostics, and reinstalling for the matching symptoms or when the simpler checks do not resolve the crash.