How to Check Real-Time Server Latency in the PUBG HUD
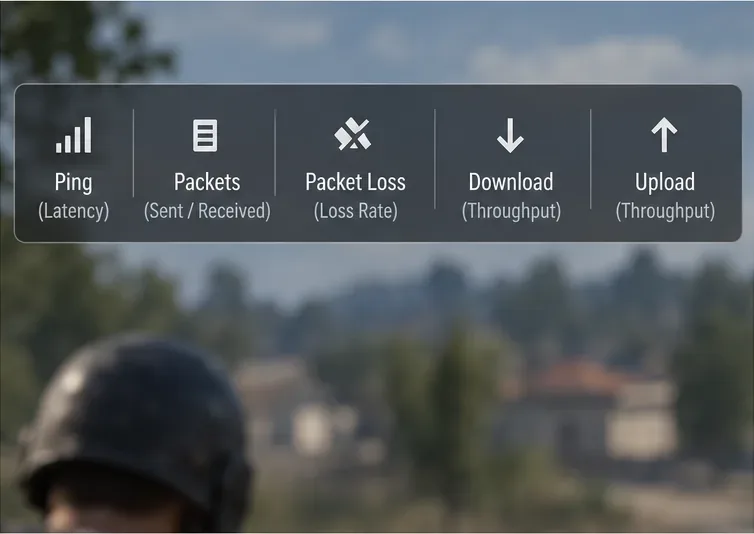
Enable PUBG’s network statistics HUD to monitor ping and packet loss in a match. See where to find it, what the numbers mean, and what they cannot diagnose.
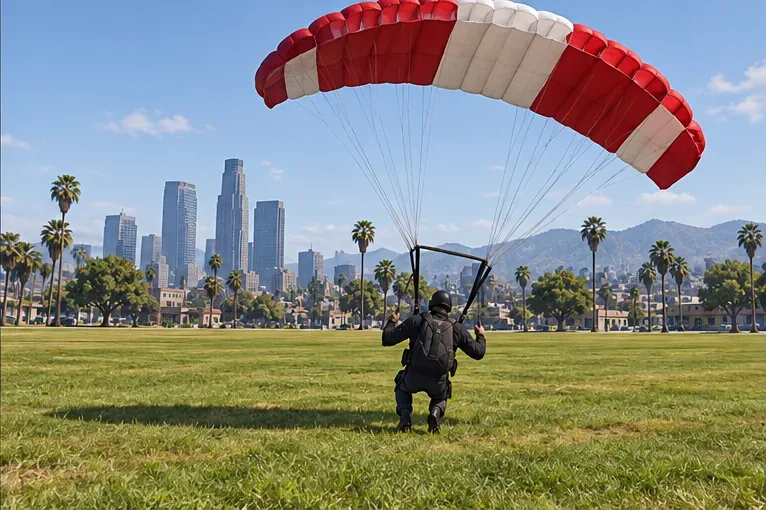
For a reliable GTA Online parachute landing, pick a broad, clear target, deploy with enough room to steer, make small corrections while you still have altitude, then use the game’s brake or precision controls for the final approach. Aim for open ground rather than trying to save a bad line with a last-second turn. The exact timing depends on the jump, objective, platform, and your control bindings, so fixed altitude charts and guaranteed landing percentages are not useful.
Before a jump, identify the actions for deploying the parachute, pitching forward or back, steering left or right, and using any brake or precision control shown for your setup. Button prompts and default bindings can differ by platform and can be customized. Rockstar says GTAV settings are available from the Pause Menu under Settings, including Controls; its PC control guidance also notes that most in-game controls can be remapped. Check your active bindings instead of relying on a key list from another player.
For controller play, watch the on-screen prompts when the jump begins. On PC, check the keyboard and mouse bindings in the controls menu. If you are using a controller on PC, confirm the active control scheme before taking a scored jump. You can review Rockstar Support’s guide to GTAV settings and Rockstar’s PC controls guidance.
Look for a flat, open area with a clear approach. A field or broad paved space gives you more margin than a narrow rooftop surrounded by walls, wires, trees, or traffic. In a scored parachute activity, use the landing marker as your reference, but check what surrounds it too. If the marker sits beside an obstacle, plan to approach from the safer side and avoid clipping the target at the cost of a collision.
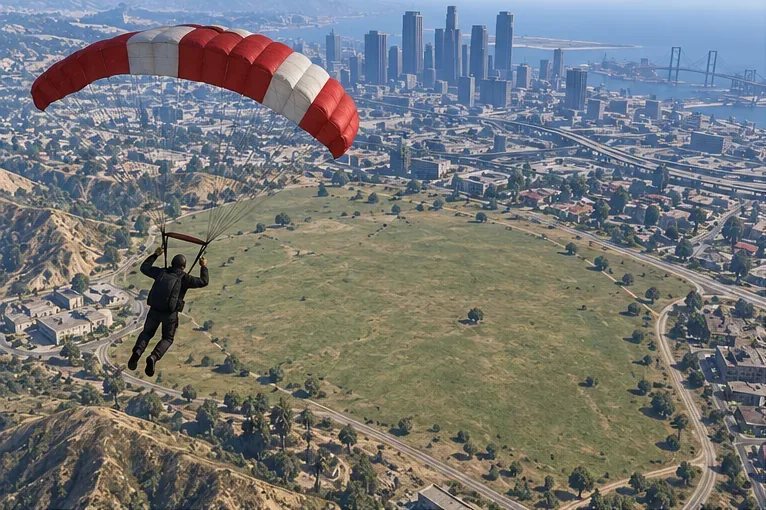
Use the jump’s prompt to deploy the canopy, and do it early enough to make meaningful corrections before reaching the target. There is no single height that fits every GTA Online jump: activities can start at different elevations, and some control the opening sequence or provide their own objective timing. Avoid copying a “1,000-foot” rule from a generic chart. If you are learning, prioritize having time to line up over squeezing in a dramatic late opening.
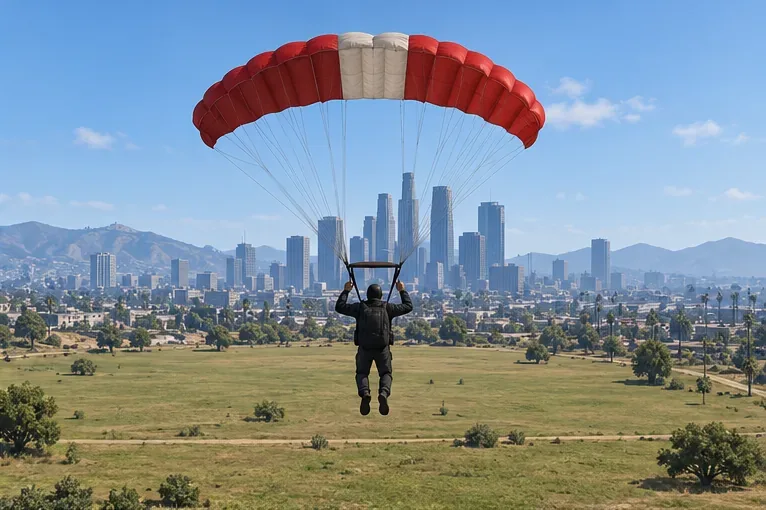
Pick a landmark beyond or beside the landing zone and steer toward it. This gives you a stable visual reference while the ground grows closer. Keep the target in view and avoid making a full circle unless the jump leaves you badly positioned. A direct, uncomplicated line is easier to correct than a series of late turns, especially when the activity requires you to pass through checkpoints or land inside a marked area.
Use brief left or right inputs, then allow the character and canopy to respond before correcting again. Holding a direction for too long can carry you past the intended line. The goal is to reduce the gap between your current path and the landing zone gradually, not to point the character at the target every second. If the target moves toward the edge of your view, make a measured adjustment while there is still space to recover.
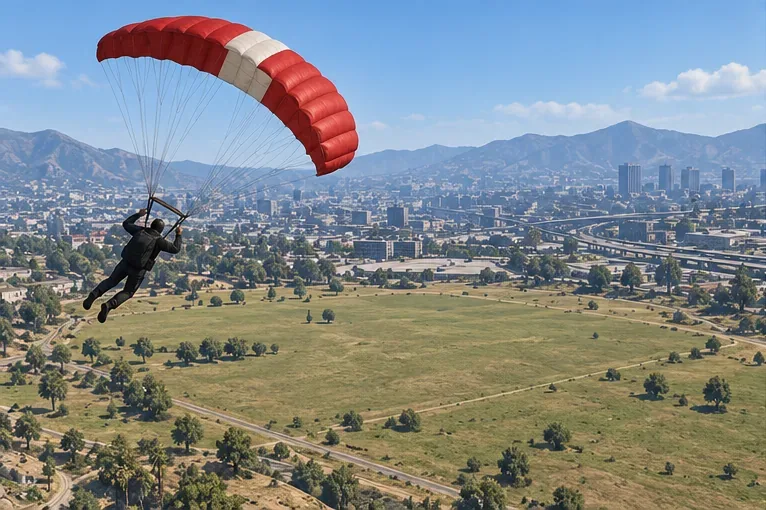
Look down often enough to judge whether you are moving toward, across, or beyond the target. Use nearby roads, field edges, or buildings as reference points rather than relying only on the character’s facing direction. If the landing zone is sliding behind you, correct earlier on the next attempt; turning only after you have passed it usually leaves less room to recover. Camera changes can help you inspect the landing area, but return to the view that lets you judge your direction comfortably.
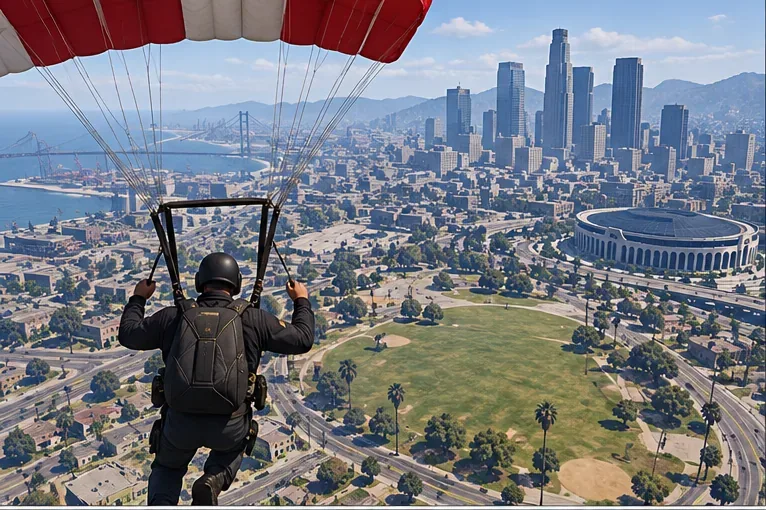
Before descending into the last stretch, scan the space between you and the touchdown point. Wires, trees, light poles, rooftop equipment, and building edges can turn a good approach into a crash. If you cannot clear an obstacle with confidence, aim for the nearest safe patch instead of forcing the original line. In a competitive job, a safe landing may also keep you in play when a risky attempt would end the run.
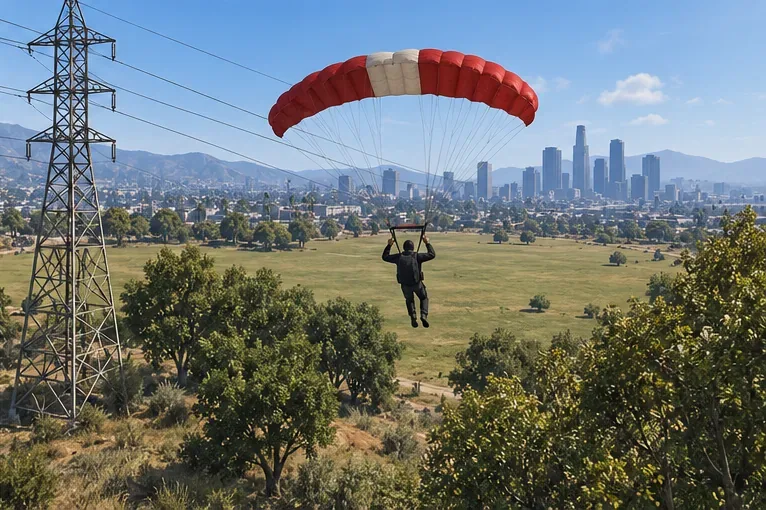
As the landing area fills more of your view, stop making broad route changes. Use the brake or precision-control action shown in your game prompts to make small final adjustments. Test the input in a low-pressure jump first, because its default button and feel depend on your control setup. Avoid holding several directions at once while close to the ground; overlapping inputs make it harder to understand why the canopy is moving off line.
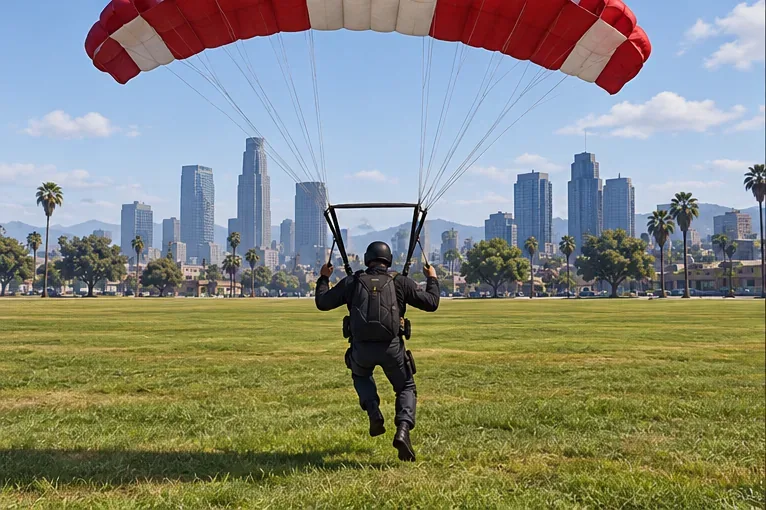
Keep the canopy pointed along your approach and avoid a sharp turn at the last moment. If you are slightly off the center of a scoring marker, choose a clear landing over a collision with nearby structures. For ordinary free-roam practice, the open center of a field is more forgiving than its fence line or the edge of a roof. Once you land, check the result screen or activity objective to see whether the jump rewarded survival, a target landing, or another goal.
| What happened | What to change next time |
|---|---|
| You land short of the target | Deploy sooner if the activity allows it, avoid unnecessary turns, and keep a more direct line. |
| You pass the target | Begin correcting earlier and use smaller inputs as you approach; do not wait until the marker is behind you. |
| You hit a building, tree, or wire | Choose a safer approach corridor and favor a wider landing patch over a narrow gap. |
| You survive but miss the score zone | Use the activity marker as your reference and make the final alignment change before you are close to the ground. |
Change one thing per retry—deployment timing, approach direction, or steering size—so you can tell which adjustment helped. A short repeatable drill is to make several attempts at the same open landing area, then move to a tighter objective only after you can hold a stable line.
Use parachute activities available in your session to practice with clear objectives and repeatable starts. Some modes add opponents or a contested landing area, so first learn the controls in a lower-pressure jump before combining precision with combat. Rockstar’s documented Drop Zone mode has teams parachute from a Cargobob and compete to control a marked zone; whether a particular mode appears in your current playlist can vary. See the official GTAV Title Update 1.32 notes for that mode’s description.
The repeatable principle behind a good parachute landing in GTA Online is straightforward: choose a forgiving zone, create a stable line early, and keep the final corrections small. Practice the mapped controls you actually use, and let the jump’s prompts and objective determine the timing.
Enable PUBG’s network statistics HUD to monitor ping and packet loss in a match. See where to find it, what the numbers mean, and what they cannot diagnose.
Learn how to import VALORANT crosshair codes, compare presets with manual settings and spectator copy, and fix common import issues.
Choose Dota 2 minimap size, hero icons, team colors, and background settings by readability, fewer misclicks, and clear results on your own display.
Fix Fortnite texture pop-in on PC with official steps for GPU drivers, file verification, DirectX 12, high-resolution textures, VRAM, SSDs, and stutter.
Learn what Heroes of the Storm minimap size and position options are verified, improve readability, and choose camera-click controls that suit you.
Set Super Smash Bros. Ultimate Quickplay to prefer hazards-off stages. Follow the Preferred Rules menu steps and learn why matchmaking may not always honor them.
Enable Server Latency and Packet Loss in Warzone to monitor connection quality, read the overlay, and use recurring spikes to guide troubleshooting.
Learn how to carry from mid lane in League of Legends by setting up waves, choosing safe roam windows, reading side lanes, and converting pressure into objectives.
Fix Minecraft Evoker spell problems with a safe vanilla test, version checks, log review, and a step-by-step way to isolate mod or datapack conflicts.
Fix PUBG stuck on Initializing on Steam with a focused checklist for PC service notices, launch options, game files, downloads, and connection issues.