How to Check Real-Time Server Latency in the PUBG HUD
Enable PUBG’s network statistics HUD to monitor ping and packet loss in a match. See where to find it, what the numbers mean, and what they cannot diagnose.
To get consistent value from the AWM sniper rifle in PUBG Mobile, take deliberate shots from cover, choose targets you can track, and change position after firing. The AWM is a hard-to-find air-drop weapon that uses .300 Magnum ammunition; it is a bolt-action sniper, so each miss costs time and gives opponents a chance to react. Treat it as a precision tool, not a promise of an automatic win. A headshot can be devastating, but no single-shot claim applies to every helmet, health state, mode, or balance version.
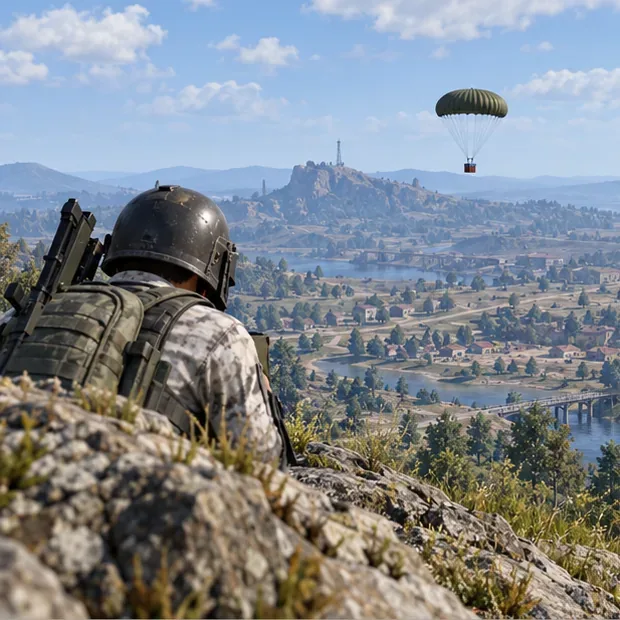
PUBG MOBILE’s official weapon wiki describes the AWM as an air-drop weapon that is difficult to obtain and lists .300 Magnum as its ammunition. The game’s support center classifies it as a sniper rifle, and official update notes group it with bolt-action sniper enhancements. Those notes also show why old stat tables can age: weapons and attachments have received balance changes. Check the current in-game description and mode rules instead of relying on an old damage number or a claim that every helmeted opponent will fall to one shot.
That rarity changes how you should play. The AWM rewards patience and clear sightlines, but it does not replace a close-range weapon. Its slow firing cycle makes missed shots costly, while its long sight picture can narrow your awareness. A strong AWM player keeps a route to cover, watches the minimap, and knows when to switch weapons.
Do not sprint straight toward a crate just because you want the AWM. First scan the landing area and the nearby ridges, buildings, and roads. Look for vehicles, open approaches, and likely enemy sightlines. If another team is already contesting the drop, you can wait for them to expose themselves, rotate away, or skip it. The weapon is valuable; your position and survival are more valuable.
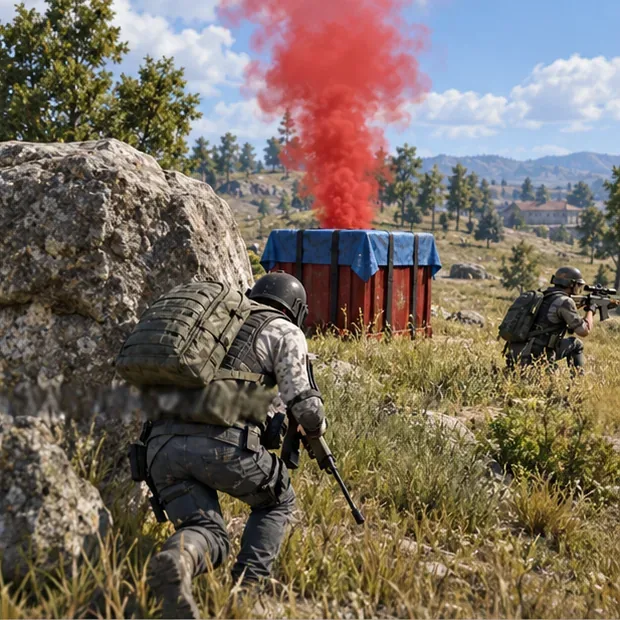
If you decide to loot, approach from hard cover when possible. In a squad, have one teammate watch the exposed side while another checks the crate. Smoke can obscure a crossing or retreat, but it also blocks your own view, so coordinate before throwing it. Take the AWM and compatible ammunition only if you can leave the area safely. Air-drop contents and special-mode rules can vary, so do not assume every crate or flare call will contain an AWM.
There is no single attachment setup that is best in every match. Pick parts that support your range, visibility, and reload needs, and confirm compatibility in the current inventory screen. The official PUBG MOBILE wiki includes recommended weapon attachments, while its version notes document changes to sniper-rifle attachments such as the Compensator, Flash Hider, and Cheek Pad. Those notes are patch-specific; use the live in-game tooltip for current effects.
| Attachment choice | When it helps | What to keep in mind |
|---|---|---|
| Magnified optic | Watching distant, steady targets or holding a long lane. | More zoom is harder to control on a phone and can make nearby movement difficult to follow. Use a lower magnification when the fight closes in. |
| Muzzle attachment | Choose the compatible option that best supports concealment or steadier shots in your current build. | Read the live description; do not assume an old percentage or that a suppressor makes your position impossible to locate. |
| Cheek Pad | Use it when available and compatible with the rifle. | It has had sniper-specific balance adjustments. Treat old guides’ exact sway or spread percentages as historical unless confirmed in your current version. |
| Compatible magazine | Extra capacity or a faster reload can help if a follow-up is likely. | Attachment availability and capacity can change. Check the weapon and inventory rather than counting on a fixed magazine size. |
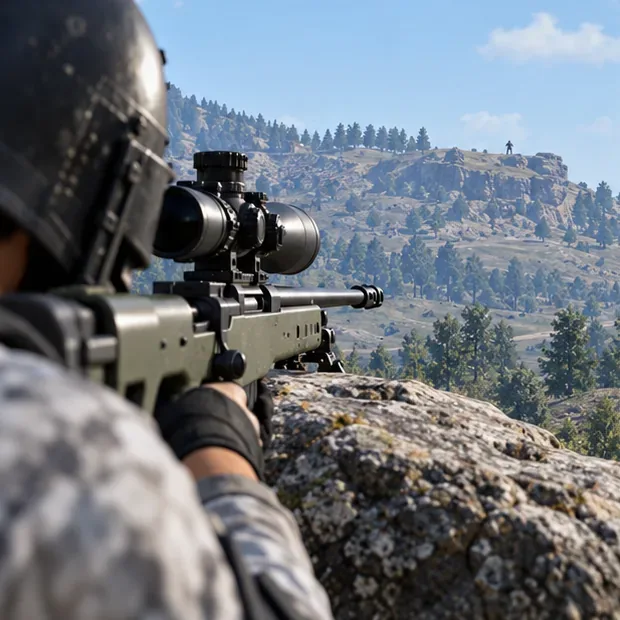
Pair the AWM with a dependable assault rifle or other weapon you can use comfortably at close and medium range. Keep that second weapon ready before entering buildings or crossing tight terrain. The AWM is strongest when it can control an angle; it is a poor substitute for a weapon that can respond quickly in a close fight.
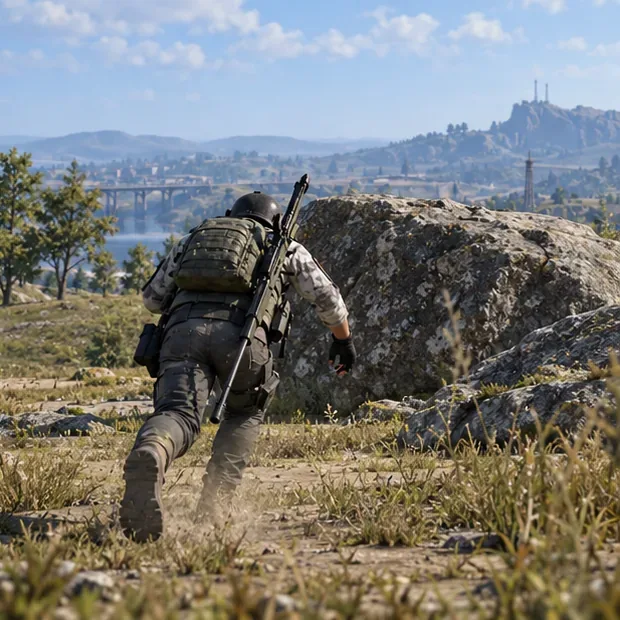
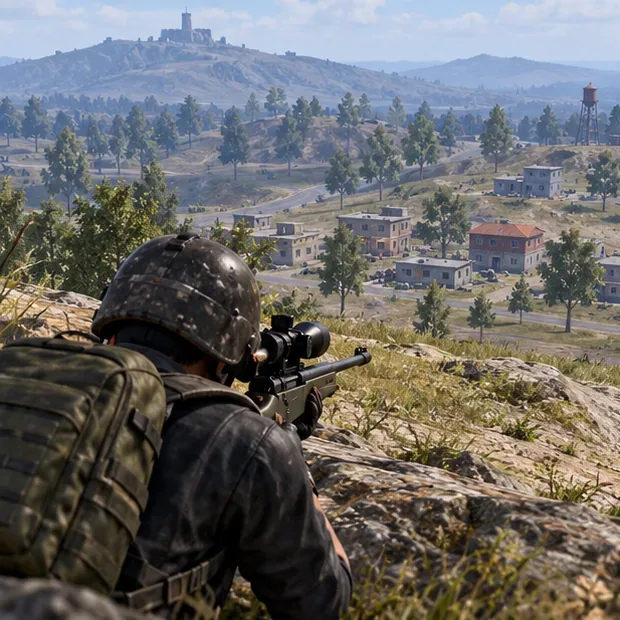
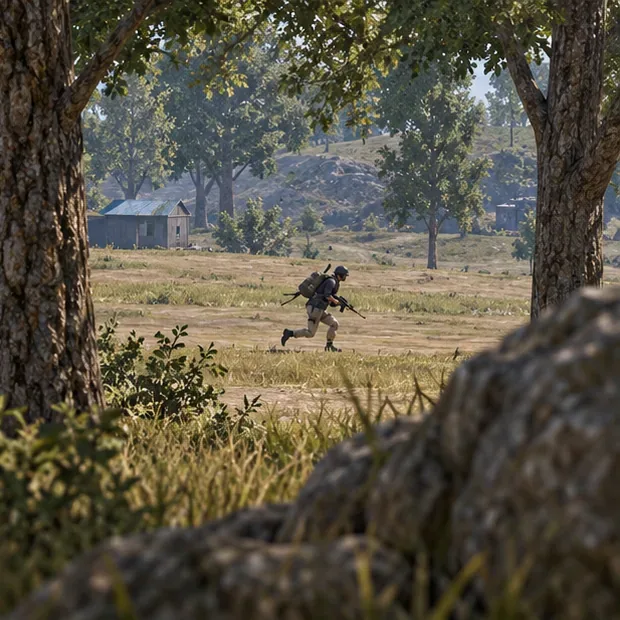
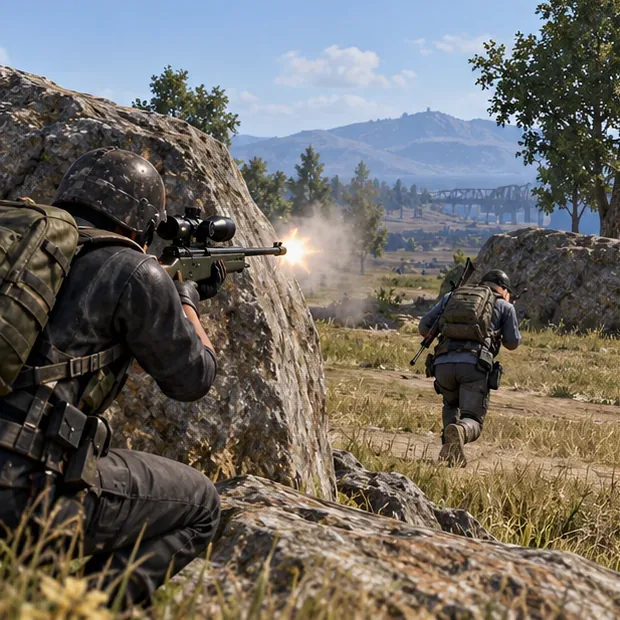
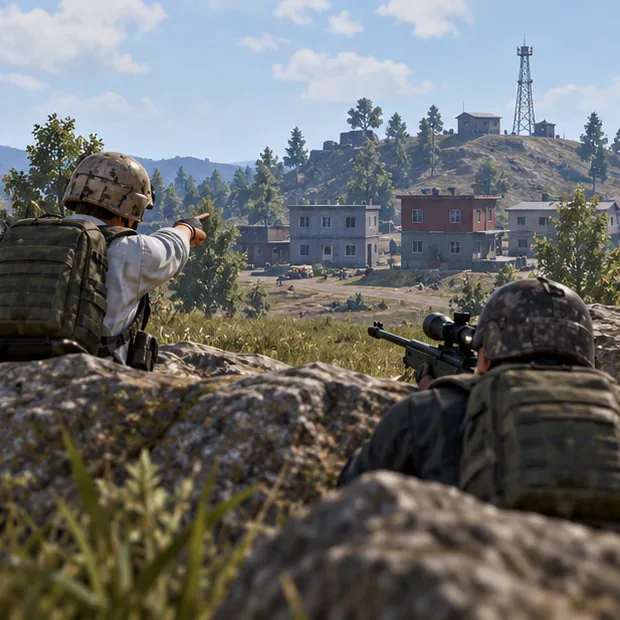
Use Training Grounds or another available practice mode to build repeatable habits. Start with stationary targets at several distances. Practice bringing the scope up, settling the reticle, firing once, and reacquiring after the bolt cycle. Then track moving targets and practice switching to your secondary weapon when a target enters close range. Keep your sensitivity and gyro settings stable for a practice set; if your aim feels inconsistent, change one setting at a time so you can tell what helped.
Judge progress by whether you can repeat the sequence under control, not by an invented headshot percentage. Keep your regular match loadout comfortable; changing sensitivity, scope, and weapon all at once makes it hard to understand why a shot missed.
The official PUBG MOBILE weapon wiki identifies the AWM as a difficult-to-obtain air-drop weapon. Specific drop contents can vary by map, mode, and update, so check the current match rather than expecting a fixed number of AWMs per map.
The best optic is the one you can control at the distance you expect to fight. Higher magnification can help with distant targets, while lower magnification is easier to track at closer ranges. Test your own scope sensitivity instead of copying a universal setting.
No. The outcome depends on the target’s protection and health, the mode, and the current weapon balance. Use a headshot when the opportunity is clear, but be ready for a follow-up or a teammate’s support.
Enable PUBG’s network statistics HUD to monitor ping and packet loss in a match. See where to find it, what the numbers mean, and what they cannot diagnose.
Learn how to import VALORANT crosshair codes, compare presets with manual settings and spectator copy, and fix common import issues.
Choose Dota 2 minimap size, hero icons, team colors, and background settings by readability, fewer misclicks, and clear results on your own display.
Fix Fortnite texture pop-in on PC with official steps for GPU drivers, file verification, DirectX 12, high-resolution textures, VRAM, SSDs, and stutter.
Learn what Heroes of the Storm minimap size and position options are verified, improve readability, and choose camera-click controls that suit you.
Set Super Smash Bros. Ultimate Quickplay to prefer hazards-off stages. Follow the Preferred Rules menu steps and learn why matchmaking may not always honor them.
Enable Server Latency and Packet Loss in Warzone to monitor connection quality, read the overlay, and use recurring spikes to guide troubleshooting.
Learn how to carry from mid lane in League of Legends by setting up waves, choosing safe roam windows, reading side lanes, and converting pressure into objectives.
Fix Minecraft Evoker spell problems with a safe vanilla test, version checks, log review, and a step-by-step way to isolate mod or datapack conflicts.
Fix PUBG stuck on Initializing on Steam with a focused checklist for PC service notices, launch options, game files, downloads, and connection issues.