How to Check Real-Time Server Latency in the PUBG HUD
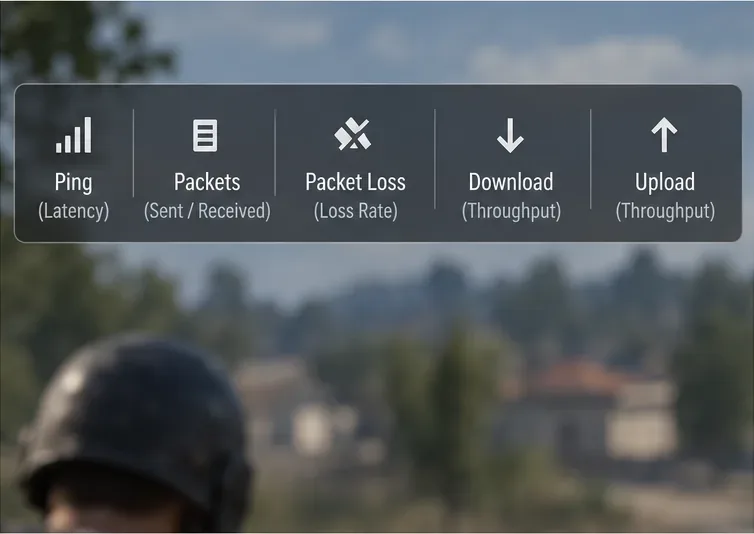
Enable PUBG’s network statistics HUD to monitor ping and packet loss in a match. See where to find it, what the numbers mean, and what they cannot diagnose.
A 60 FPS cap can make Dead by Daylight feel less fluid on a high-refresh-rate monitor, but “uncapped 120 FPS” is easy to misunderstand. The practical goal is to raise the game’s frame-rate target to 120 FPS. It does not mean unlimited frames above 120. The images below are visual references; Windows layouts and the game’s settings screen can look different between versions.
What is verified: Behaviour Interactive’s official 7.2.0 notes added PC settings for VSync and the FPS limit. Read the 7.2.0 update notes. What depends on your setup: whether your PC can sustain 120 frames per second, and whether your monitor is configured to refresh above 60 Hz. What is not established by the support documentation: a reliable, supported way to run Dead by Daylight above 120 FPS. Community answers on BHVR’s forum describe 120 FPS as the game’s ceiling, so treat 120 as the target and avoid hidden Engine.ini “uncap” recipes. See the BHVR community discussion about the frame limit.
On Windows PC, first check the game itself: open Settings, go to the graphics options, and choose a 120 FPS limit if that option is available. BHVR added an in-game FPS-limit control, so an INI edit is mainly useful when the setting is missing, keeps reverting, or you need to inspect the saved value. Consoles do not use this Windows config-file method.
Do not assume that FrameRateLimit=0.000000 means “unlimited” in every Dead by Daylight build. Unreal Engine settings are interpreted by the game, and forum reports show that the FPS mode and numeric limit can be stored together. For a 120 FPS target, use the explicit 120 values below instead of experimenting with zero or a number above the game’s documented-by-community ceiling. A BHVR forum discussion shows the paired values players have used; it is community guidance, not a guarantee that every build behaves identically. View the BHVR forum example of the paired settings.
If the graphics settings include an FPS limit, select 120 first and apply the change. Then exit Dead by Daylight completely before opening its configuration file. This gives the game a chance to write the current settings cleanly and reduces the chance that it overwrites your edit while closing.
If your build does not show 120, select the highest available option for now. The exact choices can change between updates. Do not use a third-party “unlocker” or copy another player’s entire INI file; those steps can introduce unrelated settings and make troubleshooting harder.
Press Windows + R to open the Run dialog. For many Steam installations, enter this path and press Enter:
%LOCALAPPDATA%\DeadByDaylight\Saved\Config\WindowsClient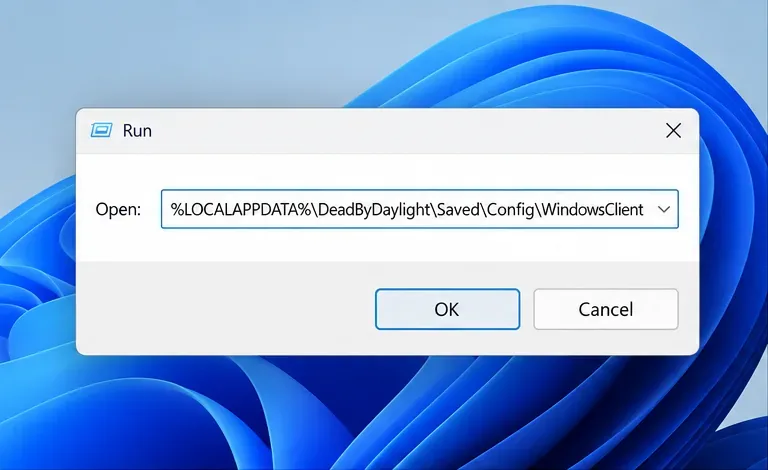
Find GameUserSettings.ini in that folder. If the folder is missing or does not contain the file, open %LOCALAPPDATA%\DeadByDaylight\Saved\Config and check the platform-specific folder created by your installation. Folder names can vary by storefront and game build, so use the folder containing the most recently updated GameUserSettings.ini after you change a setting in the game. Do not edit several old duplicate folders at once.
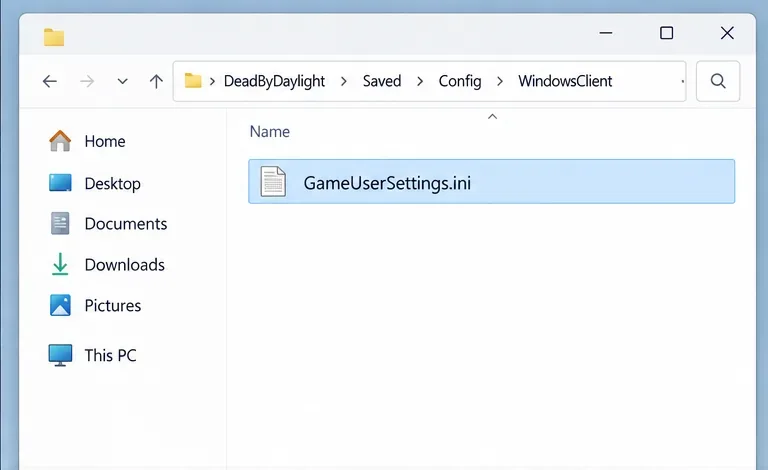
Make a copy of GameUserSettings.ini in the same folder and name it something clear, such as GameUserSettings-backup.ini. Open the original with Notepad. Press Ctrl + F and search for FPSLimitMode or FrameRateLimit.
If both lines already exist, set them to:
FPSLimitMode=120
FrameRateLimit=120.000000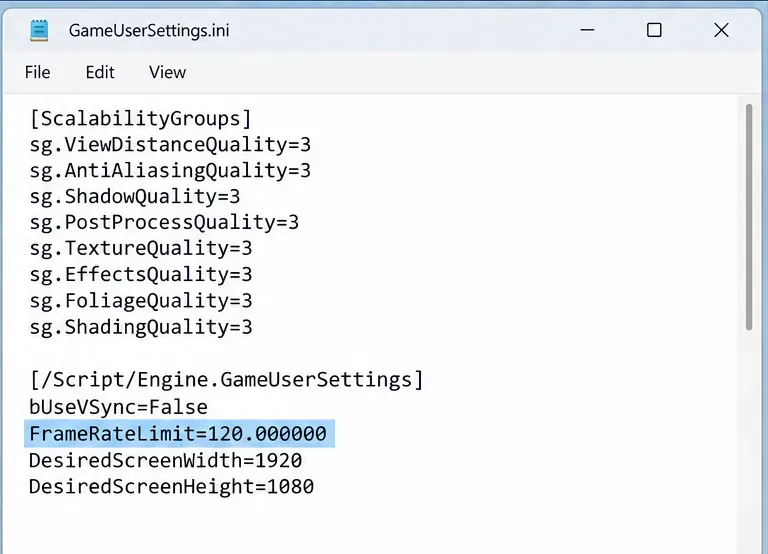
Change the existing entries in place; do not paste duplicate keys into a random section. If one or both entries are missing, return to the in-game FPS option, choose a limit, apply it, close the game, and reopen the file. That lets the game generate the correct setting names for its current version. A community forum example also shows bUseVSync=False; only change the existing bUseVSync value if you deliberately want VSync off. Disabling VSync can allow tearing, so leave it as-is if you prefer tear-free output or use a variable-refresh-rate setup.
Save the file as plain text while keeping the .ini extension. Do not rename it to .txt, and do not set it to Read-only as a way to force the value. Launch the game, revisit the graphics setting, and check whether the 120 FPS limit remains selected.
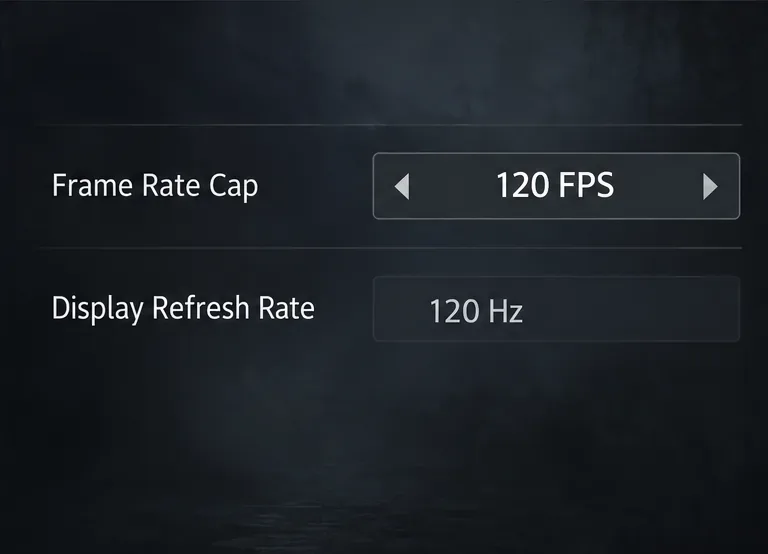
Use an FPS counter during a menu and gameplay to see whether the frame rate stays near the target. A 120 FPS setting is a ceiling, not a promise that every scene will render at 120. If the counter still sits near 60, open Windows Settings > System > Display > Advanced display and check the selected monitor’s active refresh rate. Microsoft explains that the available refresh rates depend on the display and its capabilities. Check Microsoft’s Windows refresh-rate instructions.
The change is working when the game retains a 120 FPS limit after restart and the counter can rise above 60 during play when the scene and hardware allow it. A lower value is not proof that the INI edit failed: the GPU may be under load, VSync or a driver-level limiter may be active, or the monitor may still be set to 60 Hz. Change one factor at a time, retest, and restore the backup if the game becomes less stable.
If you see crashes or persistent performance problems, restore the backup and follow Behaviour Interactive’s PC troubleshooting checklist for drivers, system requirements, and verifying game files. Open the official Dead by Daylight PC troubleshooting guide. As of October 7, 2026, the reliable takeaway is simple: target 120 FPS with the game’s own control or its existing INI entries, then verify what your display and PC can actually deliver.
Enable PUBG’s network statistics HUD to monitor ping and packet loss in a match. See where to find it, what the numbers mean, and what they cannot diagnose.
Learn how to import VALORANT crosshair codes, compare presets with manual settings and spectator copy, and fix common import issues.
Choose Dota 2 minimap size, hero icons, team colors, and background settings by readability, fewer misclicks, and clear results on your own display.
Fix Fortnite texture pop-in on PC with official steps for GPU drivers, file verification, DirectX 12, high-resolution textures, VRAM, SSDs, and stutter.
Learn what Heroes of the Storm minimap size and position options are verified, improve readability, and choose camera-click controls that suit you.
Set Super Smash Bros. Ultimate Quickplay to prefer hazards-off stages. Follow the Preferred Rules menu steps and learn why matchmaking may not always honor them.
Enable Server Latency and Packet Loss in Warzone to monitor connection quality, read the overlay, and use recurring spikes to guide troubleshooting.
Learn how to carry from mid lane in League of Legends by setting up waves, choosing safe roam windows, reading side lanes, and converting pressure into objectives.
Fix Minecraft Evoker spell problems with a safe vanilla test, version checks, log review, and a step-by-step way to isolate mod or datapack conflicts.
Fix PUBG stuck on Initializing on Steam with a focused checklist for PC service notices, launch options, game files, downloads, and connection issues.