Home
» 🎮 Esports
»
Best Visual Effects Density Setting for Screen Clarity in Street Fighter 6
Best Visual Effects Density Setting for Screen Clarity in Street Fighter 6
Best quick setting: if your goal is maximum screen clarity in Street Fighter 6, start with Fighting Ground Background Object Density: Standard and Effects Quality: Low. Then turn Motion Blur and Depth of Field Effect off, and consider Bloom: Off if bright hit effects still wash out character outlines.
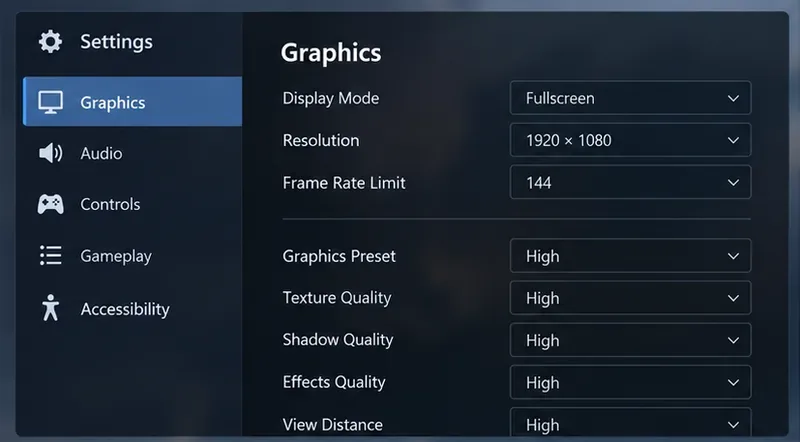
As of October 8, 2026, I could not verify an official Street Fighter 6 PC option literally named “Visual Effects Density.” The closest relevant controls in the game’s graphics menu are Fighting Ground Background Object Density, which changes how busy the stage background can be, and Effects Quality, which changes the visual quality of combat effects. That distinction matters: if you are searching for a single “effects density” slider, you may be looking for a setting name the game does not actually use.
Capcom’s current PC listing still warns that frame rate can drop during graphically intensive scenes, so clarity tuning should not be treated as purely cosmetic. A cleaner presentation is useful only if it also preserves stable fight performance. The official PC requirements and performance note are available on the Street Fighter 6 Steam page published by Capcom.
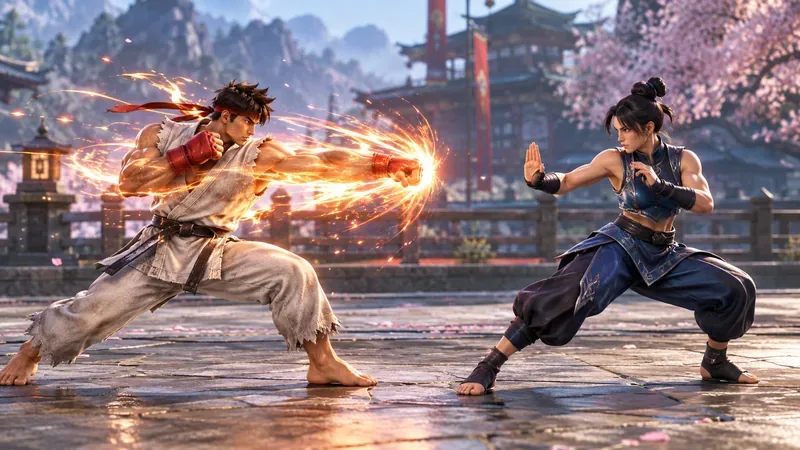
A bright, particle-heavy attack can make character limbs and spacing harder to read; clarity-oriented settings aim to reduce that visual competition without sacrificing the information needed to react.
Which setting should you change first for a clearer fight?
Change Fighting Ground Background Object Density to Standard first. This is the most direct choice when your concern is visual busyness rather than texture detail. A crowded stage can put more moving silhouettes, props, and background activity behind the fighters. None of that is inherently bad, but it competes with the information that matters most in a match: character posture, spacing, jump arcs, projectiles, Drive effects, hit sparks, and the exact moment an animation begins or ends.
For a competitive or training-oriented setup, Standard is the sensible baseline because it preserves the stage identity without intentionally maximizing background activity. If you prefer spectacle and have no trouble tracking the fighters, a denser background is fine. The point is not that Crowded is “wrong”; it is that it gives your eyes more unrelated motion to filter out.
What should Effects Quality be set to?
Use Low as the clarity-first starting point. Effects Quality is separate from background object density. Capcom does not publicly document the exact internal particle-count or shader changes for every step of this setting, so it would be inaccurate to claim that Low always removes a specific percentage of particles. What can be said safely is that it is the relevant quality control for the game’s rendered effects, and lowering it is a reasonable way to reduce visual complexity and GPU load before sacrificing resolution.
There is also an important limit to this recommendation. Street Fighter 6 communicates gameplay through visual effects. Drive Impact, Drive Rush, parries, hit sparks, projectiles, supers, and other attacks are designed to be visible. You do not want a setup that makes those cues harder to identify. After switching Effects Quality to Low, test several characters and stages you actually play. If important effects look too indistinct to you, raise the setting again and keep the other clarity changes instead.
Best clarity-oriented Street Fighter 6 graphics settings
Setting
Clarity-first recommendation
Why it helps
Fighting Ground Background Object Density
Standard
Reduces unnecessary background activity behind the fighters.
Effects Quality
Low
Reduces effect complexity and can lower GPU load without first cutting resolution.
Motion Blur
Off
Keeps moving limbs and fast camera motion from being intentionally blurred.
Depth of Field Effect
Off
Keeps more of the fight plane visually consistent instead of selectively softening parts of the image.
Bloom
Off if bright effects feel hazy
Reduces glow around bright attacks and highlights.
Antialiasing
On
Helps keep edges stable instead of introducing distracting stair-stepping.
Internal Resolution
Keep as high as your system can sustain
Lowering render resolution can make character outlines and fine animation detail harder to read.
Why you should not lower internal resolution first
If screen clarity is the goal, internal resolution is usually the wrong first sacrifice. A lower render resolution can make the entire image softer, including the two fighters themselves. That may improve performance, but it can work against the reason you are changing settings in the first place.
Instead, remove sources of visual competition first: background density, motion blur, depth of field, bloom, and then effects quality. Only lower internal resolution when your system cannot maintain the performance you need after those changes. Capcom’s official system requirements explicitly note that frame rate may drop in graphically intensive scenes, so a performance bottleneck is possible even when average play seems smooth.
How do you know whether the setting is actually clearer?
Do not judge the change from a static menu or victory screen. Test it during the situations where visibility becomes difficult. A good clarity setup should make the following easier to see without making the game look broken or visually confusing:
Your opponent’s feet and lower-body movement near the edge of bright effects.
The distance between characters during neutral play.
The beginning of jump, dash, and forward-moving attack animations.
Projectile edges and the opponent behind or immediately after the projectile.
Character silhouettes during Drive Impact, Drive Rush, parry, and large hit sparks.
Whether a stage background pulls your attention away from the fight.
A practical test is to replay the same training sequence several times with only one graphics option changed. If you can identify the same startup and spacing cues with less visual distraction, the change is helping. If the scene is simply uglier but not easier to read, restore that option and try another one.
Should Motion Blur, Bloom, and Depth of Field be disabled too?
Motion Blur: usually yes for clarity
Motion blur intentionally softens moving imagery. That can make cinematic movement feel smoother, but in a fighting game it may reduce edge definition during fast attacks or camera movement. Turning it off is one of the least controversial clarity changes because it does not reduce the native geometric detail of the characters.
Depth of Field: turn it off if you want a uniformly sharp fight plane
Depth of field is designed to direct attention by blurring areas outside a focus plane. For screenshots and cinematic sequences it can look attractive. During play, however, some players prefer the entire visible fight area to remain consistently sharp. If that is your priority, Off is the better setting.
Bloom: disable it only if bright attacks look washed out
Bloom creates glow around bright regions. In moderation it adds impact, but strong glow can make the border between an effect and a character less distinct. If your display already runs at high brightness or has aggressive HDR-like processing, bloom may feel more intrusive. Try Off and compare. If the image becomes too flat for your taste, restore it; clarity is partly display-dependent.
What about consoles?
The detailed recommendations above are aimed primarily at the PC version because that is where the granular graphics controls are available. Console menus do not necessarily expose the same detailed set of quality switches. If you are on PlayStation or Xbox, prioritize the performance-oriented display mode available on your platform, disable television-side motion smoothing, and use any in-game motion or display options that are actually exposed on your version. Do not assume a PC setting name must exist on console.
Is Low Effects Quality always the best competitive choice?
No. It is the best starting point when the specific goal is reducing visual clutter, not a universal competitive rule. If your PC holds a stable fight frame rate and you can clearly read every animation at High, there is no competitive requirement to lower it. Conversely, if Low still feels visually busy, the bigger gains may come from Standard background density, Motion Blur Off, Depth of Field Off, Bloom Off, and a cleaner monitor configuration rather than pushing graphics quality lower.
The most important outcome is consistent recognition. You should be able to see the opponent’s silhouette, position, and major effect cues without your eyes being pulled toward unrelated stage motion or smeared by post-processing.
A simple recommended preset
For players who want one practical configuration to try first, use this:
Fighting Ground Background Object Density: Standard
Effects Quality: Low
Motion Blur: Off
Depth of Field Effect: Off
Bloom: Off
Antialiasing: On
Internal Resolution: keep it high enough that character edges remain crisp while maintaining stable fight performance
Then make one change at a time. If Low Effects Quality looks unnecessarily plain but the screen is already easy to read, raise it. If the fight still feels visually noisy, leave Effects Quality alone and focus on background density and post-processing. This produces a more reliable result than assuming one graphics slider controls every source of clutter.
Bottom line
For the clearest Street Fighter 6 presentation, the best “visual effects density” answer is not a single hidden density slider. Use Standard Fighting Ground Background Object Density to calm the stage, use Low Effects Quality as a clarity-first baseline, and disable Motion Blur and Depth of Field. Turn Bloom off if bright attacks look hazy, but keep internal resolution as high as your hardware can sustain before reducing it.
I found no verified Capcom announcement indicating that a new setting literally called “Visual Effects Density” has replaced those controls. That is why this recommendation stays with the option names that can be verified instead of inventing a newer menu item.