Home
» 🎮 Esports
»
Best Low Graphics Settings for Clear Army Visibility in StarCraft II
Best Low Graphics Settings for Clear Army Visibility in StarCraft II
Best Low Graphics Settings for Clear Army Visibility in StarCraft II
For clear armies in StarCraft II, start with the Low graphics preset, keep your display at its native resolution if performance allows, and make unit information easier to read with health bars and team colors. Then check the result in a replay. The goal is to recognize unit types, ownership, damage, and important combat cues at your normal camera zoom—not to turn every graphics option down regardless of what disappears.
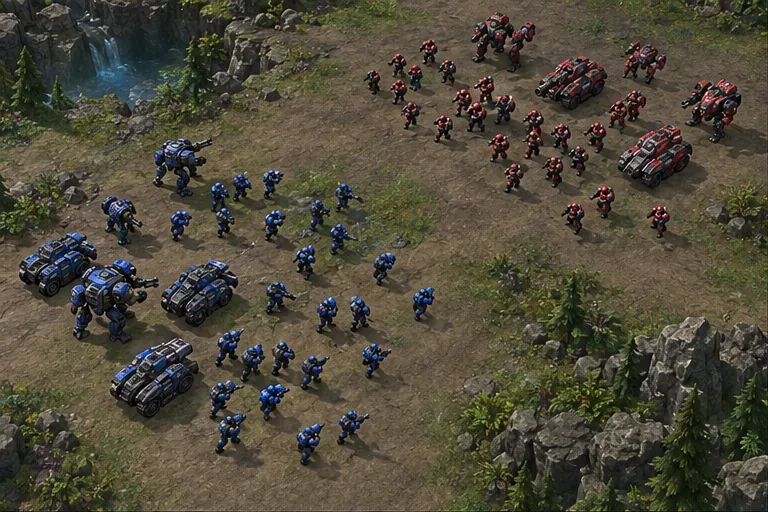
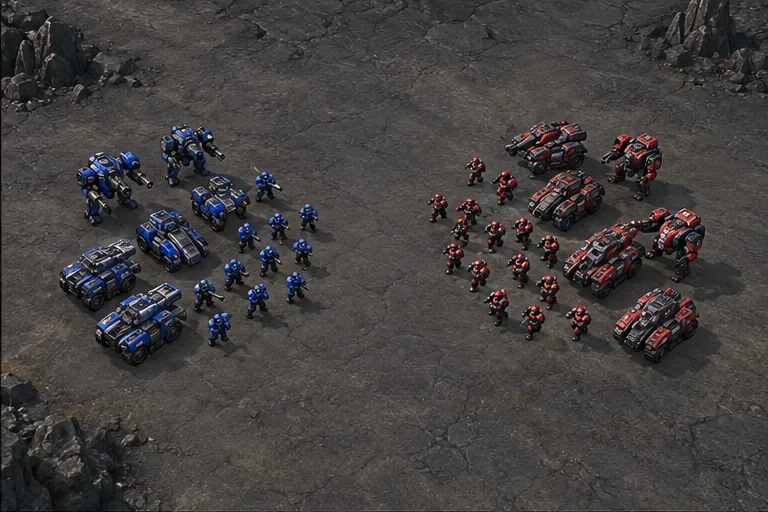
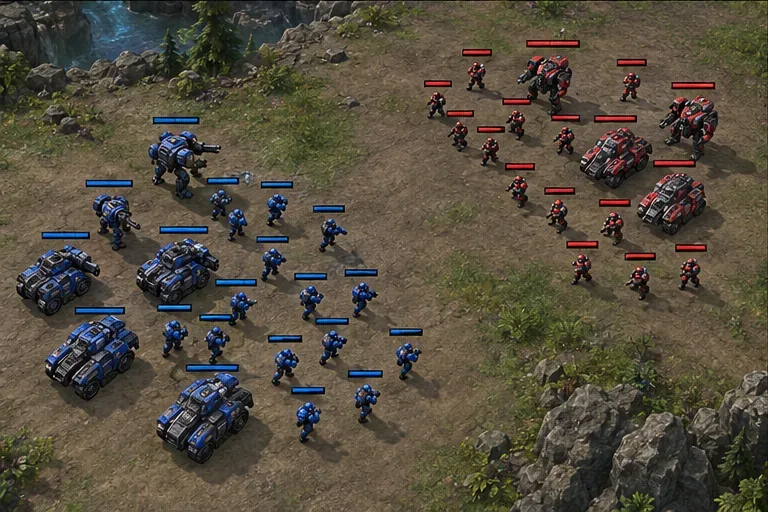
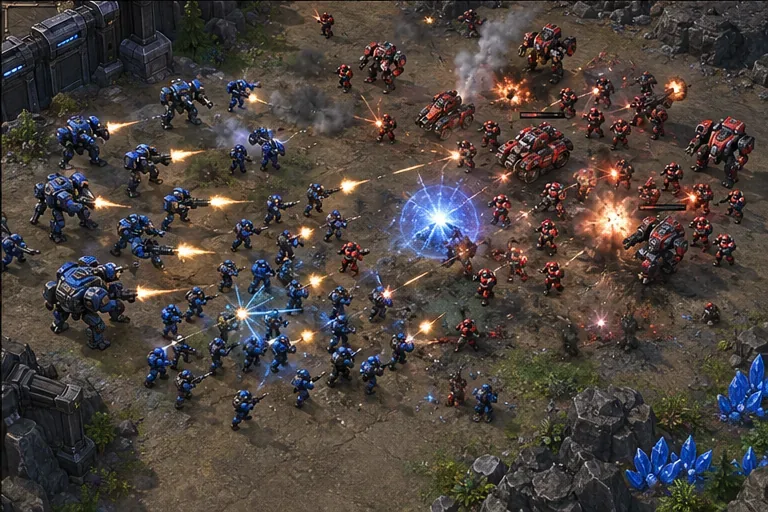
This is a practical starting point, not an official Blizzard competitive preset or a hardware benchmark. StarCraft II’s available labels and options can vary by client and platform, so use the closest matching option shown in your game. The four battlefield images are illustrations, not captured matches or test evidence.
A visibility-first graphics baseline
Use this table as a first pass for StarCraft II army visibility. Change one category at a time, and keep any detail that helps you identify units or understand the fight.
Setting
Starting point
What to check
Display resolution
Native display resolution
Small units and interface text stay sharp. If performance suffers, test one lower supported step and compare clarity.
Overall graphics preset
Low
Use it to create a simple baseline, then review individual categories.
Shadows and lighting
Low, where offered
Raise selectively if unit edges, elevation, or terrain boundaries become harder to read.
Models and textures
Low to start
Compare Medium if it makes crowded unit types easier to recognize without stutter.
Effects
Low to start, then verify
Check the combat cues you rely on. Some visuals can be affected by the setting.
Unit life bars
Always for the first comparison
Switch to Damaged or a contextual display if bars crowd the battlefield.
Team-color options
Team-colored life bars on; test Color Blind Mode if useful
Compare both the main view and minimap.
“Low” is a baseline rather than a promise that every minimum value improves visibility. Blizzard’s mapmaking guidance on art and performance emphasizes readable unit silhouettes and notes how map decoration, lighting, color, and particles can draw attention away from units. That page is written for map creators, so it supports the readability principle—not a universal player-side graphics preset.
Step 1: Keep the battlefield sharp at normal zoom
Open Options > Graphics and confirm the display resolution before changing detail. A monitor’s native resolution usually keeps small models and interface text crisp. Lowering resolution can make the whole scene softer, even when it helps performance, so try the Low quality preset first.
Judge the scene from the camera position you use during a match. Blizzard’s control guide documents the mouse wheel and Page Up/Page Down for zooming. Zoom in briefly to inspect a unit model, but return to your normal gameplay view before deciding whether you can track an army.
Illustration: an open battlefield view shows how camera distance and terrain affect the visibility of unit silhouettes.
Step 2: Use Low as a baseline, not a rule for every slider
Apply the Low graphics preset, then inspect the same replay or match type before making more changes. If individual controls are available, start with lower shadows, lighting, and decorative detail when those elements compete with unit outlines. Do not reduce resolution as a substitute for lowering quality unless you have a specific performance reason.
Pay particular attention to Effects. A low setting can simplify a crowded scene, but it can also remove information. Blizzard’s 5.0.16b hotfix notes say Gateway train visuals will not trigger when Effects graphics options are set to Low. If you depend on a production or ability cue, test it after changing Effects and raise the setting if it becomes difficult to follow.
Textures and models are worth comparing rather than blindly minimizing. In a dense fight, slightly more model detail may help separate infantry from larger units; in another scene it may only add noise. Keep a change only when it repeatedly improves recognition on your own display.
Illustration: subdued terrain and distinct silhouettes make a useful reference when comparing low-detail settings.
Step 3: Make ownership and damage easy to read
Graphics quality does not tell you which overlapping unit belongs to which side. In the life-bar display controls, try Always first. Blizzard’s control guide says you can also hold Alt to show health bars; the bracket keys can show friendly or enemy bars separately in the documented default controls. Check your hotkey bindings if those keys do not work as expected.
Always-visible bars make damaged units easier to spot, but they can cover a tightly packed army. Blizzard’s patch 2.0.4 notes document the Damaged and Targeting life-bar modes, as well as the Display Team Colored Life Bar control. Try Damaged if permanent bars add too much visual clutter; use Targeting when you want bars in the context of beneficial or harmful abilities. Enable team-colored bars if they help you separate forces.
If team colors or minimap dots are difficult to distinguish, test Color Blind Mode in Gameplay options. Blizzard’s patch 2.0.10 notes describe alternate player colors in team games and darker minimap terrain for stronger contrast. Compare the option in both views, since a palette that helps on the battlefield may look different on the minimap.
Illustration: team-colored bars make ownership and unit health more apparent during a quick scan.
Step 4: Verify the settings in a crowded fight
Load a recent replay with the same unit types and a large engagement. Pause at a busy moment to check silhouettes, ownership, and damaged units; then play it at normal speed. Keep the same camera zoom and playback speed while comparing options so you can tell what changed.
Can you distinguish infantry from larger support or armored units?
Can you find an injured unit without losing track of the front line?
Are team colors readable against both light and dark terrain?
Can you still follow the effects or production cues that matter to you?
Does the view remain comfortable while units move and effects overlap?
If a change helps only when the army is idle, it may not help during combat. Restore one category at a time when an important outline or cue becomes unclear. Do not infer a guaranteed FPS gain from a setting table: performance depends on hardware, resolution, map, and the number of units and effects on screen.
Illustration: a moving engagement is the right place to check whether combat effects obscure the units you need to follow.
What low graphics settings cannot fix
Graphics options do not increase unit sight range or reveal hidden areas. Fog of war still hides enemy movement outside allied vision, as described in Blizzard’s StarCraft II glossary. If an enemy is missing from view, check scouting, vision, and the relevant game mechanics rather than lowering graphics further.
Likewise, a clearer scene does not guarantee better performance. If lowering graphics makes little difference during the same crowded replay, record when the slowdown occurs and consult Blizzard’s StarCraft II support page for current troubleshooting options.
Final army-visibility checklist
Keep a sharp, supported resolution unless performance requires a deliberate tradeoff.
Use Low as the starting preset, then adjust one category at a time.
Choose a life-bar mode that shows useful health information without hiding unit silhouettes.
Test team-colored bars and Color Blind Mode if they improve separation on your screen.
Check important Effects cues after lowering that setting.
Make the final decision in a replay at your normal camera zoom and playback speed.
The best low graphics settings for clear army visibility in StarCraft II are the ones that remove distractions while preserving the details and combat cues you rely on. Start with a simple baseline, verify it in a real fight, and keep only the changes that make armies easier to read consistently.