A Progression Guide for Stardew Valley (2026)
Wondering what to do next in Stardew Valley? Build a manageable first-season farm, grow several income sources, choose either the Community Center or Joja route, work through the Mines, and then take on Skull Cavern, Ginger Island, and optional 100% Perfection. This Stardew Valley progression guide uses milestones instead of strict deadlines: you can reach them at your own pace, and missing a season usually means waiting for it to return rather than losing the whole save.
Each season lasts 28 days, and most crops that are not suited to the next season wither when the calendar turns. Check a crop’s growing time before planting late in the month. For the current crop rules and season dates, see the Stardew Valley seasons reference.
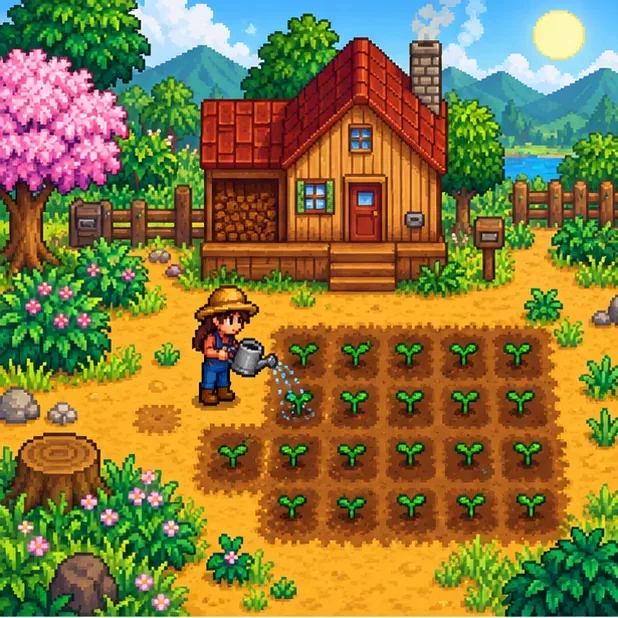
Quick Stardew Valley progression roadmap
| Stage | Main focus | Useful milestone |
|---|---|---|
| First Spring | Plant a small crop patch, forage, meet villagers, and save supplies. | You can water your crops without using the whole day and have a little money for seeds. |
| Summer and Fall | Reinvest harvests, add one or two income sources, and collect seasonal bundle items. | Your farm earns gold even when you spend a day fishing or mining. |
| Mine progression | Reach new elevator checkpoints, gather ore, and improve tools and combat gear. | You have the Skull Key from the Mines’ 120th floor. |
| Late game | Unlock the Desert and Ginger Island, then decide whether to pursue Mastery and Perfection. | You can choose long-term goals based on the tracker and the activities you enjoy. |
This is a flexible order, not a speedrun route. A rainy day, a festival, a lucky forage find, or a bundle item can change what makes sense for your farm.
Step 1: Make your first Spring reliable
Start with the parsnip seeds in the farmhouse, clear only enough debris to make a workable field, and plant what you can water consistently. Parsnips take four days to mature, so the first harvest gives you an early chance to buy more seeds. Keep some gold in reserve: buying every seed you can afford can leave you short for tool repairs, a backpack, or a useful shop item.
Put a chest near the farmhouse and save at least one example of unfamiliar crops, forage, fish, and minerals. The Community Center is introduced early in Spring, and its bundles reward items from different seasons and activities. Keeping a small reserve prevents you from selling or processing the only item you later need.
Use a repeatable daily loop
- Water crops first unless rain has already done it.
- Collect forage on the way to town; forage can be sold, eaten, or saved for bundles.
- Choose one larger task for the day, such as fishing, mining, gathering wood, or meeting villagers.
- Check the television for weather and daily information, especially before planning a tool upgrade or a long trip.
The Mines open after the Spring 5 landslide is cleared. Go when your energy, food, and available time make it worthwhile; there is no need to force a deep run immediately. The game’s Getting Started guide also explains early tools, energy, and crop timing.
Step 2: Expand income without overbuilding
Use the first harvests to plant more of what fits your schedule. A mix of quick crops and repeat-harvest crops is forgiving: after their first harvest, crops such as blueberries in Summer and cranberries in Fall produce again without replanting. Check the calendar and leave enough days for each crop to mature before the season ends.
Farming is only one way to earn. Fishing can pay well when you have time for a full session; forage provides sellable items and bundle materials; mining supplies ore, coal, and geodes. Add a coop or barn once you can cover its cost and have a routine for animal care. Later, processing crops and animal goods in machines such as Preserves Jars and Kegs can increase their value, but you do not need a large machine shed in Year 1.
Upgrade storage when carrying capacity is slowing you down. Upgrade tools when the improvement will save enough time or energy to matter. For the watering can, check the forecast and plan around a rainy day so crops do not miss a watering. These are investments, not requirements to rush through in the first season.
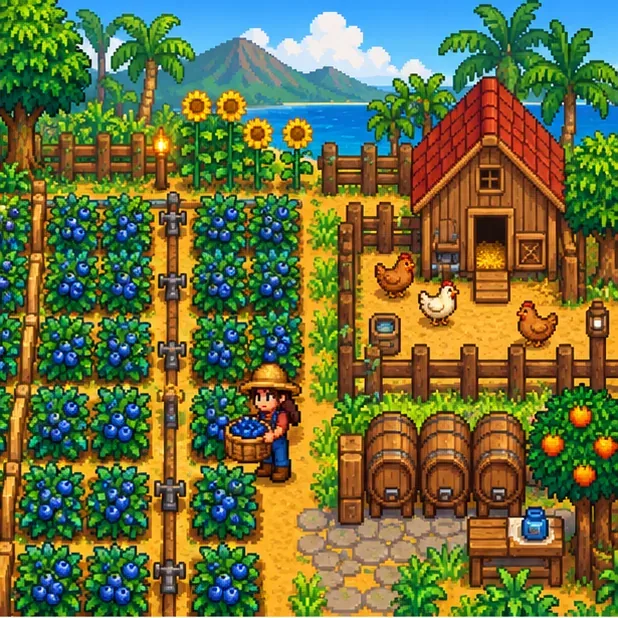
Step 3: Pick a town-restoration route and plan for seasons
The Community Center is a collection route: its bundles ask for crops, forage, fish, minerals, and other goods. Read each bundle and keep a seasonal checklist, especially for items that appear only in a particular season or weather. Completing the Pantry restores the Greenhouse for year-round growing; finishing the Vault repairs the bus to the Desert; the Boiler Room restores minecart travel. Bundle requirements can be remixed when starting a new save, so use the list shown in your own game instead of relying on a fixed checklist from another farm. The official Stardew Valley Wiki’s bundle reference outlines the rooms and rewards.
The alternative is to buy a Joja Membership for 5,000g and pay for town improvements through the Joja route. It is more money-focused and can be convenient if you prefer earning gold over collecting seasonal items. Buying the membership changes the Community Center story to the Joja Warehouse route, so decide before purchasing. Both paths can restore major services, including the Greenhouse and bus; compare the Community Center and JojaMart references for the route details.
Either way, use Winter as a planning season if outdoor crops are not your main source of income. Upgrade tools, clear farm space, fish, mine, build or improve farm buildings, and work on friendships. You can finish a town route in Year 1, but it is not a sensible requirement for every first playthrough.
Step 4: Work through the Mines before pushing Skull Cavern
The regular Mines contain 120 floors, with an elevator checkpoint every five floors. Progress in small batches: break rocks to find a ladder, collect ore and coal, and return to a checkpoint when health or time is running low. The three broad sections introduce tougher enemies and better materials as you go deeper. Upgrade the pickaxe as resources allow, and keep food on hand so a mistake does not end the day early. See the Mines reference for floor and elevator details.
At floor 120, a chest contains the Skull Key. Once you have repaired the bus route to the Desert, the key opens Skull Cavern. It has no elevator checkpoints, so each visit starts at the top. Treat it as a preparation challenge rather than a required next-day task: bring a strong weapon, healing food, and useful supplies such as bombs or Staircases if you have them. A good first target is to learn how quickly you can descend and stay alive, then improve your next run. The Skull Cavern and Skull Key pages explain access and dungeon behavior.
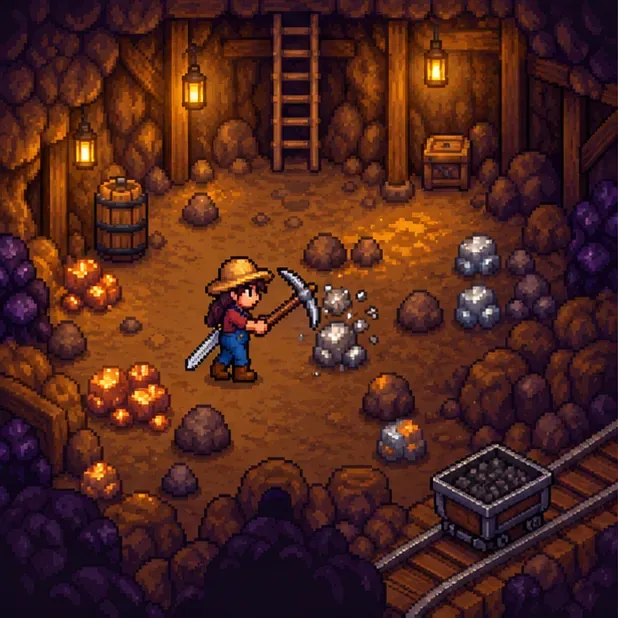
Step 5: Open Ginger Island and set an endgame target
After completing the Community Center or Joja development projects, visit Willy’s Fish Shop and work on repairing his boat. The repairs require 200 Hardwood for the hull, five Iridium Bars for the anchor, and five Battery Packs for the ticket stand. Ginger Island then adds a new farm area, the Volcano Dungeon, exploration, and Golden Walnuts to find. You can build toward the boat gradually while improving your regular farm. The Fish Shop reference lists the repair materials, and the Ginger Island guide describes the new area.
The 1.6 update also adds a later progression system: the Mastery Cave in Cindersap Forest becomes available after reaching Level 10 in all five skills—Farming, Fishing, Foraging, Mining, and Combat. Extra skill experience then contributes to Mastery points, which unlock additional powers. It is a long-term extension of skill progression, not a prerequisite for starting the farm or reaching the island. Check ConcernedApe’s 1.6 changelog and the Mastery Cave reference for details.
If you want a completion goal, the Perfection Tracker in Qi’s Walnut Room on Ginger Island shows your progress after you unlock access to it. Its requirements include shipping items, catching fish, cooking and crafting every recipe, reaching maximum friendship, leveling all skills, finding Golden Walnuts, completing monster goals, collecting Stardrops, and building the four obelisks and Gold Clock. It is a substantial checklist with expensive projects, so it is fine to treat it as a separate endgame plan. The Perfection reference has the full requirement breakdown.
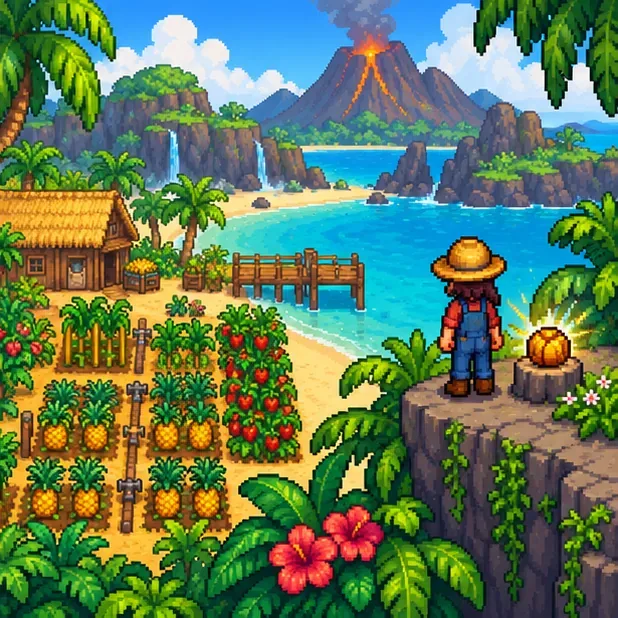
Progression checklist: what to focus on next
- If mornings feel rushed: reduce the number of crops or improve watering efficiency before expanding the field.
- If you are short on gold: sell a mix of crops, forage, and fish; reinvest in seeds or one useful upgrade.
- If bundles are stalled: check the season, weather, and room reward; save rare seasonal items instead of selling your only one.
- If the Mines feel dangerous: upgrade your weapon or pickaxe, take healing food, and descend from an elevator checkpoint you can handle.
- If the main story is complete: choose one next goal—Skull Cavern, Ginger Island, friendships, collections, Mastery, or Perfection—rather than trying to finish every system at once.
Frequently asked questions
Do I have to finish the Community Center in Year 1?
No. It is possible to complete it quickly with careful planning, but seasonal items, bundles, and random availability can make a later finish more comfortable. The game does not require a Year 1 completion.
Should I choose the Community Center or Joja?
Choose the Community Center if you enjoy gathering and want its bundle-driven route. Choose Joja if you prefer paying for town improvements with gold. Both routes can unlock important services; the choice changes the town-restoration story.
Is 100% Perfection required?
No. Perfection is an optional completion challenge that adds long-term goals after the main progression. You can stop after restoring the town, keep decorating and farming, or continue toward the tracker at your own pace.
A useful Stardew Valley progression guide should help you decide what matters today, not turn every in-game day into a deadline. Keep crops manageable, save seasonal items, improve the systems you use most, and move to the next milestone when your farm is ready.









