Switching From Aim Lab to Valorant: A Step-by-Step Guide (2026)
To move from Aim Lab to Valorant, first match your mouse sensitivity with the correct game profile, then check your crosshair in the Practice Range and test your aim against live movement in Deathmatch. Keep your mouse DPI the same while you make the switch. You do not need to abandon Aimlabs; use it for focused drills and Valorant for the movement, angles, and pressure that a trainer cannot reproduce on its own.
The biggest correction to older guides is sensitivity conversion. Aimlabs now provides game profiles and a sensitivity converter, so a single multiplier such as 0.2727 is not a dependable answer for every setup. The value depends on which profile your current Aimlabs sensitivity uses.
What to check before switching
- Your current Aimlabs sensitivity value and the selected Game Profile.
- Your mouse DPI or CPI from your mouse software. Keep it unchanged during the transfer.
- Your current crosshair settings, if you want to use a similar reticle in Valorant.
- Access to Valorant’s Practice Range and a non-ranked mode for testing.
Step 1: Convert your Aimlabs sensitivity for Valorant
In Aimlabs, open Settings and select Sensitivity. Check the Game Profile on the General tab and the sensitivity value on the Mouse tab. If the profile is already set to VALORANT, the displayed sensitivity is using Valorant’s scale; copy that value into Valorant’s mouse settings. If you trained with Aimlabs’ own profile or another game profile, convert from that specific source instead of copying the number directly.
For a profile-based conversion, open the official Aimlabs sensitivity converter, select your current profile as the origin game and VALORANT as the target game, and enter your sensitivity. Add your DPI if you want to compare the resulting centimeters per 360-degree turn. Then enter the converted value in Valorant and leave your mouse DPI alone. Aimlabs also explains how its Game Profile menu works in its current sensitivity-converter guide.
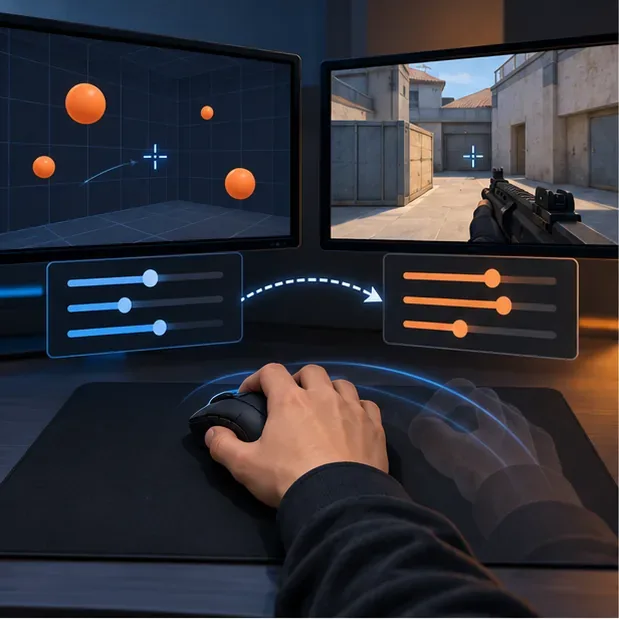
Valorant does not offer a user-adjustable field-of-view slider, so do not try to set it to 103 to make the games match. Aimlabs’ configuration guide notes that Valorant’s FOV is fixed. A converter can match mouse rotation distance, while the view and visual feel can still differ between games.
Step 2: Choose a clear, steady crosshair
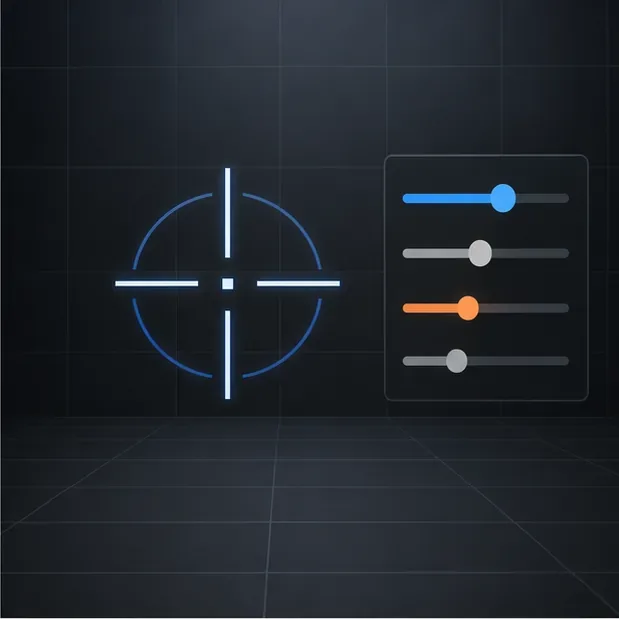
Open Valorant’s Settings and go to Crosshair. Start with a small, high-contrast reticle that stays visible against both bright and dark backgrounds. A static crosshair is a useful baseline: if you prefer it not to expand while moving or firing, turn off the corresponding movement and firing error indicators. You can adjust its size, thickness, gap, and color after testing it in the Range.
Your Aimlabs reticle does not have to be an exact visual copy. Matching its general size and color can make the transition feel familiar, but crosshair design does not change your mouse sensitivity. Prioritize visibility and a center point you can hold at head height.
Step 3: Verify the setting in the Practice Range
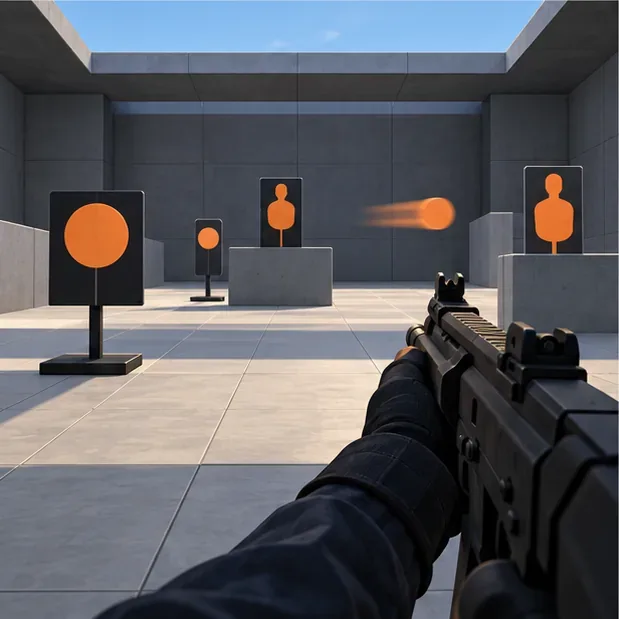
Before queuing, spend a few minutes in Valorant’s Practice Range. Begin with stationary targets and controlled single shots. Focus on placing the crosshair first, then making a short, relaxed mouse movement onto the target. Next, add moving targets or strafing practice if those options are available in your Range session.
Notice whether you repeatedly stop short of targets or pass beyond them. First confirm your DPI and the selected sensitivity profile; then, if the setting still feels wrong, make a small change to Valorant’s in-game sensitivity and repeat the same drill. Change one variable at a time and write down the value you test. This keeps a temporary adjustment from turning into constant sensitivity changes.
Step 4: Take the setup into Deathmatch
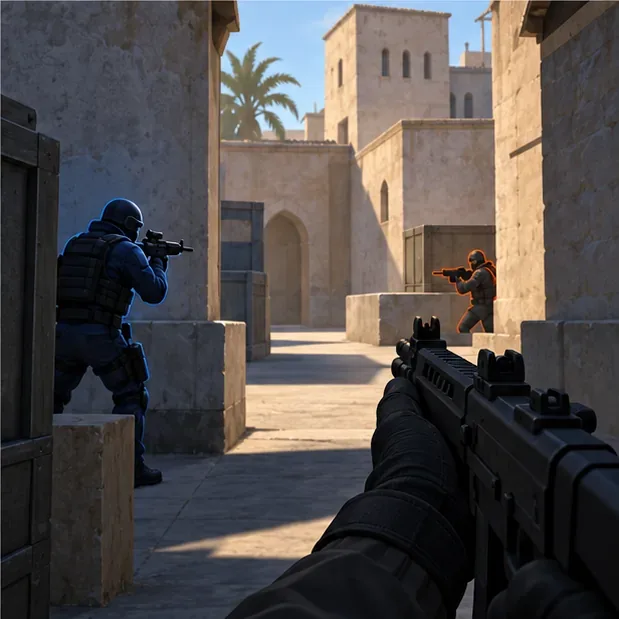
The Range helps you check mouse control, but it cannot recreate a player swinging an angle or changing direction. Play a Deathmatch before entering ranked games. Treat it as a mechanics session, not a test of your rank or a required kill count.
Keep your crosshair at likely head level as you move around the map. When an opponent appears, focus on stopping your aim on the target and firing deliberately. Valorant fights also depend on movement, positioning, map knowledge, and weapon control, so a duel can feel different from a clean Aimlabs task even when your sensitivity is matched. Use each encounter to notice what actually needs work: initial placement, a wide flick, a small correction, or tracking a strafe.
Step 5: Use Aimlabs to target one weakness
After playing, pick one specific problem and choose a drill that matches it. If your first flick often lands beside a target, practice controlled flicks and small corrections. If you lose track of strafing opponents, choose a smoothness or tracking task. If you struggle when an opponent appears from an angle, use a scenario built around peeking or reactive targets.
Aimlabs’ official VALORANT Aim Basics routine groups training around flicking, micro-corrections, smoothness, and situations involving strafing or peeking. Use it as a structured option, then return to Valorant and check whether the focused skill feels easier to apply. Aim training develops pieces of aim; it does not replace learning angles, movement, abilities, or decision-making in matches.
A practical first-session plan
| Part | Suggested focus |
|---|---|
| Settings check | Confirm the source profile, convert the sensitivity, and keep the same DPI. |
| Practice Range | Start with still targets, then test a few moving targets. |
| Deathmatch | Play one session while focusing on crosshair placement and controlled shots. |
| Aimlabs follow-up | Choose one drill for the weakness you noticed and reassess in Valorant later. |
Troubleshooting the transition
My aim feels too fast or too slow
Recheck which Aimlabs Game Profile produced the number and whether the DPI matches your mouse. If both are correct, adjust Valorant’s in-game value slightly and test again under the same conditions. Avoid changing DPI, Windows pointer speed, and game sensitivity all at once.
I cannot find Raw Input Buffer
That option is no longer a manual setting on PC. Riot’s Patch 11.06 notes say the RawInputBuffer setting was removed and is enabled for players, so an older guide that tells you to switch it on is out of date. See the official VALORANT Patch 11.06 notes.
My Aimlabs score is high but Deathmatch feels difficult
That can happen because a trainer isolates a task, while Valorant adds map angles, movement, weapon timing, and opponents who react. Keep the sensitivity stable, use Range and Deathmatch for transfer practice, and use Aimlabs to work on one clearly identified mechanic at a time.
Frequently asked questions
Should I multiply my Aimlabs sensitivity by 0.2727?
Do not treat that as a universal conversion. First check your current Game Profile, then use Aimlabs’ converter with the correct origin and VALORANT as the target. If Aimlabs is already using the VALORANT profile, use the value shown for that profile.
Do I need the same crosshair in Aimlabs and Valorant?
No. A similar static reticle can feel familiar, but visibility and consistency matter more than an exact match.
Should I stop using Aimlabs after switching?
No. Keep it as optional, focused practice. Pair it with time in the Range and real matches so you also learn Valorant’s movement, maps, and combat decisions.
For current game information, visit the official VALORANT website.









