Knowing how to take a photo in ARC Raiders lets you capture those tense, beautiful moments above the surface and share them with friends. The game gives you two simple ways to do it: a quick screenshot through your platform's built-in tools, and a dedicated Photo Mode that freezes the action so you can move a free camera, set up the framing, and capture a clean, HUD-free shot. This guide walks through both, step by step, on PC and console.
You can grab a fast screenshot at any time, but Photo Mode is what makes ARC Raiders captures look like proper screenshots rather than snapshots. The steps below assume you are out on a raid, but the same controls work in your hideout in Speranza too.
What you need
- The game running on PC, PlayStation, or Xbox.
- A free moment in the action — Photo Mode pauses your view, so it is safest to use when you are not under fire.
- Optional: Steam's screenshot key (PC) or your console's capture button for instant grabs without entering Photo Mode.
How to take a photo in ARC Raiders
-
Step 1: Open the menu and select Photo Mode
Pause the game to bring up the in-game menu, then choose Photo Mode. This freezes the current scene so your raider, enemies, and the environment all hold still while you set up the shot. Because everything stops, you have all the time you need to compose a frame without worrying about ARC machines closing in.
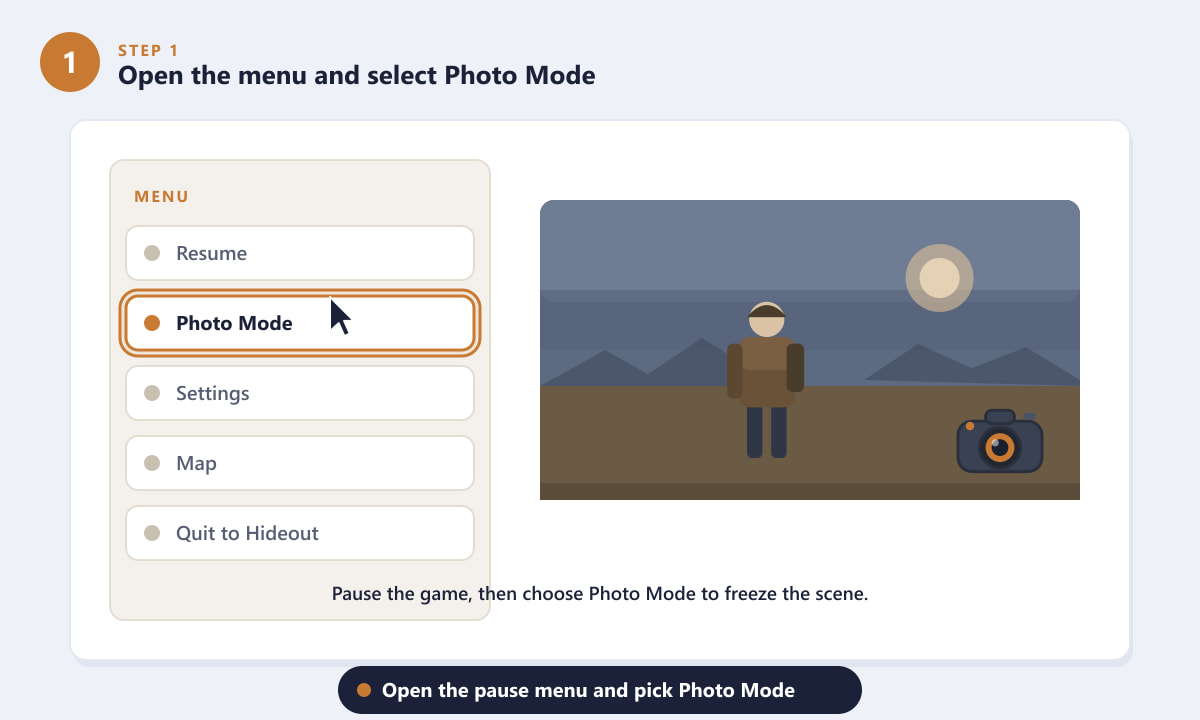
Open the pause menu and pick Photo Mode to freeze the scene. -
Step 2: Move the free camera around your scene
With Photo Mode active, the camera detaches from your character so you can fly it freely. On PC, use W, A, S, D to move and hold the mouse to look around; on a controller, use both analogue sticks. Orbit your raider, drop the camera low for a dramatic angle, or pull back to capture the scale of the world around you.
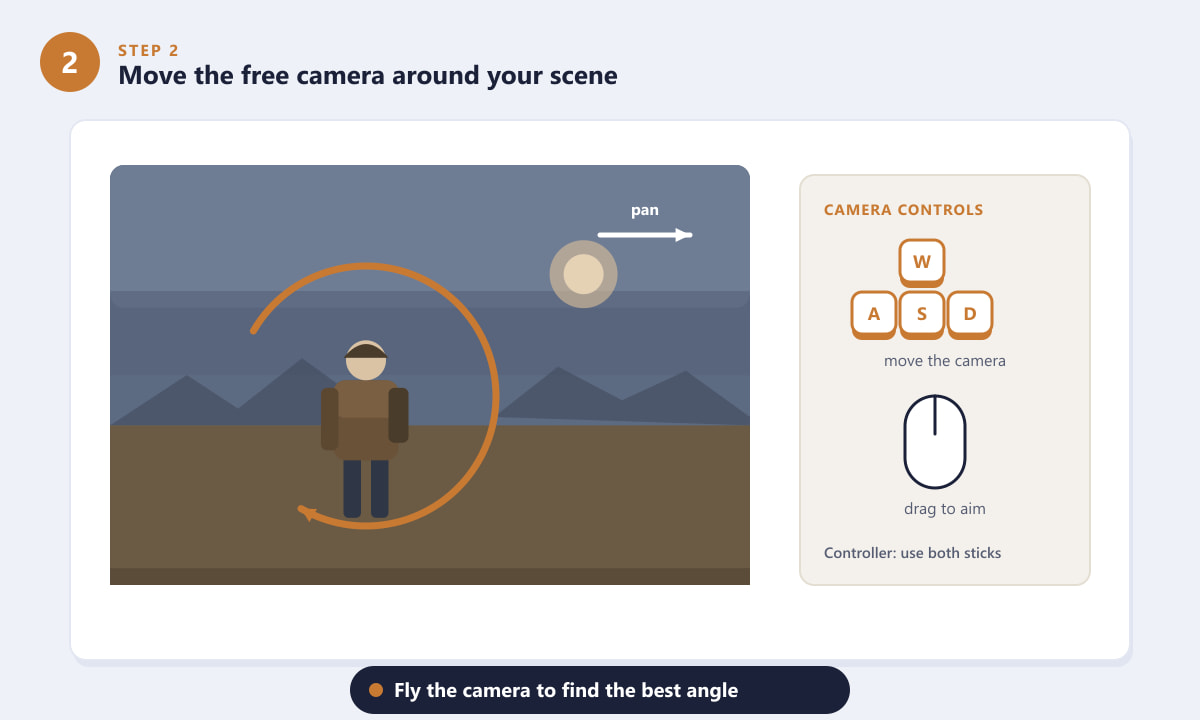
Fly the free camera with WASD and the mouse, or both sticks on a controller. -
Step 3: Frame the shot and hide the HUD
Now fine-tune the look. Adjust the field of view to zoom in or widen the frame, set the depth of field to blur the background, and tweak exposure for the right mood. Turn on a rule-of-thirds grid to line things up if it helps, then hide the HUD so no on-screen icons clutter your photo. Remember to switch the grid back off before you capture.
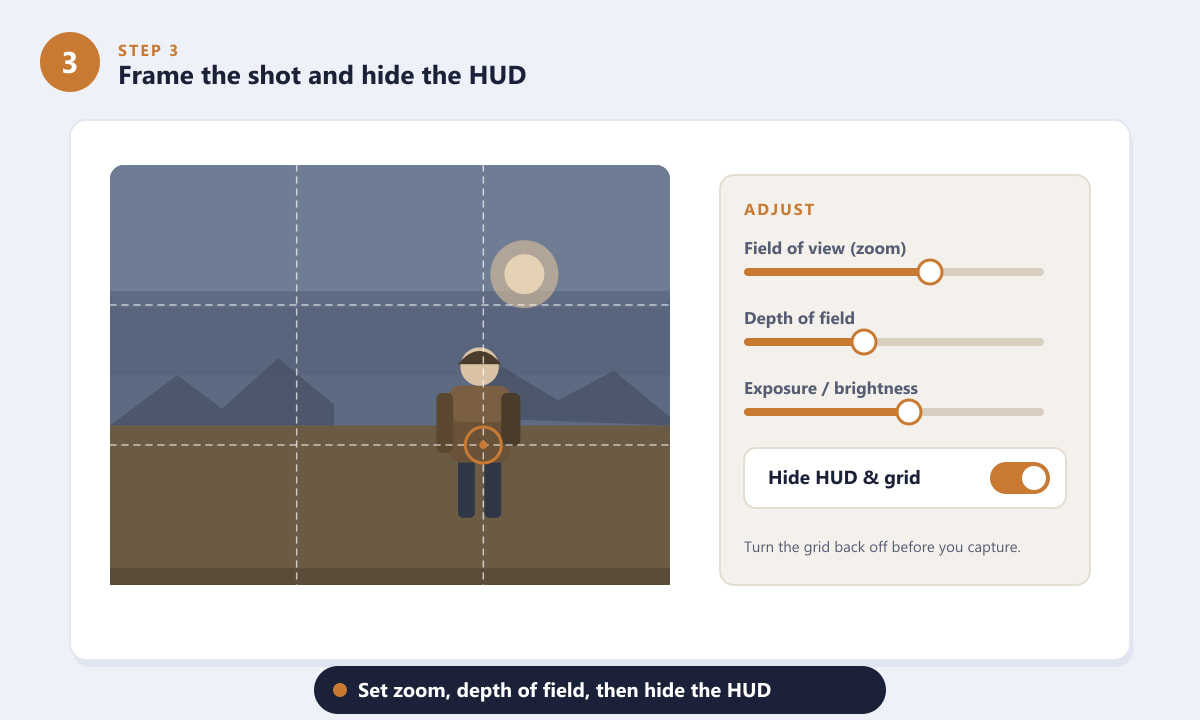
Set zoom and depth of field, line up your subject, then hide the HUD. -
Step 4: Capture your photo
When the frame looks right, take the shot. On PC the easiest method is your Steam screenshot key (F12 by default), which saves the image instantly. On console, press the Create button on a PlayStation controller or the Share button on Xbox. Photo Mode itself also offers an on-screen capture button you can trigger directly, giving you a clean, HUD-free image.
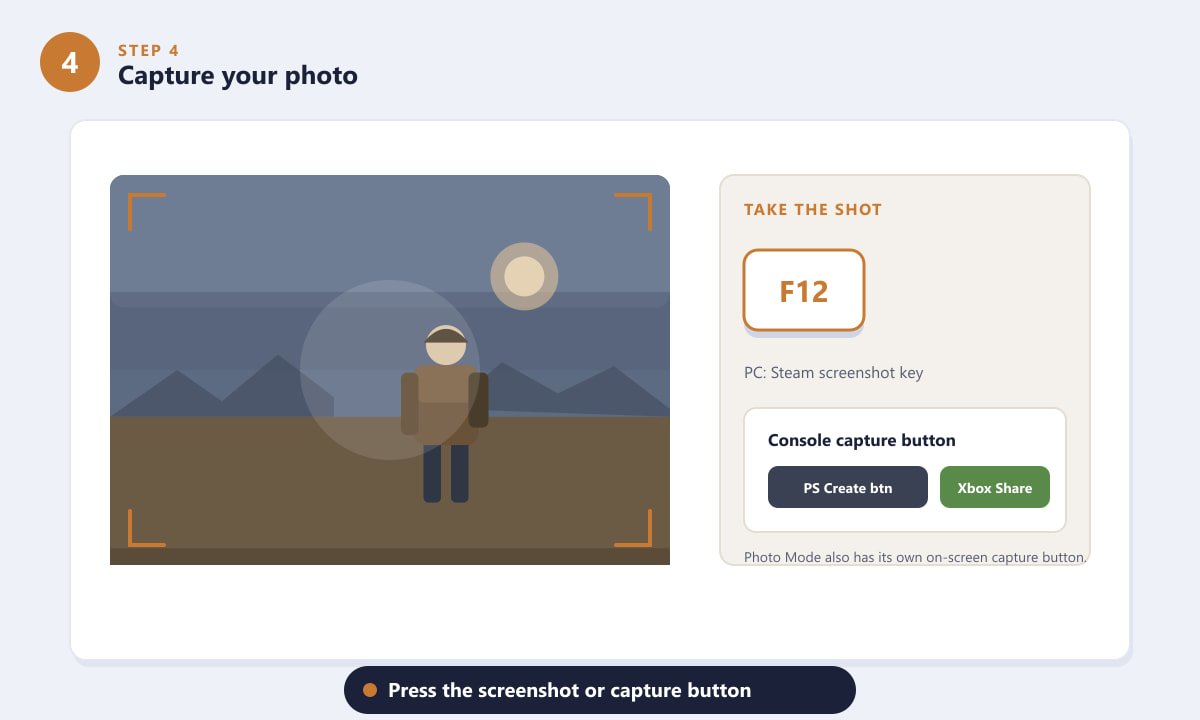
Press F12 on PC, or the Create/Share button on console, to capture the photo. -
Step 5: Find and share your saved photos
Your captures are saved automatically. On Steam, open the Screenshots viewer from the View menu or your library. On Windows, screenshots taken with the Game Bar land in the Videos or Captures folder. On PlayStation they appear in the Media Gallery, and on Xbox they show up in the Captures app. From any of these you can review your shots and share them straight to social media.
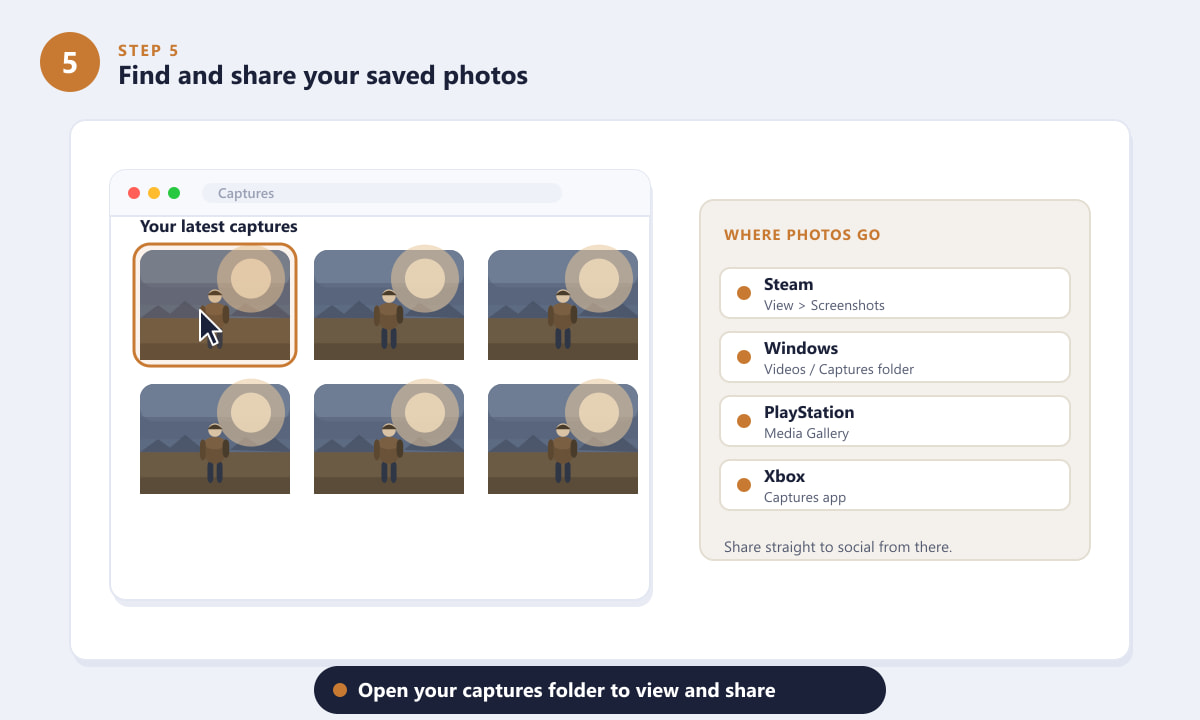
Open your platform's captures folder to view, manage, and share your photos.
Tips for better ARC Raiders photos
- Use Photo Mode during quiet moments. Freezing the scene while ARC machines are around still leaves you exposed when you exit, so compose between fights.
- Let the lighting work for you. The wasteland's low sun and dusty haze make for striking silhouettes — try shooting toward the light for atmosphere.
- Follow the rule of thirds. Place your raider on a grid intersection rather than dead centre for a more dynamic composition.
- Lower the camera. A ground-level angle makes both your raider and the towering ARC enemies feel far more imposing.
- Hide the HUD every time. A clean frame without health bars or prompts always reads as a more polished shot.
Troubleshooting
I cannot find Photo Mode in the menu
Make sure the game is fully updated, then open the pause or options menu while you are in a raid or in your hideout. If it still is not listed, fall back to a quick screenshot using your Steam key or console capture button.
My screenshot saved with the HUD still showing
That happens when you capture from normal gameplay rather than Photo Mode. Enter Photo Mode first, toggle the HUD off, and capture from there for a clean image.
The screenshot key does nothing on PC
Check that you are running through Steam and that the screenshot shortcut is still bound to F12 in Steam's in-game settings. You can rebind it to any key you prefer.
Frequently asked questions
Does ARC Raiders have a Photo Mode?
Yes. Open the in-game menu and select Photo Mode to freeze the scene, fly a free camera, adjust the framing, and capture a clean photo without the HUD.
How do I take a quick screenshot in ARC Raiders on PC?
Press your Steam screenshot key, which is F12 by default. The image saves automatically and can be viewed from Steam's Screenshots window.
How do I take a screenshot on PlayStation or Xbox?
Press the Create button on a PlayStation controller or the Share button on Xbox. For a HUD-free shot, enter Photo Mode first, then capture.
Where are my ARC Raiders photos saved?
On Steam they appear in the Screenshots viewer; on Windows in the Captures folder; on PlayStation in the Media Gallery; and on Xbox in the Captures app.
Can I hide the HUD before taking a photo?
Yes. Photo Mode includes a toggle to hide the HUD and any composition grid so your final image is clean.
Final thoughts
Taking a photo in ARC Raiders is quick once you know the routine: open Photo Mode, move the free camera, frame the shot, hide the HUD, and capture. Pair that with a fast platform screenshot for spur-of-the-moment grabs, and you will never miss a memorable raid. For official news and updates, check the ARC Raiders website.
")

")
")
")


")
")
")