Downloading VALORANT on macOS: What Actually Works in 2026
You cannot download VALORANT on macOS as a native app. If you own a compatible Intel Mac, you may be able to run the Windows version by booting into Windows 10 through Boot Camp. That is a legacy workaround, not a setup Riot specifically certifies for Mac, and Windows 10 no longer receives regular security updates. On an Apple silicon Mac, there is no supported local route: Boot Camp is for Intel Macs, Riot's published PC requirements list ARM as unsupported, and Riot says it does not support virtual machines or cloud gaming.
That last point corrects a common outdated tip: GeForce NOW, Shadow, and other cloud gaming services are not supported ways to play VALORANT, even if they stream other Windows games to a Mac. The practical answer depends on your Mac's processor and whether you accept the Windows 10 trade-off.
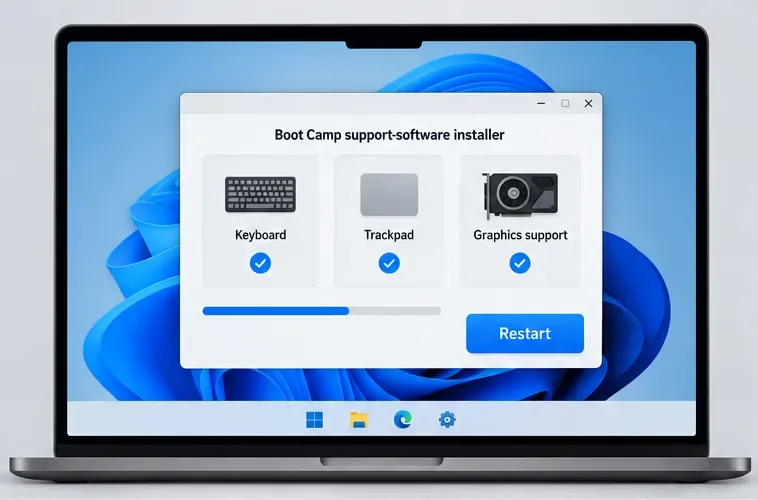
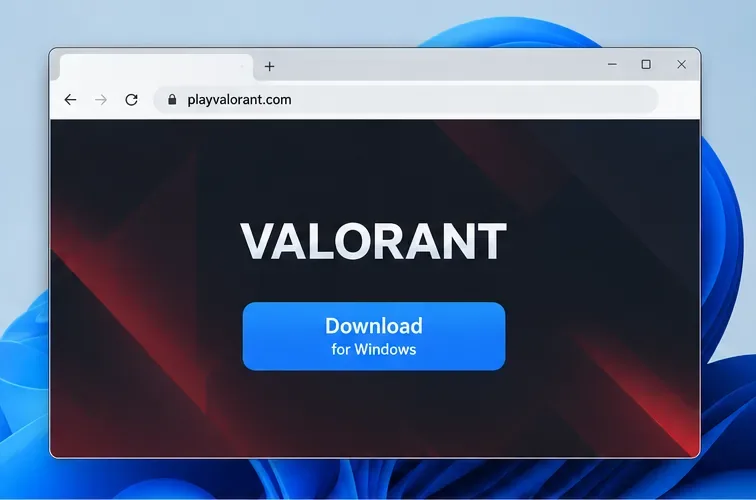
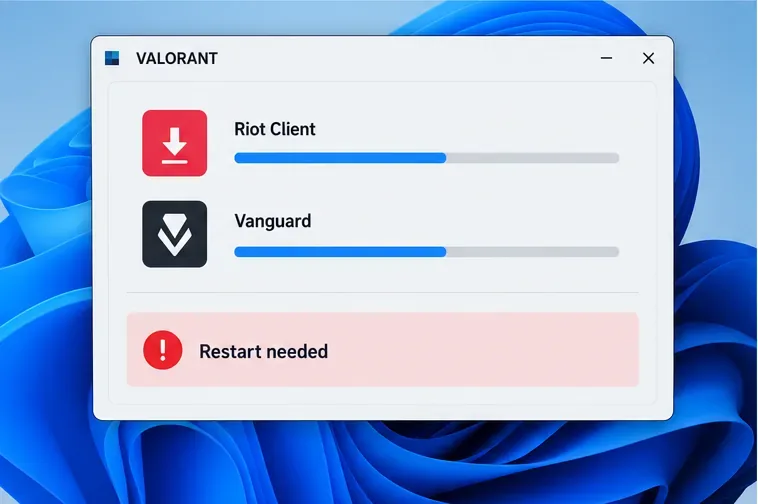
The interface graphics below are illustrative diagrams, not screenshots of a tested Mac or Riot client. Menu appearance can vary by macOS and Windows version.
Can you download VALORANT on a Mac?
There is no macOS installer. Riot's download page provides the Windows PC game, and Riot's current PC requirements list 64-bit Windows 10 or Windows 11, DirectX 11, and x86 PC processors; the page does not list macOS. Downloading a Windows installer while browsing on a Mac does not make it a Mac app. You need to be running Windows to install and launch it.
Here is the 2026 compatibility picture at a glance:
| Mac setup | What can work | Important limit |
|---|---|---|
| Compatible Intel Mac | Boot Camp with Windows 10 may run the Windows version | Apple documents Windows 10 for specific Intel models; Riot does not specifically certify Boot Camp. Windows 10 support ended in 2025. |
| Apple silicon Mac (M1, M2, M3, M4, or newer) | No supported local installation path | No Boot Camp; Windows-on-ARM and virtual-machine workarounds are not a supported VALORANT setup. |
| Any Mac using cloud gaming or a virtual machine | Not supported by Riot | Riot explicitly excludes cloud gaming and virtual machines. |
Riot's current VALORANT PC specifications were updated on May 21, 2026. They list Windows 10 64-bit and Windows 11 64-bit, say ARM is not supported, require TPM 2.0 and UEFI Secure Boot on Windows 11, and state that cloud gaming and virtual machines are unsupported.
Intel Mac: the Boot Camp route
Boot Camp installs Windows on its own partition and lets an Intel Mac boot directly into either macOS or Windows after a restart. It is different from running Windows in a virtual machine. This makes Boot Camp the only plausible local workaround for an Intel Mac, but individual Mac hardware, graphics drivers, and Windows configuration can affect whether the game launches. Riot does not publish a separate list of certified Boot Camp models, so treat this as a compatibility route rather than a guarantee.
1. Check whether your Mac has an Intel processor
Open the Apple menu and choose About This Mac. If the hardware summary says Intel, continue to Apple's Boot Camp model list. If it says Apple M-series, skip to the Apple silicon section below. Apple lists supported model years for MacBook, MacBook Air, MacBook Pro, Mac mini, iMac, iMac Pro, and Mac Pro; the full list matters, since not every Intel Mac supports Boot Camp.
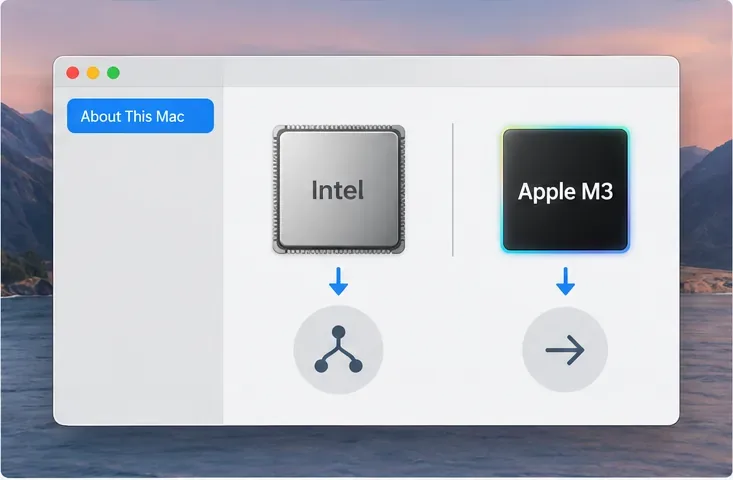
Apple's current Boot Camp installation guide still documents Windows installation on listed Intel Macs. Boot Camp is not available on Apple silicon. The guide also identifies a model-specific list, so check your exact Mac before downloading Windows or changing disk partitions.
2. Back up your Mac and prepare storage
Before changing partitions, back up important files and connect a Mac notebook to power. Apple requires at least 64 GB of free startup-disk space for its Windows 10 Boot Camp process and recommends at least 128 GB free for a better experience. Some Mac models also require a USB flash drive of 16 GB or larger; others can install without one. You will need a full 64-bit Windows 10 ISO. Choose the partition size carefully: Apple warns that it cannot be resized later through Boot Camp Assistant.
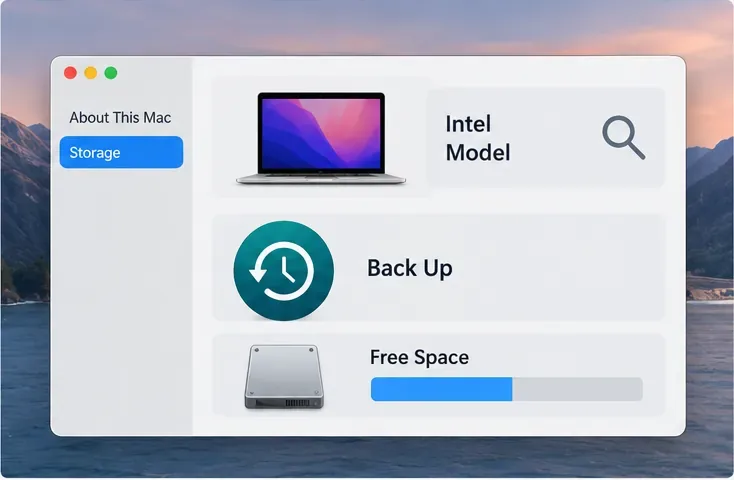
3. Create the Windows partition with Boot Camp Assistant
In macOS, open Applications > Utilities > Boot Camp Assistant, select the Windows ISO when prompted, and follow the assistant to create the Windows partition. Give Windows enough room for the operating system, VALORANT, updates, and other apps. The amount needed by the game can change, so check the Riot installer rather than relying on an old fixed download-size estimate.
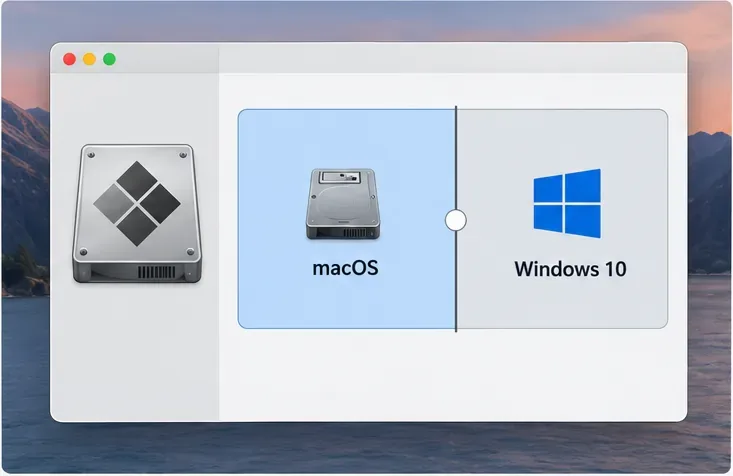
4. Install Windows on the BOOTCAMP partition
When the Mac restarts to Windows Setup, select the partition named BOOTCAMP if the installer asks where Windows should go. Format only that partition, then follow the Windows setup prompts. Do not erase or format the macOS partition. The exact prompts vary by Mac model and installer version.
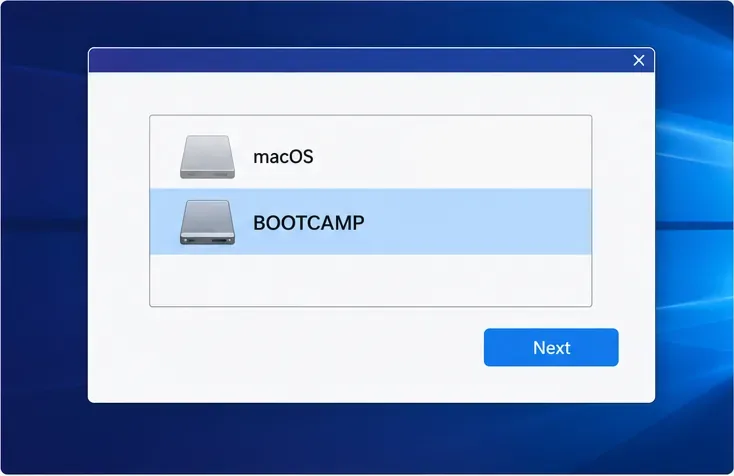
5. Install Apple's Windows support software
After Windows starts, complete the Boot Camp installer so the Mac's Windows support software and drivers are installed. Restart when prompted. To switch operating systems later, restart and hold the Option (⌥) key, then select macOS or Windows. Update Windows and the available graphics drivers before troubleshooting a game launch.
6. Download the official Windows installer
While booted into Windows, open the official VALORANT download page and download the PC installer. Use Riot's own site rather than third-party “Mac installers,” which are not a native Riot release. Sign in to an existing Riot account or create one when the Riot Client asks.
7. Install Vanguard, restart, then launch
Follow the Riot Client prompts to install VALORANT and Riot Vanguard. If Vanguard asks you to restart Windows, do so before launching the game. Riot's Windows requirements can change, so if an error appears, use the error code and Riot Support's current guidance instead of disabling security settings or trying to bypass anti-cheat checks.
Apple silicon: why cloud gaming is not the answer
Macs with M-series chips cannot use Boot Camp. Parallels and similar products run Windows as a virtual machine, and Riot says VALORANT does not support virtual machines. Riot also says it does not support cloud gaming, so a streamed Windows desktop or a game-streaming subscription is not an officially supported workaround. Riot's published PC requirements page lists ARM processors as unsupported; a Windows-on-ARM feature for a specific PC would not by itself create a macOS client or certify an Apple silicon Mac.
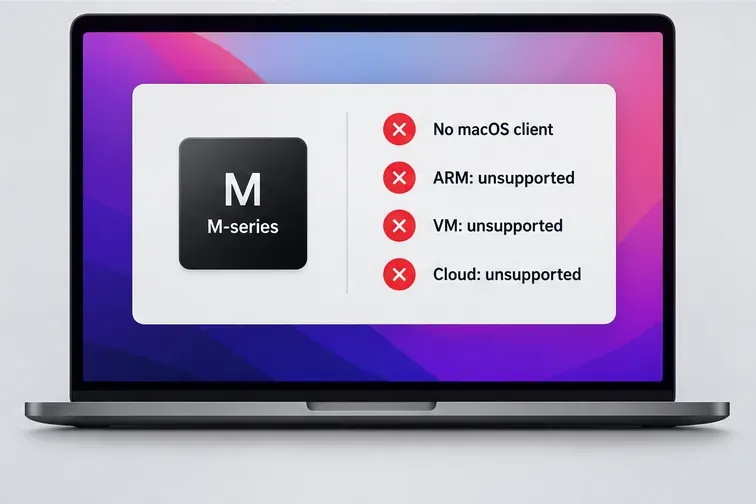
The practical conclusion is simple: there is no supported way to download and run VALORANT locally on an M-series Mac. Wine, CrossOver, Whisky, or a tutorial that promises a quick anti-cheat fix is not a Riot-supported installation path. This conclusion follows from Riot's published Windows-only requirements and its explicit exclusions; Riot does not provide a Mac client or a support page for those compatibility layers.
The Windows 10 caveat for Intel Mac owners
Boot Camp's documented install route is Windows 10, and that changes the recommendation in 2026. Microsoft ended regular Windows 10 support on October 14, 2025; ordinary feature and security updates are no longer provided. Microsoft offers a Consumer Extended Security Updates program for eligible enrolled devices through October 12, 2027, but eligibility and enrollment rules apply. Riot's May 2026 spec page still lists Windows 10 (64-bit, build 19041+) for the game, so VALORANT compatibility and Microsoft's operating-system support are separate questions.
Riot requires TPM 2.0 and UEFI Secure Boot for Windows 11. Apple's Boot Camp instructions document Windows 10 on specific Intel Macs, so do not assume that forcing an unsupported Windows 11 installation will solve the security or compatibility issue. If you need a current, low-friction, Riot-supported setup, a Windows PC that meets Riot's requirements is the reliable choice.
For the official details, review Microsoft's Windows 10 end-of-support notice alongside Apple's Boot Camp model and storage requirements.
Frequently asked questions
Can I download VALORANT directly onto macOS?
No. Riot provides a Windows PC installer, not a native macOS app. You can download a Windows file in a Mac browser, but macOS cannot install and run it as a Mac application.
Does GeForce NOW work for VALORANT on a Mac?
Riot's published requirements say cloud gaming is unsupported. Do not subscribe to a cloud service on the assumption that it provides a supported VALORANT setup.
Can an M1, M2, M3, or M4 Mac use Boot Camp?
No. Apple documents Boot Camp for Intel-based Macs. Apple silicon users do not have a supported local installation route for the PC version.
Is Boot Camp removed from macOS Sonoma?
Apple continues to document Boot Camp for supported Intel Macs; availability depends on the Mac model. Check Apple's current supported-model list rather than assuming a single macOS version removed it from every Intel Mac.









