A Guide to Mining in Stardew Valley
Mining in Stardew Valley supplies the ore, stone, coal, geodes, and gems needed for tool upgrades, crafting, and farm improvements. Start in the 120-floor Mines in the Mountains, use the elevator to build steady progress, and save the Skull Cavern for a prepared run when you want Iridium. This guide explains where to go, what to carry, which floors to target, and how to avoid common early mistakes.
Find the Mines and make your first run
The Mines entrance is in the northern Mountains, northeast of the Carpenter's Shop and west of the Adventurer's Guild. In a new save, a landslide blocks it through Spring 4 of Year 1. On Spring 5, Morris sends a letter saying the debris has been cleared. Head north from Pelican Town and follow the path into the mountain area. Marlon greets you the first time you enter and gives you a Rusty Sword, so you can begin fighting even if you did not bring a weapon.
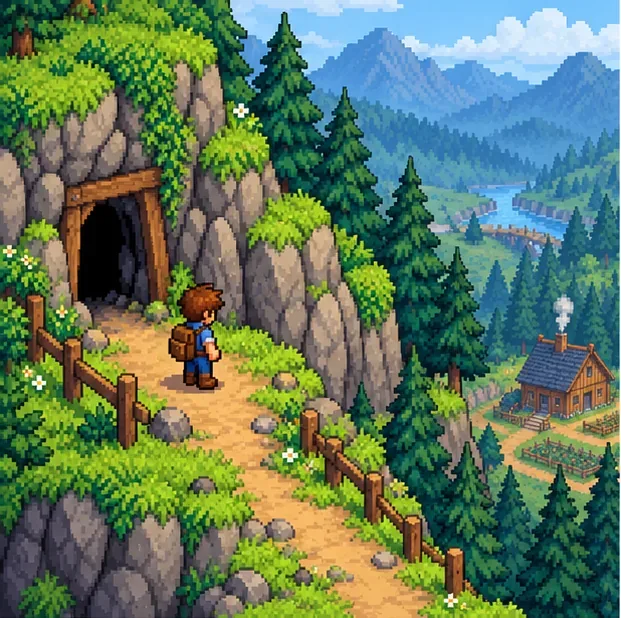
For an early trip, take your pickaxe, a weapon, healing food, and enough open inventory slots to collect ore and stone. You do not need to wait for a pickaxe upgrade before entering. The first floors are a good place to learn how combat, ladders, and energy use work. If you have unlocked the minecart through the Boiler Room bundles or Joja route, it also makes the trip to and from the Mines faster.
Understand floors, ladders, and the elevator
The Stardew Valley Mines have 120 floors divided into three themed sections: earthy floors near the top, frozen floors in the middle, and lava-toned floors near the bottom. Each floor requires a ladder to move down. A ladder may already be present, or it can appear after you break rocks or defeat a monster. On an infested floor, clear the monsters before expecting a way down.
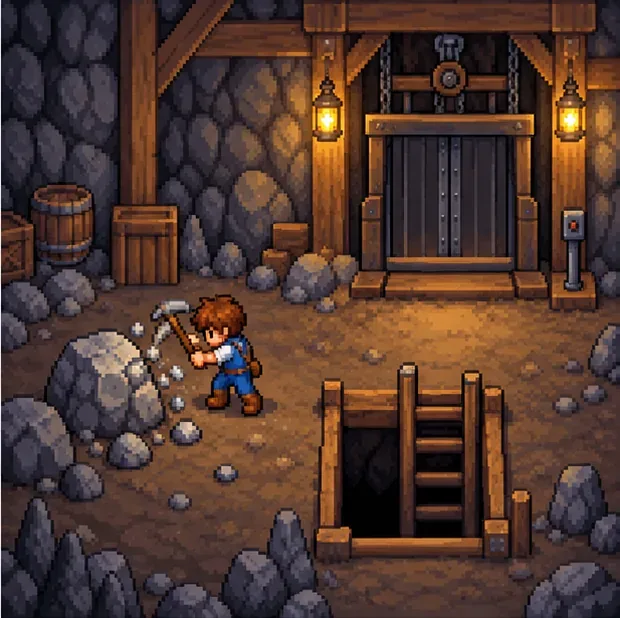
Every fifth floor you reach becomes an elevator stop. Use it to return directly to your deepest saved milestone instead of repeating the full climb from floor 1. A practical early goal is floor 40, where the frozen section begins; then push toward floor 80 and eventually floor 120. The regular Mines do not have the multi-floor shafts found in Skull Cavern.
Once the Staircase recipe unlocks at Mining Level 2, you can spend 99 Stone to skip a floor. Keep a few for infested or slow floors, or for a time-limited run. Stone is useful for many farm recipes, so do not spend your entire supply on staircases without a reason.
Target the right floors for ore
Ore nodes become available as you descend. Use the elevator to revisit a band when you need a specific metal, and remember that a floor is never guaranteed to contain a large number of nodes.
| Resource | Where it starts to appear | Useful target |
|---|---|---|
| Copper Ore | From floor 2 | Floors 31–39 are a practical copper-focused range. |
| Iron Ore | From floor 41 | Continue through the frozen section, floors 41–79. |
| Gold Ore | From floor 81 | Work through the lower Mines, floors 81–119. |
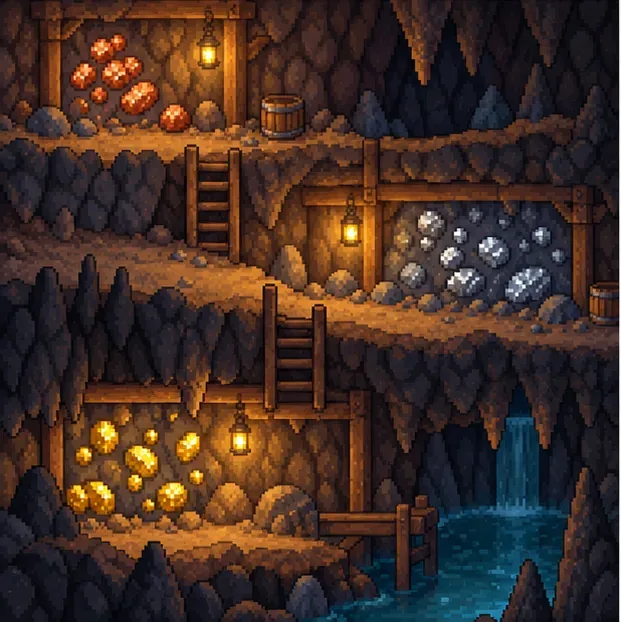
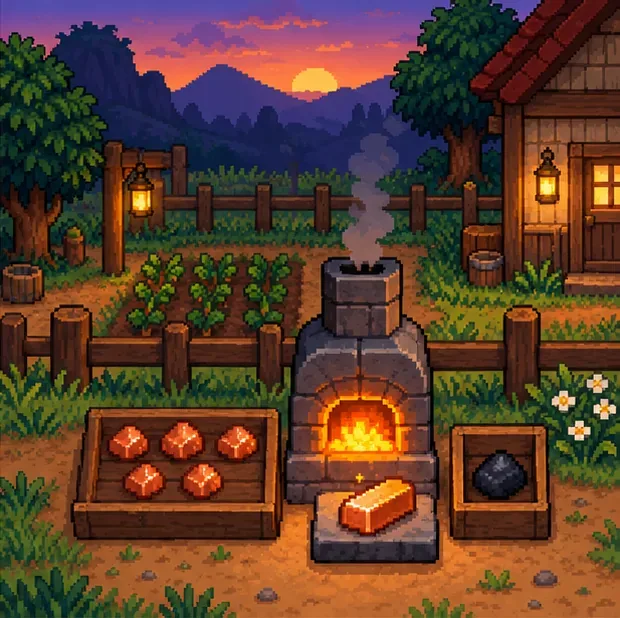
Break ore nodes for metal ore, and check ordinary rocks and mine carts for stone or coal. Geodes are worth saving: Clint at the Blacksmith can open them for minerals, artifacts, and other finds. Coal matters because a regular Furnace uses five pieces of ore and one coal to make a bar; smelting time varies by metal. The Furnace recipe arrives from Clint after you collect Copper Ore, so build one on the farm and start processing ore between mine trips.
Bring supplies and protect your run
Pickaxe swings use energy, while monster attacks reduce health. Carry separate food for recovery and, when useful, one meal that provides a buff. A Miner's Treat increases Mining for a short time; food such as Spicy Eel can add speed and luck for a deeper run, while Pumpkin Soup adds defense and luck. Food buffs generally replace the active meal buff, so choose the one that matches your goal. Check the TV's Fortune Teller before a longer run: daily luck can affect ladder and shaft chances, but a lucky day does not guarantee a perfect floor.
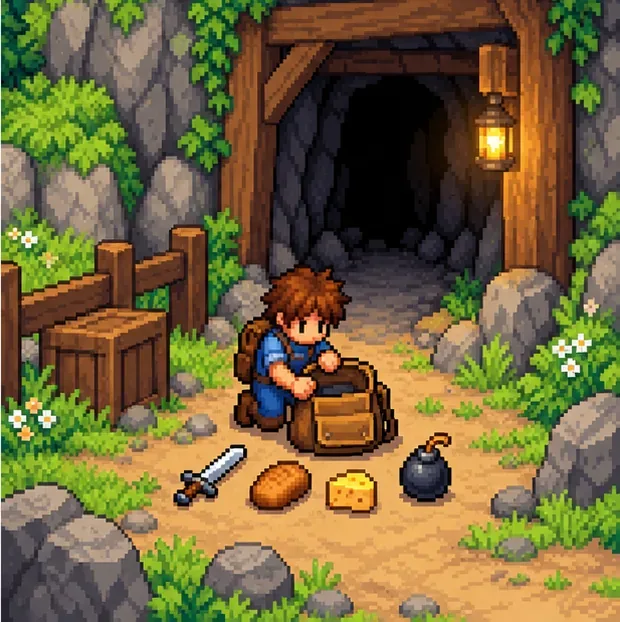
- Keep a weapon ready. Do not mine while a monster is close enough to interrupt you.
- Use bombs on clusters. They can clear several rocks with fewer pickaxe swings; step away before they detonate.
- Leave spare inventory slots. Gems, geodes, ore, and monster drops can fill the backpack quickly.
- Watch the clock and health. Passing out at 2:00 a.m. or from exhaustion costs gold. Being knocked out after health reaches zero can also cost items and more gold, so leave before you are cornered.
Upgrade your pickaxe at the Blacksmith
Clint upgrades tools at the Blacksmith for gold and metal bars. Each upgrade takes two days, so turn in the pickaxe when you can manage without it or plan around a day when you do not need it. Upgrades make rocks and ore nodes faster to break, which saves time and energy on later floors.
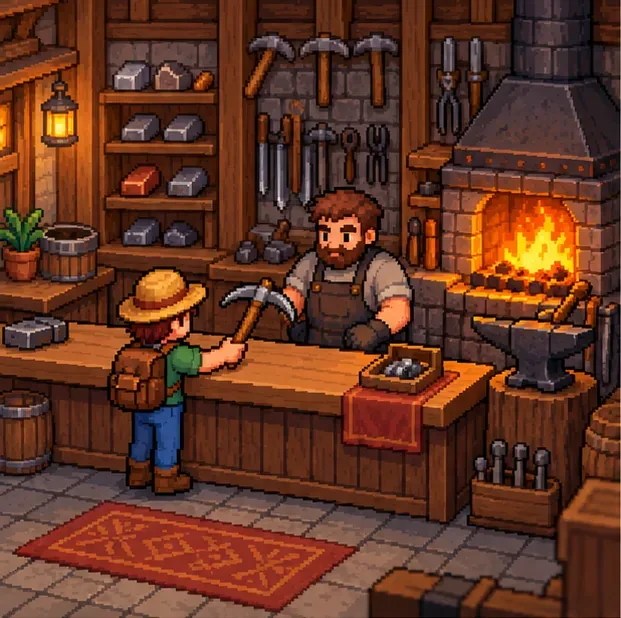
| Pickaxe | Cost | Practical benefit |
|---|---|---|
| Copper | 2,000g + 5 Copper Bars | Speeds up the early floors and copper mining. |
| Steel | 5,000g + 5 Iron Bars | Breaks copper nodes in one hit and helps with harder rocks. |
| Gold | 10,000g + 5 Gold Bars | Makes the lower Mines much quicker to work through. |
| Iridium | 25,000g + 5 Iridium Bars | The top upgrade; useful for the toughest rocks and fast Skull Cavern runs. |
For most players, a Steel Pickaxe is a strong next milestone, followed by Gold once you can reach the lower floors. Avoid spending every bar on a tool if you also need the same metal for a Furnace, sprinklers, or another important recipe.
Unlock Skull Cavern and mine for Iridium
Skull Cavern is in the Calico Desert, and it has two access requirements. First, repair the bus by completing the Vault bundles at the Community Center or purchasing Bus Repair through the Joja Community Development Form. Second, reach floor 120 of the Mines and collect the Skull Key from the chest there. The key opens the Skull Cavern entrance.
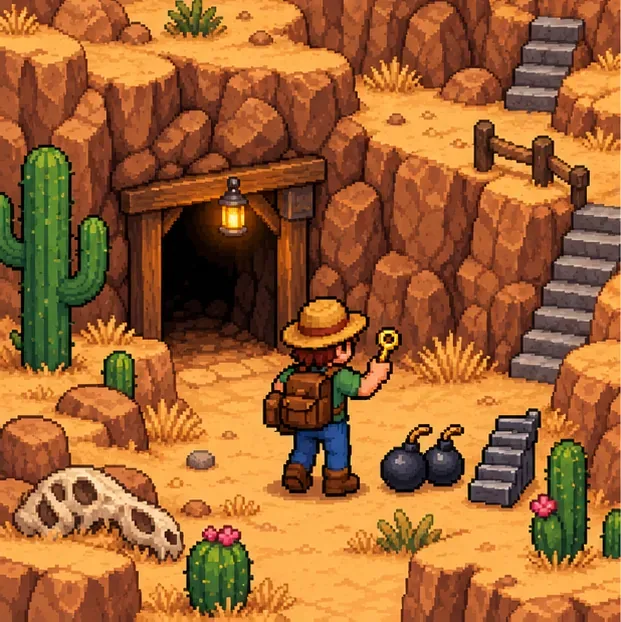
Skull Cavern has no practical floor limit and no elevator, so every visit starts at its entrance. Unlike the old advice that Iridium is only worth seeking below one fixed floor, the chance of finding Iridium Ore increases as you descend. Go down efficiently, then spend time mining the ore-rich floors you reach. Use bombs to find ladders and shafts faster, and bring staircases for layouts or monster groups that would otherwise consume too much time.
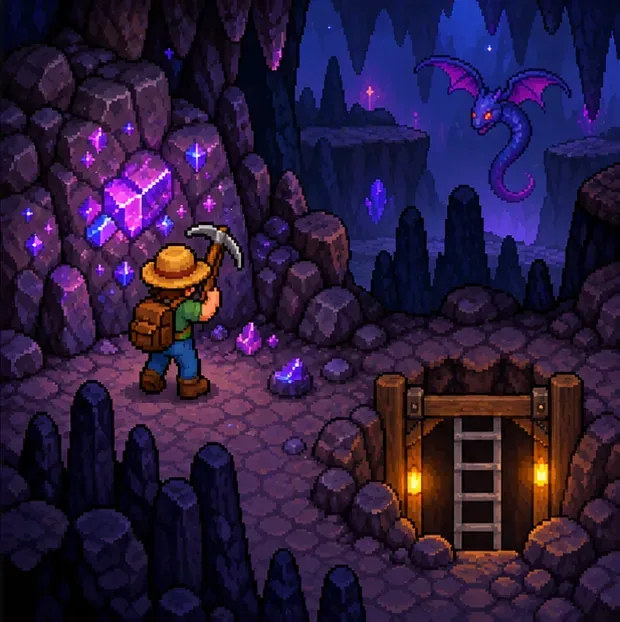
Before a serious run, bring a strong weapon, healing food, bombs, and several staircases. Luck-boosting food can help with descent; a defense buff is useful if you are taking frequent hits. Spicy Eel offers speed and luck, while Pumpkin Soup trades speed for defense and luck. Do not count on reaching floor 100 or any other exact depth in one day: the useful depth depends on your gear, daily luck, combat, and how many stairs you use.
Choose Mining professions for your goals
Mining experience comes from breaking rocks. At Level 5, choose between Miner, which adds one ore per vein, and Geologist, which gives gems a chance to appear in pairs. At Level 10, the available options depend on your Level 5 path:
- Miner → Blacksmith: metal bars sell for 50% more.
- Miner → Prospector: the chance to find coal is doubled.
- Geologist → Excavator: the chance to find geodes is doubled.
- Geologist → Gemologist: gems and minerals sell for 30% more.
Choose based on what is slowing your progress. Prospector is useful when coal is limiting smelting; Blacksmith favors bar sales; Geologist branches support gem or geode collecting. You can change professions later for a fee at the Statue of Uncertainty in the Sewers, so the first choice does not have to lock in your save forever.
Quick mining checklist
- Bring a pickaxe, a weapon, recovery food, and open inventory slots.
- Use the elevator to revisit the latest floor divisible by five.
- Target copper, iron, or gold based on the floor where that ore begins to appear.
- Use bombs and occasional staircases to save time on crowded floors.
- Smelt five ore with one coal per bar and save bars for your next tool or farm upgrade.
- For Iridium, repair the bus, earn the Skull Key, and descend into Skull Cavern prepared.
For details that are easy to forget, check the Mines floor and elevator reference, the pickaxe upgrade table, the Mining skill professions, and the Skull Cavern guide. The official 1.6.4 patch notes also describe alternate Mine layouts that can appear after reaching the bottom.









