A Complete Guide to Wrecking Ball in Overwatch 2: Combos, Tips, and Minefield
Wrecking Ball is a mobile Tank who creates space by disrupting enemy positions, drawing attention, and getting out before opponents can punish him. Hammond is strongest when he enters with a route, knocks a group out of formation, and gives teammates a clear opening. He does not protect the team with a barrier, so success depends on timing, movement, and knowing when to leave.
This Wrecking Ball guide covers his current ability roles, a repeatable engage-and-exit loop, Piledriver and Minefield setups, and common mistakes. Blizzard has adjusted parts of his kit and perk system during 2026, so use the in-game tooltip for the exact values in your current mode and patch.
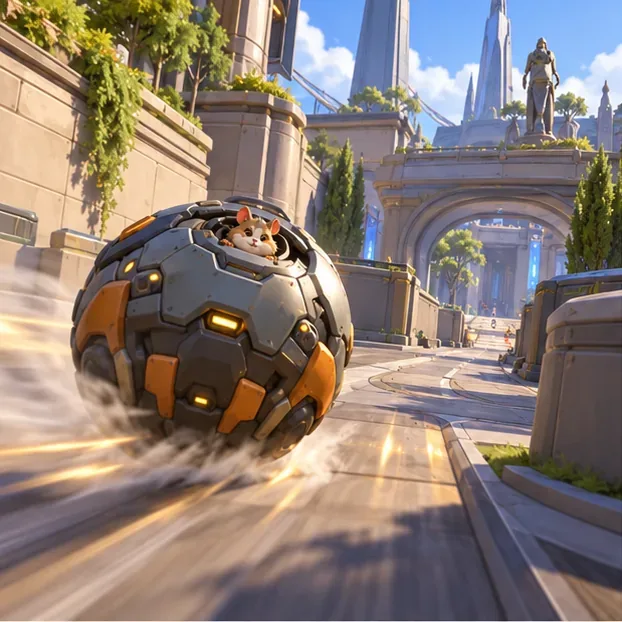
Wrecking Ball's role and ability kit
Blizzard lists Wrecking Ball as a Tank and an Initiator. In a match, that means he can start pressure from an unexpected angle and force enemies to turn around. His value is not measured only by eliminations: a well-timed roll-through can split a formation, interrupt aim, and create room for allies to take an objective or attack a vulnerable target.
His six abilities each support that loop:
- Quad Cannons: automatic guns for following up when an enemy is close enough to track reliably. They are most useful after you have displaced or isolated someone, rather than while you are speeding past the fight.
- Roll: folds the mech into ball form and increases movement speed. Use it to approach, rotate between lanes, retreat, or pass through an enemy formation.
- Grappling Claw: attaches to the environment so you can swing, change direction, and build speed for a collision. Blizzard's June 30, 2026 notes added the ability to attach it to the ground, expanding the surfaces available for a setup.
- Piledriver: while airborne, slam down to damage and lift nearby enemies. This interrupts their spacing and can make targets easier for your team to follow.
- Adaptive Shield: grants temporary extra health that scales with nearby enemies; some of that extra health can be transferred to allies. Use it when you are entering real danger and opponents are close, not while you are still far away.
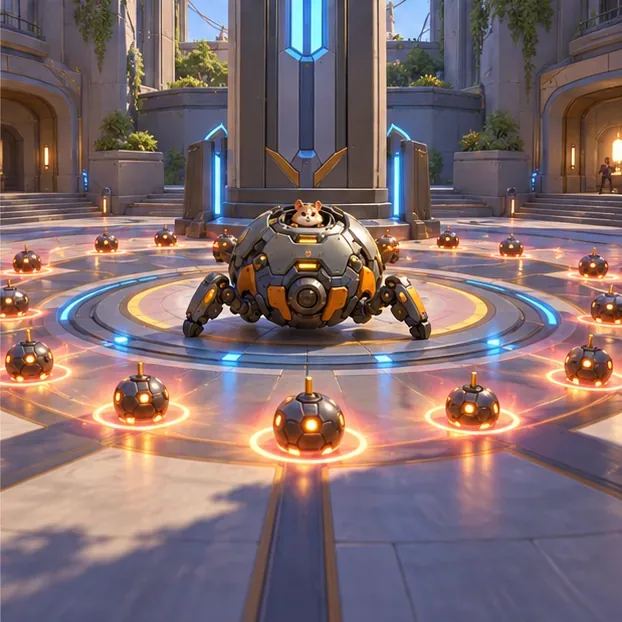
- Minefield: spreads proximity mines across an area. It can deny an objective, doorway, or escape path; the June 30 update also added a manual detonation option after two seconds.
For the official ability descriptions, see Blizzard's Wrecking Ball hero page. Key bindings and tooltips can vary by platform, control settings, and game mode.
A reliable Wrecking Ball engage in five steps
Choose a target and an exit
Before you cross the enemy's sightline, identify a useful target: an isolated support, a damage hero away from cover, or a group standing near a ledge or choke. Also choose where you will go if the first hit does not create an opening. A nearby health pack, wall, pillar, or route back to teammates is more useful than diving on autopilot.
Build speed with Roll and Grappling Claw
Enter ball form, attach the claw to a pillar, wall, ledge, or suitable ground surface, then swing around the anchor. Release when your path points through the fight or toward your next piece of cover. Do not hold the grapple without a purpose: a short, controlled swing can be safer than a long loop that gives opponents time to aim at you.
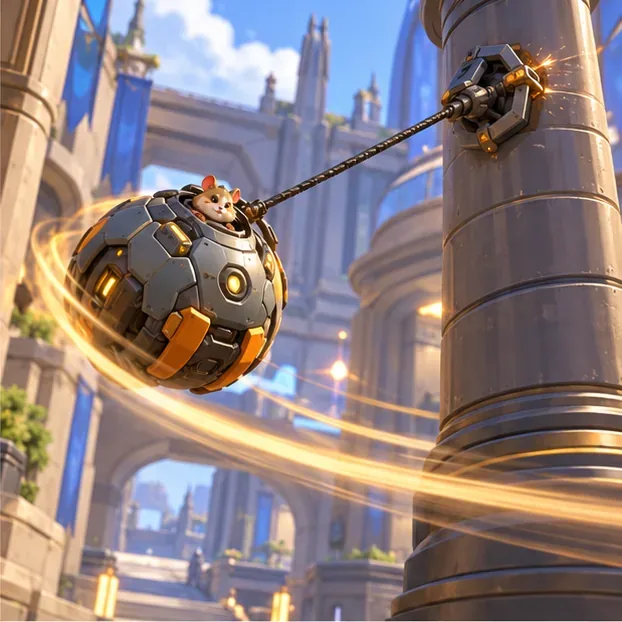
A grapple anchor gives Hammond a curved route and a faster entry angle. Make contact to move enemies, not just to touch them
Use the collision to knock opponents away from each other, off a firing line, or away from an objective. A roll-through can be enough; you do not need to stay and trade damage. Since the June 30, 2026 update, enemies hit by Wrecking Ball's ability damage are revealed to his teammates for 1.5 seconds, so ability hits can also help allies see who is being pressured.
Use Adaptive Shield and Piledriver at the right moment
Trigger Adaptive Shield once you have entered enemy range and enough opponents are nearby to make it worthwhile. Do not wait until you are nearly eliminated, but do avoid spending it during the approach. If you have altitude, use Piledriver to land in or beside the group and scatter them. The order can change: if crowd control or incoming damage is immediate, prioritize survival; if you have a safe airborne opening, slam first and then keep moving.
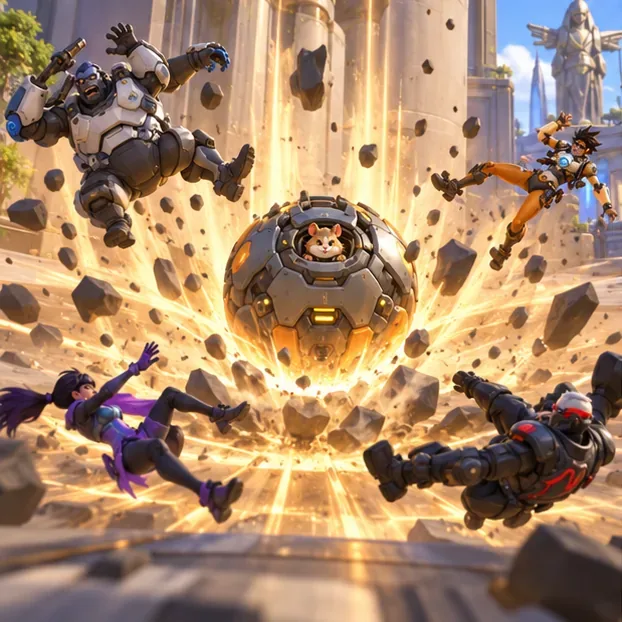
Piledriver can break up a tight group and create a brief follow-up window. Follow up briefly, then reset
Switch to Quad Cannons when you have a realistic shot at a low-health or displaced enemy. If teammates are following, stay long enough to help secure the opening. If the enemy turns as a group or key abilities are aimed at you, roll or grapple away. A reset lets you re-enter with health, cooldowns, and another angle instead of handing the other team an elimination.
How to use Minefield well
Think of Minefield as area control first. Place it where enemies must travel: across an objective, on a narrow doorway, over a retreat route, or between the opposing team and its supports. If you deploy it on top of a group, do so when they are already occupied or have limited room to escape. Spreading mines across multiple approach lanes often creates more value than dropping every mine in one obvious spot.
After the two-second delay noted in the June 2026 patch, you can manually detonate the mines. Use that option to time damage when opponents are committed to crossing the zone; do not assume that every mine will hit or that the ultimate guarantees an elimination. Piledriver can disrupt enemies near the field, but only combine the abilities when your landing and mine placement leave you a safe escape.
Common mistakes and quick fixes
| Mistake | Better approach |
|---|---|
| Diving without a way out | Pick a retreat route before the first swing; disengage when several enemies turn toward you. |
| Using Adaptive Shield too early | Wait until you are close enough to enemies for its scaling to matter, while leaving time to react to pressure. |
| Trying to win a long tank duel | Displace the frontline, then pressure an isolated target or return to your team. |
| Using Piledriver from too low or too far away | Find a ledge or grapple path that puts the landing point close to the target group. |
| Dropping Minefield where enemies can simply walk around it | Cover an objective, choke, or retreat lane and coordinate the timing with your team's engagement. |
| Staying in ball form while a target is exposed | Use Quad Cannons when you can track a vulnerable enemy; movement is a setup tool, not the whole fight. |
What changed for Wrecking Ball in 2026?
Several updates make older guides incomplete. On June 30, 2026, Blizzard added ground attachment for Grappling Claw, a manual Minefield detonation option after two seconds, and a 1.5-second teammate reveal for enemies hit by his ability damage. Those changes reward deliberate grapple routes, intentional mine timing, and dives that your team can see and follow.
Blizzard's September 8, 2026 notes also shortened the duration of the Adaptive Barrier Major Perk from 1.5 seconds to 1 second. That is a perk adjustment, not a reason to assume every version of Adaptive Shield has that duration. Perks, numbers, and mode rules can change, so check the live game before relying on a specific cooldown or damage breakpoint. The official June 30, 2026 patch notes, September 2026 patch notes, and current live patch notes are the best places to confirm changes.
Practice checklist
- Can you swing around a pillar and release toward a chosen lane?
- Can you enter, hit one useful target, and leave without spending every ability?
- Do you save Adaptive Shield until opponents are close, while activating it before you are in danger of being eliminated?
- Can you place Minefield to cover the objective and an escape route at the same time?
- Does your team know which enemy you are pressuring?
Practice these habits in the range or a custom game, then bring one goal into each match. Wrecking Ball in Overwatch 2 becomes more consistent when you treat each dive as a short cycle: approach, disrupt, follow up, and reset. If the enemy team repeatedly shuts down your routes or your composition needs a tank who can protect a fixed frontline, consider switching rather than forcing the same engage.









