Home
» 🎮 Esports
»
Master the Sparrow Helicopter for Faster Cayo Perico Prep Missions
Master the Sparrow Helicopter for Faster Cayo Perico Prep Missions
Master the Sparrow Helicopter for Faster Cayo Perico Prep Missions
The Sparrow helicopter is most useful in the Cayo Perico prep loop as quick transport between the Kosatka and mainland mission objectives. Launch a prep from the planning board, use the Sparrow to reach the marker, land in a safe open spot, finish the objective on foot, then return to the submarine for the next setup. Treat it as a travel tool—not an aerial scout: the island’s Gather Intel mission has its own rules, and the Sparrow does not automatically reveal guards, cameras, or loot.
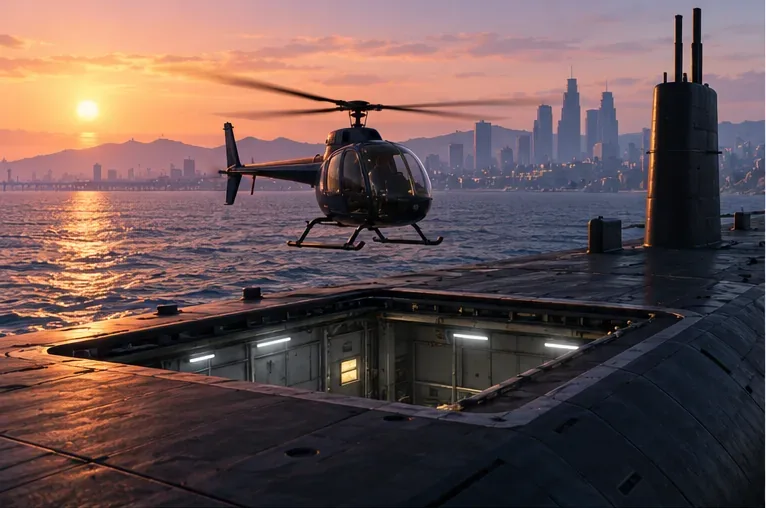
Rockstar lists the Sparrow among the vehicles stored in the Kosatka’s Moon Pool and recommends Moon Pool vehicles for traveling to destinations during and between prep missions. That makes the helicopter especially convenient when your heist base is the submarine. Rockstar’s Kosatka update notes and its Cayo Perico tips explain that role.
The Sparrow’s Moon Pool connection makes the Kosatka a convenient starting point for prep travel.
Why the Sparrow Helps With Cayo Perico Preps
Prep missions send you to different locations to secure equipment, weapons, or an approach vehicle. The Sparrow reduces the ground travel between the Kosatka and those objectives, and it is ready to take off without finding a street vehicle first. It is useful for solo runs because you can move directly from one mission marker to the next without coordinating a driver.
The benefit is convenience, not stealth or invulnerability. The helicopter can draw attention, has limited tolerance for collisions and gunfire, and cannot complete an on-foot interaction for you. A fast arrival only saves time if you can land, finish the objective, and leave without crashing or getting pinned down.
A Four-Step Sparrow Prep Routine
1. Choose the next setup at the Kosatka
Start at the heist planning screen and select the prep you intend to complete. Check the objective and map marker before leaving. If you are doing several setups in one session, decide the order at the board so you avoid unnecessary trips back and forth across the map. Request the Sparrow from the Kosatka’s Moon Pool and give yourself room to lift clear of the submarine.
2. Fly a clean route to the mission marker
Use the in-game route as a guide, then steer around towers, power lines, cranes, and steep terrain instead of forcing a straight line. Make small adjustments while building forward speed; large, abrupt inputs can turn a simple trip into a hard landing. On keyboard or controller, check the current aircraft bindings in the game’s control settings rather than relying on a copied key table—bindings can vary by platform and custom layout.
A clear route and room around obstacles matter more than flying low for supposed stealth.
3. Land outside the objective area and finish on foot
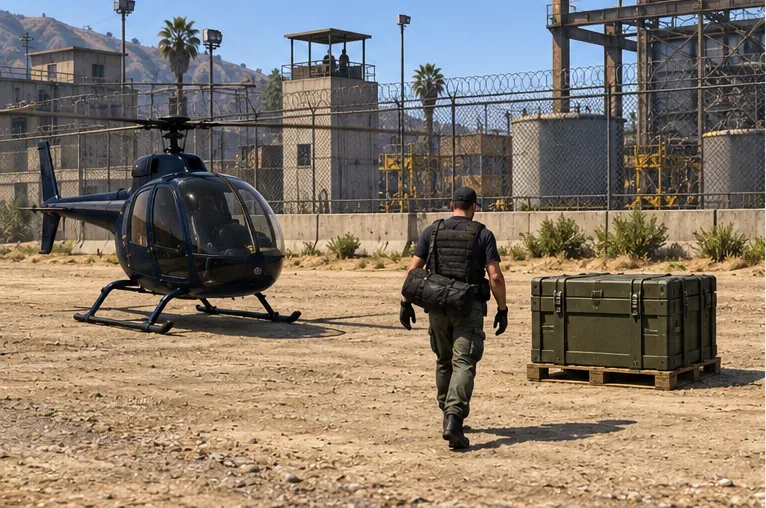
Do not hover over guards or try to strafe the mission area just to save a few seconds. Pick a broad, flat landing spot with a clear takeoff path, ideally outside the immediate enemy sightline and away from traffic. Leave enough space to turn and lift without clipping a fence or building. Then follow the prep’s instructions on foot. Keep the Sparrow nearby when practical, but prioritize cover and the objective over a perfect parking position.
Park outside the immediate objective area, then approach the prep target on foot.
4. Return to the submarine and repeat
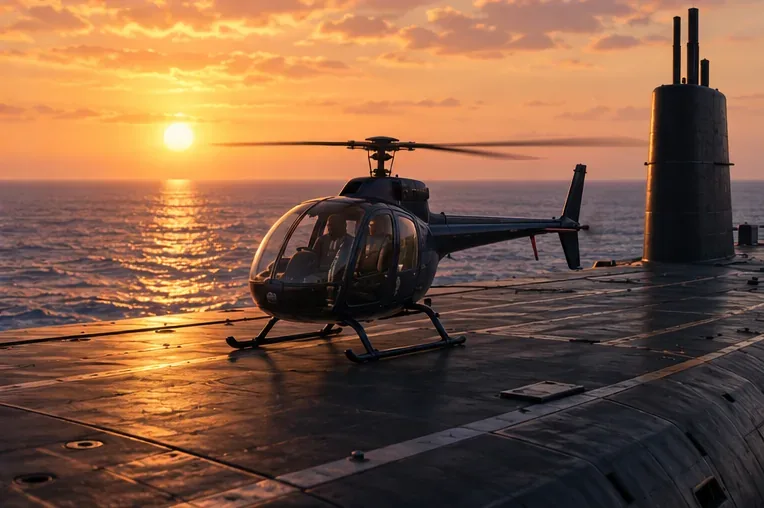
Once the objective confirms completion, use the Sparrow to return to the Kosatka or to a clear landing area beside it. Set down gently, disembark, and use the planning board to start the next required prep. If the aircraft is damaged or unavailable, use the in-game vehicle service options when they become available or take another nearby vehicle; do not burn time attempting risky takeoffs from a cramped spot.
A controlled landing at the Kosatka closes the loop and leaves you ready to launch another setup.
Flight and Landing Tips That Prevent Wasted Runs
Build speed gradually. Keep the nose level enough to maintain a predictable path, especially near the Kosatka or a mission site.
Slow down before landing. Reduce forward movement early, line up with open ground, and descend steadily instead of trying to stop at the last moment.
Keep a clear exit path. Avoid parking under cables, beside walls, or among vehicles that can block the rotor or skids.
Use the map and mission prompts. The Sparrow does not mark Cayo Perico cameras, guards, or secondary loot from the air. Gather Intel is a separate stage; follow its objective and the game’s on-island rules.
Don’t mistake weapons for protection. An armed aircraft can still be hit or forced into a bad landing. Use it to travel, and fight from cover when a prep requires ground combat.
Which Sparrow Upgrades Are Worth Considering?
You do not need a combat upgrade to use the Sparrow as a prep taxi. If you already own it, make the basic route work first: launch, travel, land, complete the objective, and return. Countermeasures are an optional choice for players who often face missile threats while flying. Rockstar’s Title Update 1.61 notes that the Sparrow can be equipped with Chaff and Flare countermeasures; compare the in-game options and price before spending, because they do not replace careful flying or make the helicopter immune to damage. Read Rockstar’s update notes on Sparrow countermeasures.
Common Sparrow Mistakes to Avoid
Using it as a Cayo scouting drone: it does not replace the Gather Intel mission or its required observations.
Landing directly in a hostile area: a nearby open patch is often safer than touching down beside the target.
Flying aggressively through tight spaces: trees, wires, buildings, and cranes can turn a routine trip into a destroyed aircraft.
Following outdated control charts: use the bindings shown in your current game settings.
Assuming every prep is a flight: some objectives have their own vehicle, combat, or on-foot requirements. Let the mission dictate the final approach.
Quick Checklist
Pick the next prep at the Kosatka planning board.
Launch from the Moon Pool and follow the mission marker.
Choose clear ground outside immediate danger.
Complete the objective on foot as directed.
Return to the Kosatka and repeat for the remaining setups.
Used this way, the Sparrow helicopter makes Cayo Perico prep travel simpler without relying on made-up stealth tricks or fixed speed claims. Rockstar’s official notes are the best place to check for later vehicle and heist changes; the linked guide also covers island scoping, prep work, and finale considerations.