Imagine you're pinned down in a heated Free Fire skirmish, enemies closing in from all sides. One flick of your finger deploys a Gloo Wall instantly, buying you precious seconds to counterattack and clutch the round. That's the power of mastering Gloo Wall placement speed like a pro. Whether you're a casual player or grinding ranks, perfecting this skill separates survivors from the eliminated. Ready to level up? Let's dive into actionable tips that pros swear by. 🚀
Grasp the Fundamentals of Gloo Wall Mechanics
Before speeding up, understand how Gloo Wall works. It's a deployable shield that expands from a grenade-like canister, blocking bullets for 30 seconds (or until destroyed). Placement speed hinges on three pillars: aim precision, input delay minimization, and muscle memory. In the latest Free Fire updates, optimized netcode reduces lag, making sub-0.5-second deploys possible on high-end devices.
Pro tip: Always carry 4-6 Gloo Walls in your loadout. They're game-changers in close-quarters or vehicle chases. Now, let's optimize your setup.
Optimize Your Settings for Blazing-Fast Gloo Wall Placement Speed
Settings are your foundation. Pros tweak sensitivity and controls for instant flicks. Here's a proven configuration:
| Setting |
Recommended Value |
Why It Helps |
| General Sensitivity |
90-100 |
Quick aim snaps without overshooting |
| Red Dot Sight |
80-90 |
Precise crosshair for Gloo Wall targeting |
| 2x Scope |
70-85 |
Balanced for mid-range flicks |
| DPI (if emulating) |
400-800 |
Reduces input lag on PC |
| Custom HUD: Gloo Wall Slot |
Thumb-accessible (bottom right) |
One-tap deploy without menu diving |
Enable "High FPS" mode and "Auto Pickup Gloo Wall" in settings. Test on training island—aim for consistent 0.3-second placements. Your device matters: 90Hz+ screens shine here. 👍
Core Techniques to Master Gloo Wall Placement Speed
Settings alone won't cut it. These techniques, honed by top Free Fire pros, will have you deploying walls like lightning.
- ⭐ Quick Draw Flick: Hold your Gloo Wall key (default G), pre-aim at shoulder height toward threats. Flick your thumb to deploy on enemy peek. Practice: Strafe left-right while spamming walls. Goal: Wall up before first bullet hits.
- 1️⃣ Jump-Deploy Combo: Jump + deploy mid-air for unpredictable angles. Enemies waste shots on your old position. Pair with prone for low walls—blocks leg shots perfectly.
- 2️⃣ Wall Bouncing: Throw Gloo Wall at your feet while moving backward. It expands behind you, creating instant cover during retreats. Clutch for 1v3s!
- Vehicle Clutch: Driving? Pre-deploy walls on ramps or exits. Instant roadblocks turn pursuits into ambushes.
Visualize this: You're third-partied. Deploy, shoot through slits, repeat. These moves build unbreakable defense. Keep reading for pro-level upgrades. 💥
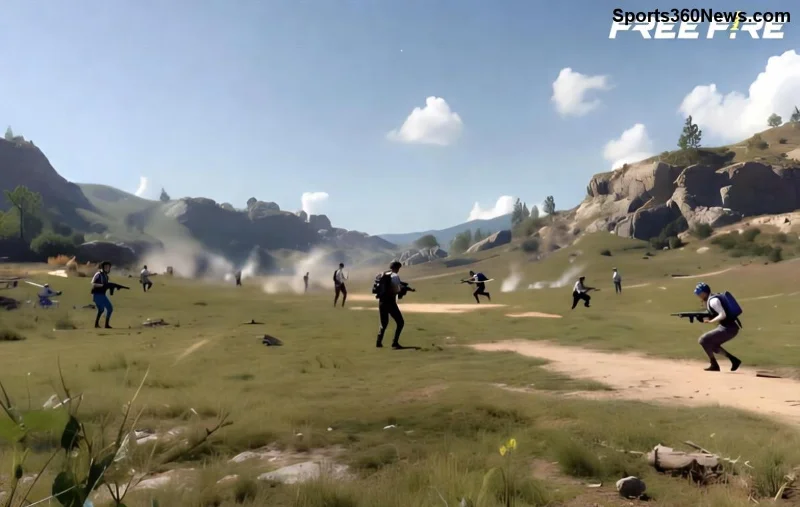
![Advanced Gloo Wall techniques in action during intense Free Fire gameplay]()
Advanced Pro Strategies for Elite Gloo Wall Speed
Once basics click, elevate with these secrets from world champs. Watch pros like Garena Free Fire streams for live demos.
- Pre-Fire Walls: Spot enemies early? Spam walls in their path. Disrupts rushes without wasting ammo.
- Stacking Synergy: Deploy overlapping walls for multi-layer forts. Pros layer 3-4 for unbreakable bunkers.
- Sensitivity Micro-Adjusts: Lower scope sens for precision, crank general for flicks. Toggle mid-fight.
- Sound Cues: Footsteps trigger instant deploys. Train ears in custom rooms.
For squads, call "Wall incoming!" Coordinate with smokes for god-tier pushes. Feeling the rush? Practice drills next will cement it. 🔥
Daily Practice Drills to Build Pro Gloo Wall Placement Speed
Muscle memory is king. Dedicate 15 mins daily:
| Drill |
Duration |
Focus |
Target Speed |
| Static Target Spam |
5 mins |
Pre-aim deploys |
<0.4s |
| Moving Dummy Flicks |
5 mins |
Tracking enemies |
95% accuracy |
| 1v1 Custom Duels |
5 mins |
Pressure testing |
Clutch 70% wins |
Record sessions, review misses. Apps like Free Fire sensitivity calculators (official Garena site) help fine-tune. Track progress—you'll hit pro speeds in weeks! 📈
![Free Fire player practicing Gloo Wall drills for ultimate speed mastery]()
Avoid These Common Gloo Wall Pitfalls
Even pros slip—don't you:
- ❌ Over-relying: Walls break. Mix with movement.
- ❌ Poor Angles: Always aim 45° upward for max coverage.
- ❌ Cluttered HUD: Customize—bind Gloo Wall to easy thumb spot.
- ❌ Ignoring Cooldown: Spam wisely; resupply at airdrops.
Fix these, and your K/D skyrockets. 😎
Conclusion: Deploy Victory Today
Mastering Gloo Wall placement speed transforms you from prey to predator in Free Fire. Nail settings, drill techniques, avoid traps—and watch ranks climb. What's your fastest deploy time? Drop it in comments, share your clips, and tag friends grinding Booyah. Practice now, dominate tomorrow. You've got this! 👊
")


