Imagine you're deep in a Free Fire match, HP critically low, enemies closing in. Do you pop a Medkit and risk standing still, or grab your Treatment Gun for quick heals on the move? Choosing the right healing tool can turn defeat into victory. This guide breaks down when to use a Medkit vs Treatment Gun in Free Fire, helping you heal smarter and dominate the battlefield. Let's dive in! 🚀
What is a Medkit in Free Fire? Pros, Cons, and Basics
The Medkit is your go-to for full recovery. It restores 100% HP (up to 200 HP max) in one use, making it perfect for total resets. But here's the catch: activation takes about 7-8 seconds, and you must remain stationary—no moving, no shooting.
- ✅ Pros: Massive heal, reliable, no ammo needed.
- ❌ Cons: Long animation, vulnerable during use.
Spawn rate? Common in drops and ground loot. Always prioritize grabbing one early—it's a game-changer for late-game clutches.
Unleashing the Treatment Gun: Free Fire's Mobile Healer
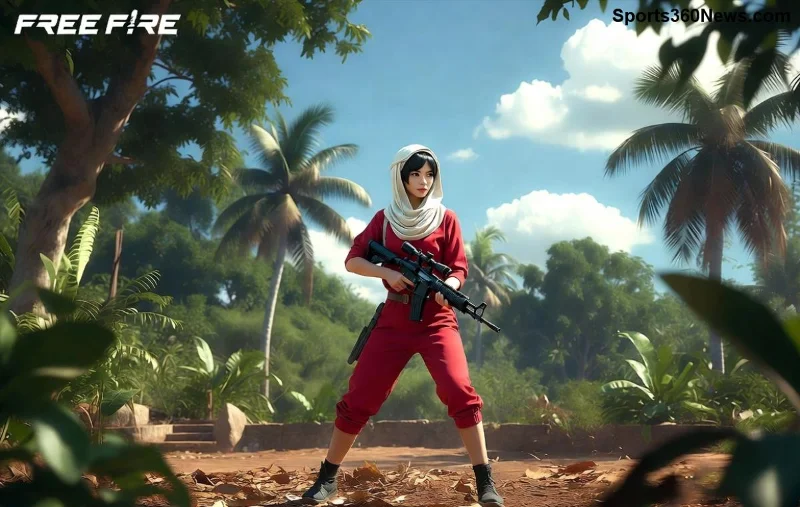
Enter the Treatment Gun, a weaponized healer firing Treatment Bullets. Each shot heals 25-30 HP instantly, and you can strafe, peek, or even fight back while healing. Reload with bullets (found separately), holding up to 60 rounds for sustained use.
- ✅ Pros: Mobile healing, fast top-ups, dual-purpose in fights.
- ❌ Cons: Lower heal per shot, ammo-dependent, less efficient for full restores.
Pro tip: Pair it with characters like Kelly for speed boosts during heals. Ready to see the full Medkit vs Treatment Gun showdown?
Medkit vs Treatment Gun: Side-by-Side Comparison Table
| Feature |
Medkit |
Treatment Gun |
| Heal Amount |
100% HP (200 max) |
25-30 HP per bullet |
| Heal Time |
7-8 seconds (full) |
Instant per shot |
| Mobility |
Stationary |
Full movement |
| Ammo Needed |
None |
Treatment Bullets (scarce) |
| Best For |
Safe full heals |
Combat top-ups |
| Rarity |
Common |
Uncommon (guns rarer) |
This table highlights why context is king in Free Fire. But when exactly do you swap between them? Let's break it down with real-match scenarios.
When to Use a Medkit: Safe Zones and Full Recovery Moments ⭐
Deploy a Medkit when safety is guaranteed. Key times:
- Post-Fight Recovery: After wiping a squad in a building. You're low HP, zone shrinking—Medkit gets you to 100% fast without ammo worries.
- Zone Edge Hideouts: Deep in safe circle, no footsteps nearby. Heal fully while looting or waiting.
- Before Final Circles: Top 10 alive? Full HP edges out partial heals for 1v1s.
💡 Player Story: "I clutched a Booyah with a Medkit in Clock Tower—full heal turned my 20 HP into a win!" Don't sleep on it for those clutch moments.
Curious about aggressive plays? The Treatment Gun shines next...
![Free Fire player using Treatment Gun in action]()
When to Use a Treatment Gun: Combat Heals and On-the-Go Survival ⚡
The Treatment Gun is for chaos. Grab it when:
- Mid-Firefights: Pinned down? Pop shots to self-heal while returning fire—impossible with Medkit.
- Vehicle Escapes or Rotations: Driving or running? Heal without stopping.
- Squad Revives: Cover teammates while topping yourself up.
- Gloo Wall Peeks: Heal behind cover, burst enemies.
Ammo tip: Stock 100+ Treatment Bullets mid-game. It's gold in ranked pushes!
Pro Tips: Level Up Your Free Fire Healing Game 🎯
- Combo Them: Use Treatment Gun for quick 50% HP, then Medkit for the rest in safety.
- Character Synergy: Alok + Treatment Gun for speed heals; Medkit with D-Bee for damage resistance.
- Loadout Priority: Always carry both if possible—adapt to the meta.
- Avoid Common Mistakes: Never Medkit in open fields (death sentence). Save Treatment Gun ammo for fights, not peacing.
For official stats, check Garena Free Fire or the in-game encyclopedia—patch updates keep balancing tight.
Final Verdict: Heal Smart, Win Big in Free Fire! 🏆
Mastering when to use a Medkit vs Treatment Gun in Free Fire boils down to situation: Medkit for safe, full heals; Treatment Gun for mobile combat boosts. Practice in training mode, drop hot, and watch your KD soar. What's your go-to healer? Drop in comments and share your Booyah stories! Ready to queue up? Your next win awaits. 👊
")

")

")

")
")
")
