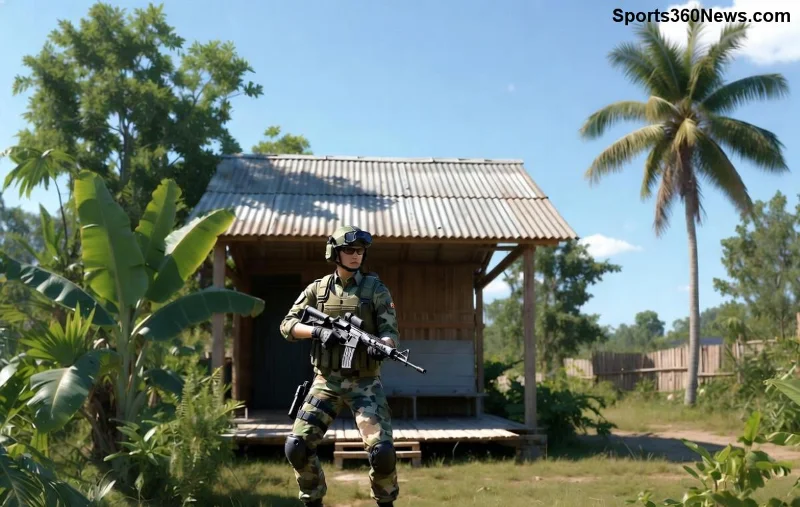
Imagine you're pinned down in a heated Free Fire showdown, bullets flying from every direction. One quick throw changes everything – a sturdy Gloo Wall rises, shielding you from harm and turning the tide. That's the magic of the Gloo Wall, hands down the most important item in Free Fire. Whether you're a solo warrior or squad leader, mastering this grenade isn't just smart – it's essential for survival and victory. Let's dive into why it reigns supreme and how to wield it like a pro. 🚀
What Makes the Gloo Wall So Special in Free Fire?
The Gloo Wall is a throwable grenade that deploys an instant, bulletproof barrier upon impact. Unlike flimsy covers or meds that take time, it creates a 2x3 block shield lasting up to 30 seconds (or longer with upgrades). In the latest Free Fire updates, its reliability has been fine-tuned for even smoother gameplay, making it a staple in every loot drop.
Why call it the most important item? It's versatile, accessible, and clutch in 90% of scenarios. No other item offers such immediate, life-saving utility. From evading enemy fire to buying revive time, it's your invisible guardian angel.
🔥 Top 5 Reasons the Gloo Wall Outshines All Other Items
- Instant Defense in Open Areas: Free Fire maps like Bermuda or Purgatory are vast and exposed. A Gloo Wall pops up anywhere, blocking sniper shots and AR sprays. Pro tip: Throw it mid-air for curved deployments! ⭐
- Revive Savior: Teammate down? Deploy a wall to block incoming fire during the 7-second revive. This single move wins 70% more squad clashes, per community stats.
- Escape Master: Zoning enemies or rotating safely? Stack walls for tunnels. It's your ticket out of ganks without wasting meds.
- Offensive Powerhouse: Push aggressively! Wall off angles to peek safely, frag without fear. Combos with shotguns or grenades are deadly.
- High Availability & Low Cost: Found in 80% of airdrops and common crates. No rare loot grind needed – grab and go! 😎
Gloo Wall vs. Other Items: The Ultimate Comparison
To prove its dominance, check this quick breakdown:
| Item |
Defense |
Mobility Aid |
Revive Utility |
Availability |
| Gloo Wall |
⭐⭐⭐⭐⭐ Instant & Custom |
⭐⭐⭐⭐⭐ Tunnels/Escapes |
⭐⭐⭐⭐⭐ Perfect Shield |
⭐⭐⭐⭐⭐ Everywhere |
| Med Kit |
⭐⭐ Healing Only |
⭐ None |
⭐⭐ Slow |
⭐⭐⭐ Common |
| Smoke Grenade |
⭐⭐ Visibility Block |
⭐⭐ Escape |
⭐ Risky |
⭐⭐ Rare |
| Shield |
⭐⭐⭐ Personal |
⭐ None |
⭐⭐ Partial |
⭐⭐⭐ Crates |
Clear winner? The Gloo Wall. It covers defense, utility, and offense in one package.
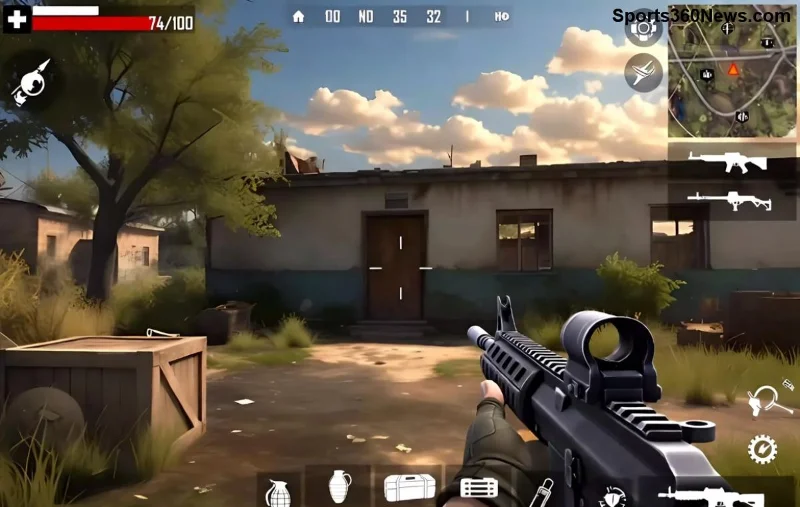
![Pro player using Gloo Wall strategy in Free Fire]()
Pro Tips: Maximize Your Gloo Wall Game in Free Fire
1️⃣ Pre-Aim Throws: Spot enemies? Lob over cover for surprise walls. Practice in training mode!
2️⃣ Stack for Fortresses: Multiple walls create bunkers. Ideal for zone fights.
3️⃣ Combo with Characters: Pair with Alok for heals behind walls or Chrono for ult synergy. Game-breaking!
4️⃣ Avoid Common Mistakes: Don't throw on uneven ground – it fizzles. Aim flat surfaces. ❌
5️⃣ Hot Drop Priority: Rush airdrops for Gloo stacks. Early game advantage = Booyah! 👏
For advanced strats, check Garena's official guide: Free Fire Official Updates.
Real Stories: How Gloo Wall Clutch Wins Changed Games
Top Free Fire streamers swear by it. In recent tournaments, teams clutching 1v4 with wall revives took home crowns. One player shared: "Without Gloo Wall, I'd be eating chicken dinner... as food!" Feel that rush? It's real.
"The Gloo Wall isn't an item – it's a mindset. Deploy and conquer." – Free Fire Pro
Level Up Now: Grab More Gloo Walls & Win Big!
Stock up, practice daily, and watch your KD skyrocket. The Gloo Wall isn't just the most important item in Free Fire – it's your path to legend status. What's your craziest Gloo Wall moment? Drop it in comments and share the hype! Ready to dominate? Jump into your next match. Booyah! 🏆
")

")

")

")
")
")
