Home
» 🎮 Esports
»
Best PlayStation VR2 Settings for Comfort and Smooth Gameplay
Best PlayStation VR2 Settings for Comfort and Smooth Gameplay
Best PlayStation VR2 Settings for Comfort and Smooth Gameplay
For a clearer, steadier PS VR2 session, start with headset fit and room tracking, then adjust the headset menu and your game’s own comfort options. Sony provides controls for lens distance and headset position, screen brightness, eye tracking, and the play area. There is no universal switch that forces every VR game to higher frame rates; supported performance choices depend on the title. This guide separates the settings you can change on PS5 from options that appear only inside some games.
The menu images below are simplified illustrations, not screenshots from a live PS5. Menu labels and layout can vary with system software.
Quick baseline: the settings worth checking first
Goal
Start here
What to expect
Clearer image
Adjust headset position and lens distance
Center your eyes in the lenses; do not rely on a fixed millimeter value.
More reliable tracking
Use an evenly lit room and reset the play area if the room changes
Avoid a dark room and direct sunlight on the headset cameras.
Earlier boundary warning
Set Boundary Display Sensitivity to High
The boundary appears sooner as you approach its edge.
Smoother or gentler motion
Check the game’s own comfort and performance menus
Controls differ by title; no setting guarantees a particular frame rate.
1. Open the PS VR2 settings menu
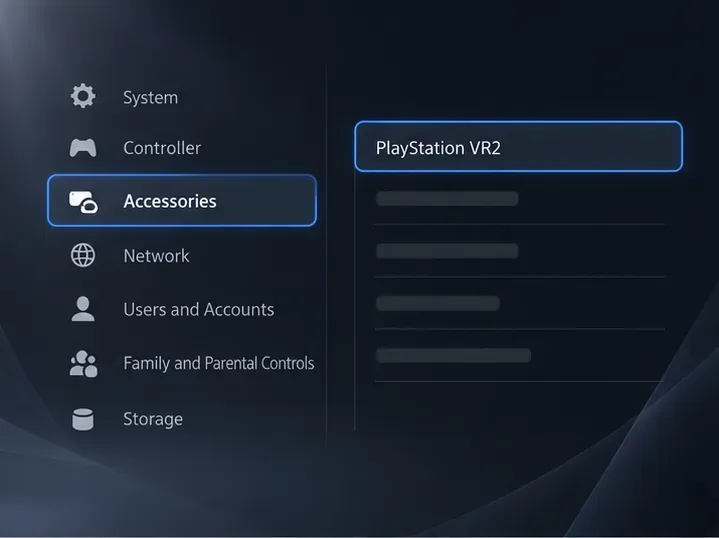
Turn on and connect the headset, then go to Settings > Accessories > PlayStation VR2. Select VR headset for lens position, headset position, and screen brightness; choose Eye Tracking or Play Area for those controls. While wearing the headset, press the PS button and open the PlayStation VR2 Quick Settings card for shortcuts such as brightness, eye tracking, and play-area setup.
Illustration of the Settings > Accessories > PlayStation VR2 path.
If the headset is not connected and powered on, some PS VR2 settings may not appear. Sony’s PS VR2 setup guide lists the current menu paths.
2. Fit the headset and align the lenses
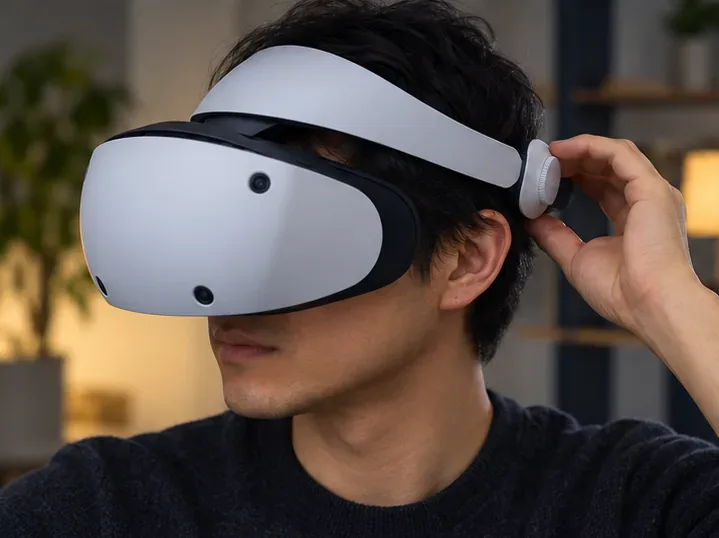
Put the rear head support low and secure on the back of your head, then tighten the headband only enough to keep the headset from shifting. Pull the scope out before putting the headset on, position it comfortably, and move the scope back toward your face. A tight fit should not create painful pressure on your forehead or nose.
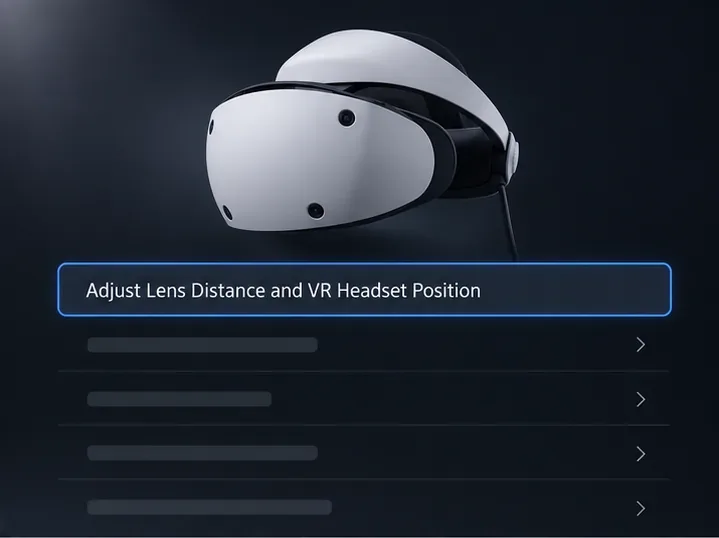
Next, adjust the lens distance dial until each eye looks through the middle of its lens and the image is as clear as you can make it. The headset’s on-screen Adjust Lens Distance and VR Headset Position routine can guide the fit. Sony lists lens separation as adjustable; it does not recommend a universal IPD number for every player. If the image stays blurry, refit the headset and check the lenses using the official troubleshooting steps rather than forcing the dial.
The headset-position routine is the right place to refine lens alignment.Adjust the rear dial until the headset stays in place without excessive pressure.
3. Prepare the room for tracking and safe movement
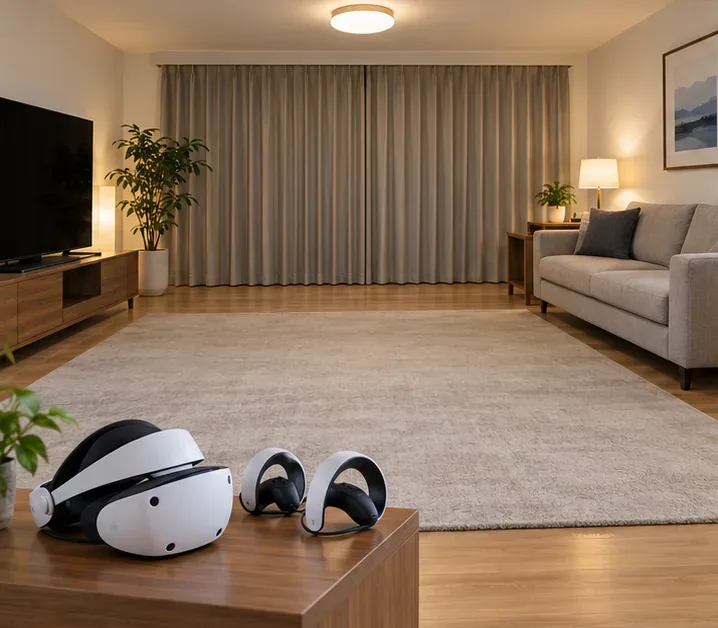
Clear the floor of furniture, pets, cables, and anything you could hit or trip over. Use a well-lit room so the headset cameras can see the surroundings, and close curtains to keep direct sunlight off the play area. A featureless dark room is not the recommended setup. Keep the headset’s front cameras unobstructed.
Choose a play style that matches the game and space you actually have. Sony’s manual specifies a play area of at least 2 m × 2 m (about 6 ft 7 in × 6 ft 7 in) for Roomscale; sitting and standing styles are also available when supported by the title. A roomscale boundary does not replace physical clearance around you.
A well-lit, uncluttered area helps tracking and leaves room to move.
4. Set the play area and boundary sensitivity
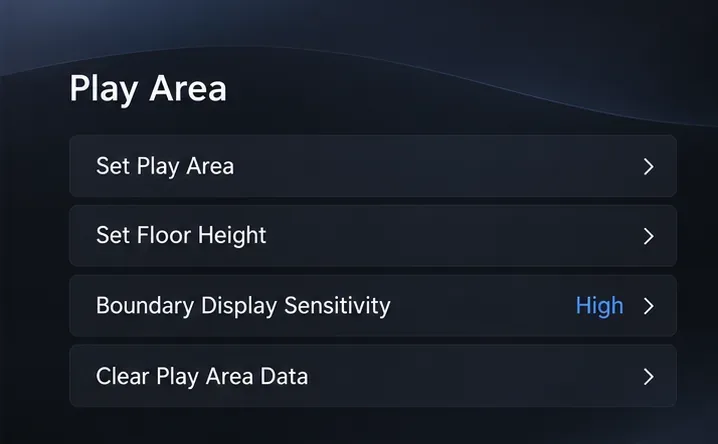
With the headset on, open Settings > Accessories > PlayStation VR2 > Play Area, then select Set Play Area and follow the scan prompts. Set the floor height carefully. For a warning that appears sooner, set Boundary Display Sensitivity to High; lower sensitivity waits until you are closer to the edge.
If you move the PS5 setup to another room or the boundary no longer matches the space, scan the area again. If a new scan still behaves incorrectly, use Clear Play Area Data, then set the play area again. Treat boundary lines as a warning, not as a substitute for moving obstacles out of reach.
High boundary sensitivity displays the warning earlier as you approach the edge.
5. Enable and calibrate eye tracking
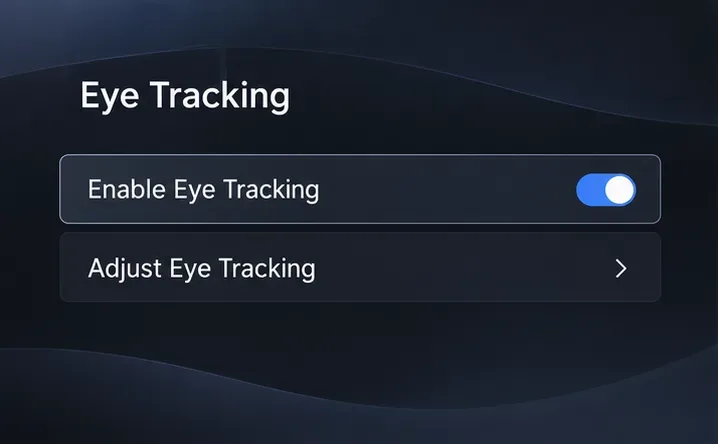
Go to Settings > Accessories > PlayStation VR2 > Eye Tracking, turn on Enable Eye Tracking, and select Adjust Eye Tracking if calibration is needed. Follow the on-screen target with your eyes while keeping your head still. Recheck calibration if tracking feels inaccurate or if another person uses the headset.
Eye tracking is a headset feature that games can use in different ways. It does not guarantee a frame-rate increase or turn on one system-wide foveated-rendering option for every game. Leave it enabled when you want supported titles to use it, and use the game’s own options if it offers a separate choice.
Enable eye tracking, then run its adjustment routine when needed.
6. Set screen brightness for your room
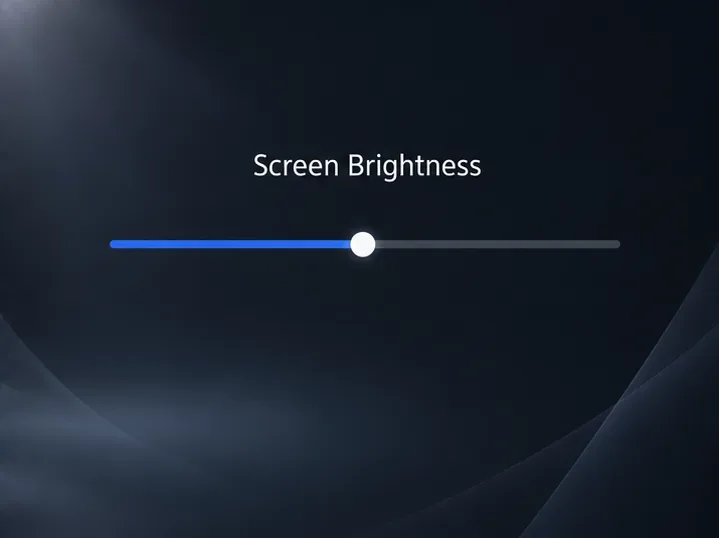
In Settings > Accessories > PlayStation VR2 > VR headset > Screen Brightness, or from the Quick Settings card, set brightness to a comfortable level. There is no best percentage for everyone: lower it if the image feels harsh, and raise it if dark scenes are difficult to see. Brightness changes comfort and visibility, not a game’s rendering performance.
Use the slider as a personal comfort control, not a performance preset.
7. Tune comfort and performance inside each game
Open the game’s settings and look for options such as seated or standing play, snap turning, teleport movement, reduced camera motion, or a comfort vignette. Not every game includes these controls, and names vary. If continuous movement makes you uncomfortable, try a seated style or a less dynamic option first, then increase movement gradually as it feels manageable.
Some PS5 games offer a Performance Mode or Resolution Mode. Sony describes the system Game Presets at Settings > Saved Data and Game/App Settings > Game Presets, but the preset applies only to games that support it. Check the game itself when its own menu is available. PS VR2’s display supports 90 Hz and 120 Hz, but that specification does not mean every VR title runs at either rate or exposes a refresh-rate switch. The separate 120 Hz output option in PS VR2 settings is for Cinematic Mode, when viewing non-VR games or media on a virtual screen—not a universal VR-game boost. See Sony’s PS VR2 technical specifications, PS5 Game Presets guide, and Cinematic Mode guide for those distinctions.
8. Build up gradually and stop when you feel unwell
If you are new to VR, start with short sessions and a seated game, then increase play time and movement gradually. Keep the room ventilated and take regular breaks. If you feel dizzy, nauseated, disoriented, develop a headache, or experience eye or body pain, remove the headset and stop playing; do not try to push through symptoms. Sony’s PS VR2 motion tips recommend gradually getting used to VR and setting a break timer. Review the PS VR2 safety guidance if symptoms continue or you need the full health instructions.
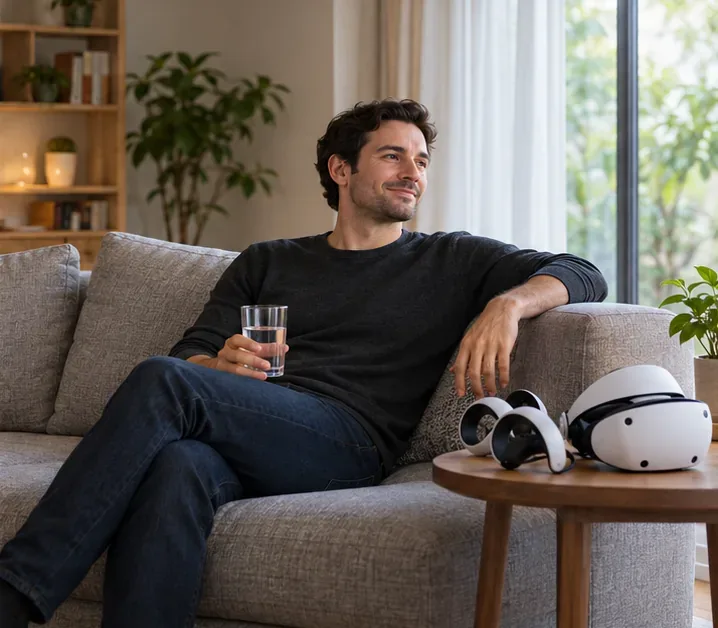
Pause, remove the headset, and let any discomfort pass before considering another session.
Fast fixes when PS VR2 does not feel right
What you notice
First thing to try
Blurry image
Refit the headband, adjust lens distance, and check that your eyes are centered in the lenses.
Tracking feels unstable
Turn on room lighting, block direct sunlight, uncover the headset cameras, then rescan the play area.
Boundary appears in the wrong place
Set the play area again; clear its data first if a fresh scan does not correct it.
Nausea or dizziness
Stop, take the headset off, and resume only when you feel normal; later try shorter seated sessions and gentler game controls.
The most useful best PlayStation VR2 settings are the ones that make the image clear, tracking dependable, and movement comfortable for you. Begin with fit, lighting, and boundaries; then make small changes to brightness and the options each game actually supports. For hardware-specific problems, follow Sony’s PS VR2 troubleshooting guide.