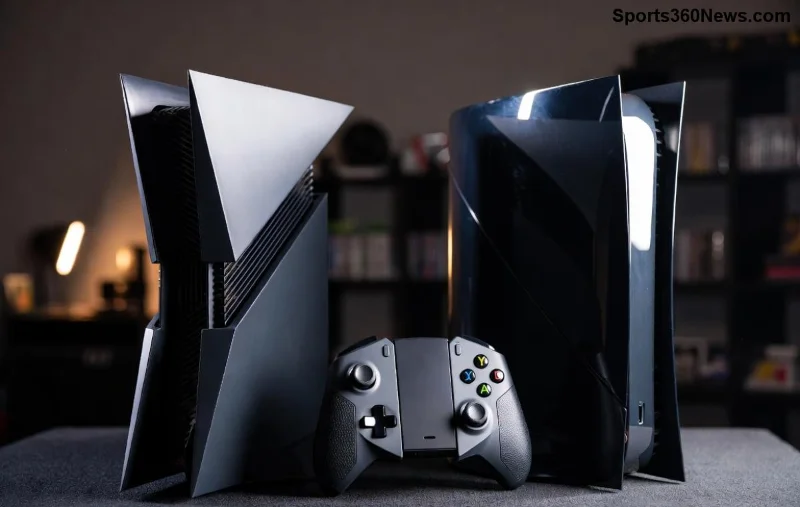
Imagine diving into massive open-world games like God of War Ragnarök or Final Fantasy XVI without storage woes holding you back. That's the magic of upgrading your PlayStation 5 with an M.2 SSD! 🎮 This PS5 SSD upgrade isn't just about more space—it's lightning-fast load times and endless gaming sessions. Sony officially supports this expansion, so no warranty worries. Ready to supercharge your console? Let's jump in with our precise, gamer-friendly guide.
Why Upgrade Your PS5 with an M.2 SSD? 🌟
The base PlayStation 5 packs an 825GB SSD, but games gobble it up fast—think 100GB+ titles. An M.2 SSD adds up to 8TB of storage, letting you hoard your library. Benefits include:
- ✅ Insane speeds: PCIe 4.0 delivers read/write over 5,500MB/s.
- ✅ Seamless multitasking: Install, play, delete without frustration.
- ✅ Future-proofing: Store next-gen blockbusters effortlessly.

Compatible M.2 SSDs for PS5: Pick the Best One 🛒
Not every M.2 SSD works. Sony mandates strict specs for your PS5 SSD upgrade. Here's a quick compatibility table:
| Spec |
Requirement |
| Form Factor |
M.2 2280 (22mm wide, 80mm long) only |
| Interface |
PCIe Gen4 x4 (Gen3 works but slower) |
| Sequential Read |
≥5,500 MB/s |
| Capacity |
250GB to 8TB |
| Heatsink |
Required—pre-installed or add one! |
Top picks: WD Black SN850X, Samsung 990 Pro, Seagate FireCuda 530. Always verify latest compatibility on Sony's official PS5 SSD page. ⚠️ Skip bare drives—heatsink prevents throttling!
Tools You'll Need for PS5 SSD Installation 🔧
Minimal hassle, maximum reward:
- Compatible M.2 SSD with heatsink.
- Phillips #1 screwdriver (or PS5's included tool).
- Clean workspace and soft cloth.
- 🎮 Patience—takes 10-15 minutes!
Pro tip: Power off your PS5 completely and unplug it. Safety first! 😎
Step-by-Step: How to Install an M.2 SSD in Your PlayStation 5 📋
Follow these exact steps for a flawless PS5 SSD install. We've got your back, gamer.
Step 1: Prepare Your PS5
- Turn off PS5 and unplug power/AC cord.
- Place console base-down (or side for Slim models).
- Slide off the side panel—lift from the back gently. No force needed!
![Removing PS5 side panel for SSD access]()
Step 2: Locate and Open the SSD Slot
- Spot the metal slot cover on the main board (near the front).
- Unscrew the single screw holding it (use #1 Phillips).
- Lift the hinged cover—reveal the M.2 slot.
✅ Easy peasy—feels like unlocking a secret level!
Step 3: Insert the M.2 SSD
- Align SSD's notch with slot at 30° angle.
- Push firmly until seated—don't force!
- Secure with the screw. Replace cover.
- Slide panel back on. 🎉
![Inserting M.2 SSD into PS5 slot]()
Step 4: Boot Up and Format
- Plug in, power on.
- Go to Settings > Storage > Console Storage > Extended Storage.
- Select Format as USB Extended Storage—erase data, but it's new!
- Done! Transfer games via Settings > Storage.
Common Pitfalls and Troubleshooting ❌
Avoid these to keep your PS5 SSD upgrade smooth:
- ❌ Wrong size SSD? Won't fit—double-check 2280.
- ❌ No heatsink? PS5 detects and disables—buy one!
- ❌ Not recognized? Reseat SSD or update firmware.
- ❌ Slim/Digital models? Same process, slightly different panel.
If issues persist, reset via safe mode or check Sony support. Most fixes are quick! 👍
Post-Install Tips: Maximize Your Upgraded PS5 💥
Congrats—you're a storage wizard! Now:
- ⭐ Move big games first: Call of Duty, Cyberpunk 2077.
- ⭐ Enable auto-clear for rarely played titles.
- ⭐ Monitor temps in Settings—stays cool with heatsink.
- ⭐ Stack multiple SSDs? PS5 supports one only, but that's 8TB max!
Load times slashed? Epic wins incoming. Share your setup in comments! 👇
Final Thoughts: Level Up Your Gaming Now! 🏆
Installing an M.2 SSD in your PlayStation 5 is the ultimate power move for any gamer. More space, faster loads, pure joy. Grab a compatible drive, follow our guide, and transform your setup. What's the first game you'll install? Drop it below—we're all ears! 🚀
Stay epic, fellow gamers.

")

")

")

")
")
")
