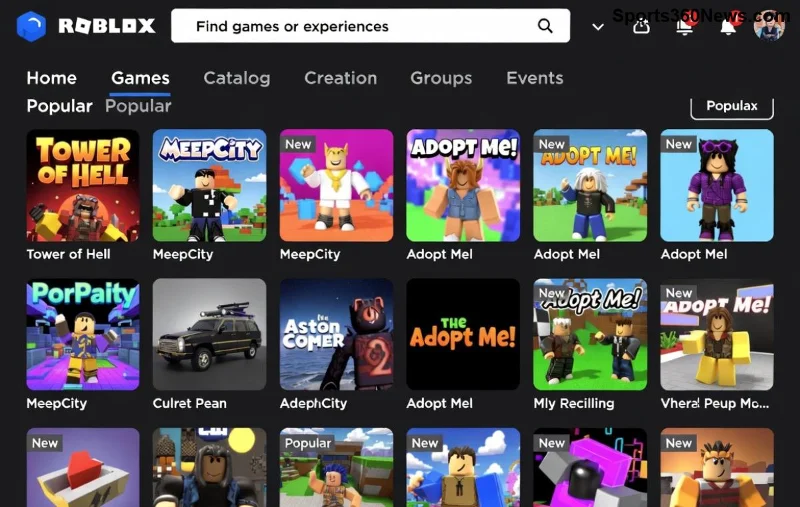
Imagine your game's players glued to the screen, meticulously organizing loot, crafting gear, and strategizing every slot. That's the magic of a well-crafted inventory system. Whether you're building an RPG, survival game, or action-adventure, mastering how to create an inventory system elevates player immersion and retention. This guide delivers actionable steps, pro tips, and code snippets to build one that feels intuitive and addictive. Let's dive in! 🚀
Step 1: Plan Your Inventory System Like a Pro
Before coding, blueprint your system. Ask: What items exist? Weapons, potions, resources? Define core mechanics:
- Item Types: Stackable (arrows), unique (legendary sword), equippable.
- Capacity: Fixed slots (e.g., 20) or weight-based?
- Interactions: Drag-drop, merge, quick-use.
Pro Tip: Sketch wireframes. Tools like Figma make this painless. Aim for mobile-friendly grids—players hate scrolling marathons! ⭐
Step 2: Choose the Right Data Structures
The backbone of any inventory system is data. Here's a comparison to pick wisely:
| Structure | Best For | Pros | Cons |
|---|---|---|---|
| Array/List | Fixed slots | Fast access by index | No dynamic resizing |
| Dictionary | Item ID lookups | O(1) search | Memory overhead |
| Custom Class | Full systems | Flexible (stack count, durability) | More code |
For most games, blend them: A List<InventorySlot> where each slot holds an Item object with ID, quantity, and stats. This scales beautifully. ✅
Step 3: Build the Core Logic
Time to code! We'll use pseudocode (adaptable to C# in Unity or GDScript in Godot).
class Item {
    string id;
    int quantity;
    int maxStack;
}

class Inventory {
    List<InventorySlot> slots = new List<InventorySlot>(maxSlots);

    bool AddItem(Item item) {
        // 1️⃣ Try stack existing
        foreach (slot in slots) {
            if (slot.CanStack(item)) {
                slot.quantity += item.quantity;
                return true;
            }
        }
        // 2️⃣ Find empty slot
        foreach (emptySlot in slots) {
            if (emptySlot.IsEmpty()) {
                emptySlot.item = item;
                return true;
            }
        }
        return false; // Full!
    }
}
This handles adding items efficiently. Test edge cases: overflow stacking, full inventory drops. Players love that satisfying "clink" sound on pickup! 😎
Step 4: Craft an Intuitive UI
UI is 80% of the fun. Use grid layouts:
- Drag & Drop: Unity's EventSystem or Godot's signals.
- Tooltips: Hover for stats (damage, rarity).
- Sorting: By type, value—add buttons for bliss.
Responsive design scales to PC/mobile. Colors matter: Gold for epics, green for commons. Hook players with animations—fade-ins on loot! ✨
Step 5: Advanced Features to Wow Gamers
Go beyond basics:
- Durability & Repair: Track wear, add crafting ties.
- Categories/Tabs: Weapons, armor—reduces clutter.
- Trading/Selling: Integrate with NPC shops.
- Save/Load: Serialize to JSON for persistence.
For multiplayer, sync via Photon or Mirror. Reference Unity's official docs for EventSystem mastery.
Optimization Secrets for Smooth Performance
Large inventories? Virtualize: Render only visible slots. Pool objects for items to dodge GC spikes. Profile with Unity Profiler—keep FPS at 60+ for buttery gameplay. ⚡
Common Pitfalls & Fixes
| Pitfall | Fix |
|---|---|
| Bugs on drag-drop | Validate swaps with CanPlace logic |
| Slow searches | HashSets for quick lookups |
Avoid these, and your inventory system shines. Test with players—feedback gold!
Ready to Level Up? Your Next Steps
Implement this today: Start small, iterate. Prototype in Unity (unity.com) or Godot. Share your build on itch.io—watch players rave! What's your game genre? Drop a comment below. You've got the blueprint—now craft epic loot systems that keep gamers coming back. Game on! 🎮👏
")


