Are Tulips Perennials Guide

Are Tulips Perennials explained with plant choices, planting steps, care tips, mistakes to avoid, and FAQ answers for a healthier garden.
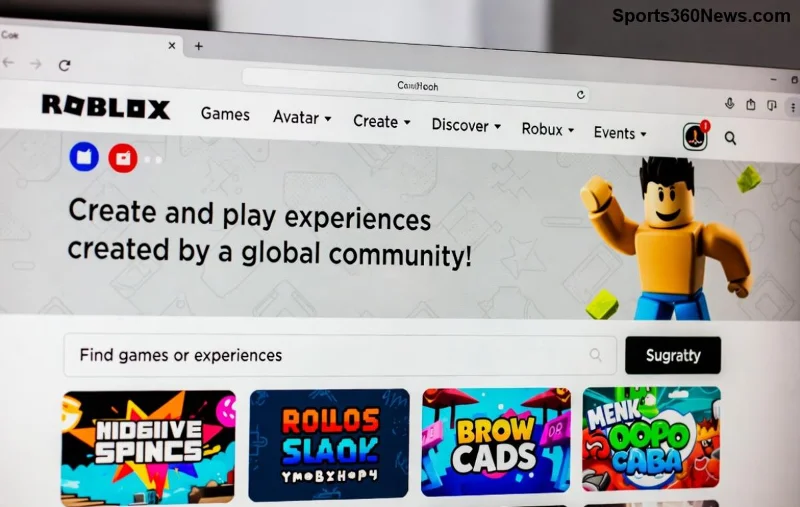
🚀 Imagine your Roblox game coming alive with sleek swords that slash foes, magical wands that blast spells, or gadgets that build epic structures. That's the power of a custom tools system in Roblox! Whether you're crafting an RPG, obby, or tycoon, mastering tools elevates your game from good to legendary. In this focused guide, we'll walk you through every step to create a tools system in Roblox using Roblox Studio. Stick around for insider tips that pros swear by – your players will be begging for more! 😎

Roblox's built-in Tool object is your foundation, but a custom tools system in Roblox lets you add flair like cooldowns, upgrades, and multiplayer sync. Players love immersive gear – think seamless equip/unequip animations and effects that feel next-gen. Ready to level up? Let's dive in! ⭐
Pro tip: Enable Team Create if collaborating. Now, fire up Studio! 👆
1️⃣ In Explorer, right-click StarterPack (for auto-equip on spawn) or ReplicatedStorage (for server-side giving). Insert a Tool object. Name it "EpicSword".
2️⃣ Inside the Tool, add a Part named "Handle" – this is the grip point. Customize it: Resize, color it fiery red, add a Mesh for sword vibes.
3️⃣ Set Handle's CanCollide to false and Massless to true for smooth handling.
Handle is king – without it, your tool won't equip!
Insert a LocalScript inside the Tool. This handles UI, sounds, and effects on the player's side.
local tool = script.Parent
local player = game.Players.LocalPlayer

local function onEquipped()
    -- Play equip sound or animation
    print("Sword equipped! ⚔️")
end

local function onActivated()
    -- Swing animation
    local character = player.Character
    if character then
        local humanoid = character:FindFirstChild("Humanoid")
        if humanoid then
            humanoid:LoadAnimation(script.SwordSwing):Play()
        end
    end
end

tool.Equipped:Connect(onEquipped)
tool.Activated:Connect(onActivated)
Add a Sound and Animation object inside the Tool for that wow factor. Upload animations via the Animation Editor!
For multiplayer fairness, add a Script (server-side) in the Tool. This prevents exploits.
local tool = script.Parent
local ReplicatedStorage = game:GetService("ReplicatedStorage")
local damageEvent = Instance.new("RemoteEvent")
damageEvent.Name = "DamageEvent"
damageEvent.Parent = ReplicatedStorage

local function onActivated()
    local character = tool.Parent
    local humanoid = character:FindFirstChildOfClass("Humanoid")
    if humanoid then
        -- Raycast for hits
        local ray = workspace:Raycast(character.HumanoidRootPart.Position, character.HumanoidRootPart.CFrame.LookVector * 10)
        if ray and ray.Instance.Parent:FindFirstChildOfClass("Humanoid") then
            damageEvent:FireServer(ray.Instance.Parent)
        end
    end
end

tool.Activated:Connect(onActivated)
Handle the RemoteEvent in ServerScriptService for actual damage. Boom – synced across servers! 🔥
Master these for pro-level Roblox tools. Here's a quick reference:
| Event/Property | Description | Example Use |
|---|---|---|
| Equipped | Fires when player grabs tool | Enable mouse icon, play sound |
| Unequipped | Fires on drop | Reset GUI, cooldown start |
| Activated | Left-click trigger | Attack, shoot projectile |
| Handle | Required Part | Grip & visuals |
| RequiresHandle | Bool (default true) | Set false for handle-less tools |
For deepest dives, check the Roblox Creator Documentation. 👏
debounce variables in scripts. Example: if tick() - lastSwing > 1 then ... endBonus: Integrate with Modulescripts for reusable tool logic across your game. Your arsenal just got infinite! 🌟
Quick fix: Use Studio's Output window – it's your best friend. Test often! 🛠️
Publish your place, invite friends via Roblox groups. Gather feedback: "Does the sword feel punchy?" Tweak and republish. With this tools system in Roblox, your game will shine in the spotlight. What's your first tool idea? Drop it in comments!
Mastered it? Next up: Weapon stats systems or tool crafting UIs. You've got this, builder! 🎉 Share your creations and tag us – let's build the next Roblox hit together.
Are Tulips Perennials explained with plant choices, planting steps, care tips, mistakes to avoid, and FAQ answers for a healthier garden.
How to get the Pygmy Necklace in Terraria: defeat Plantera, then buy this +1 minion summoner accessory from the Witch Doctor at night for 4 gold.
Learn how to get infinite money in GTA 5 Online using heists, CEO work, passive businesses, daily objectives, and Shark Cards. The best methods for 2026.
Yes, League of Legends runs natively on MacBook Pro. Learn the system requirements, how to download and install the macOS client, the best graphics settings, and Apple Silicon support.
Flowers That Love Partial Sun explained with plant choices, planting steps, care tips, mistakes to avoid, and FAQ answers for a healthier garden.
How to make money solo in GTA Online: Contact Missions, VIP/CEO work, Bunker passive income, the Cayo Perico Heist, and daily bonus tips to earn fast.
Adaptive Force in League of Legends is a rune stat that automatically converts to bonus AD or AP depending on which is higher on your champion. Full guide inside.
Why is your ping so high in Valorant? This guide covers the five most common causes — from server region and Wi-Fi to background downloads — with clear fixes for each.
The Best Roses for Container Gardening explained with plant choices, planting steps, care tips, mistakes to avoid, and FAQ answers for a healthier garden.
Is Apex Legends free? Yes - it is free to play on PC, PlayStation, Xbox and Switch. Here's where to download it, what's free, and what costs money.
")
")
")

")
")
")

")