How to Fix PUBG Stuck on “Initializing” on Steam

Fix PUBG stuck on Initializing on Steam with a focused checklist for PC service notices, launch options, game files, downloads, and connection issues.
To build a city in Roblox, plan a small playable map in Roblox Studio, block out its districts, connect them with roads, then add buildings, public spaces, and lighting. Test the route as a player before expanding. You can create a convincing first city with Studio’s built-in parts and terrain tools; scripting and plugins are optional.
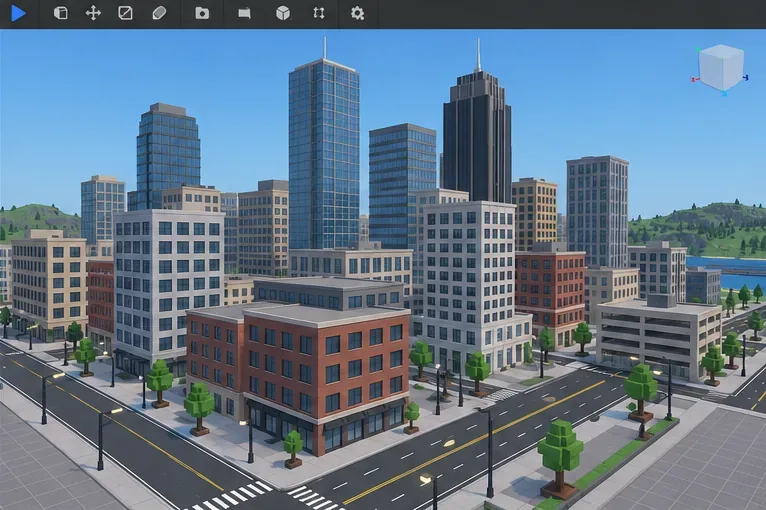
This Roblox city building guide focuses on a practical first version: one clear landmark, a few distinct blocks, and a route players can explore without getting lost.
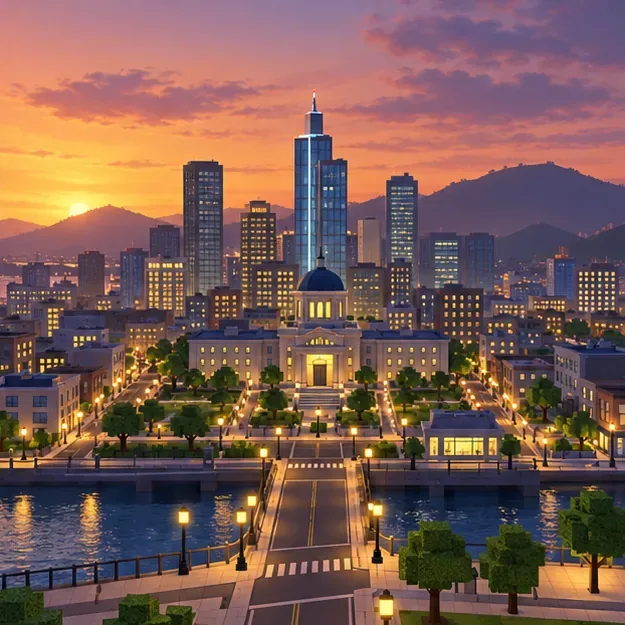
A city map works best when its layout supports a simple activity. Decide whether players will role-play, explore, drive, or visit shops. Then choose one visual theme—modern waterfront, small American town, or futuristic downtown—and keep the building shapes, colors, and street props consistent.
Start with a compact city layout. A few connected blocks are easier to finish and playtest than a giant empty map.
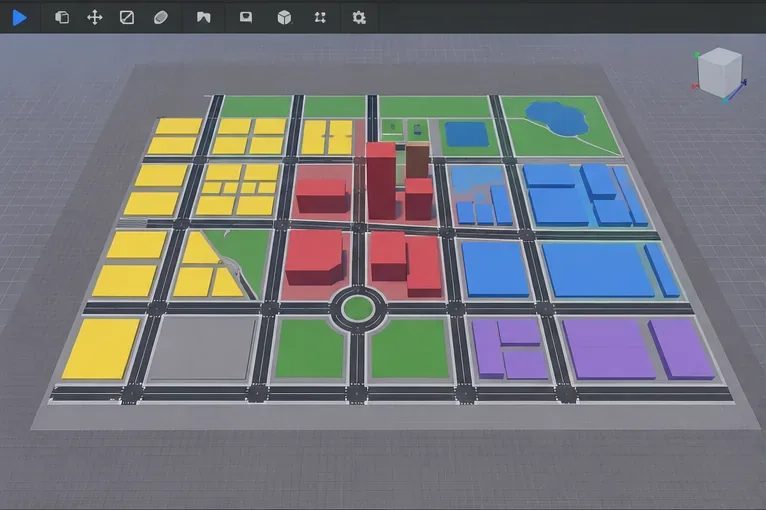
Open Roblox Studio and start with a Baseplate template. In the 3D view, use simple colored Parts as temporary blocks to mark neighborhoods, the main street, and the central landmark. Keep the first walk from the spawn to that landmark short and obvious; add side streets only after the main route makes sense.
Use a simple grid or a small number of deliberate bends. Place the busiest district near the center and leave open space for a park or plaza. This early blockout makes it easy to adjust spacing before you spend time detailing buildings.
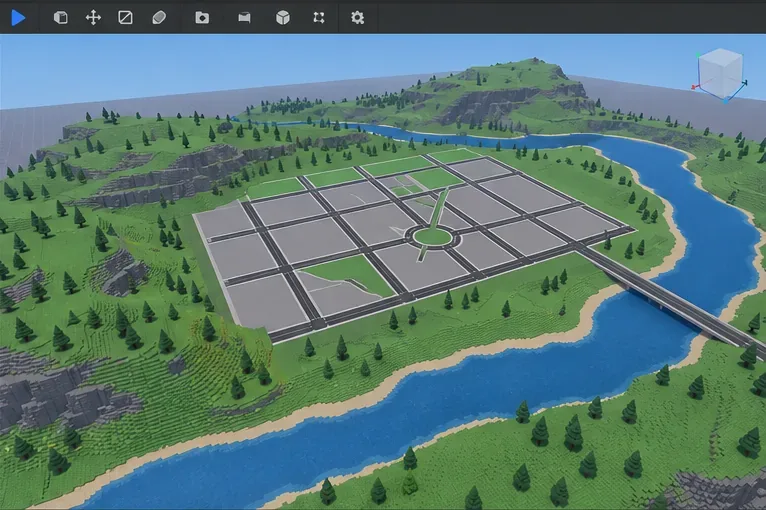
Keep the main building area mostly level so roads and sidewalks line up. Add hills, a shoreline, or a river around the edges to give the city a sense of place. In Studio, open the Terrain Editor from the Home tab or Window menu. Its Generate tool can create a broad starting landscape; the Edit tools let you sculpt, smooth, paint, or flatten selected areas.
Make a flat footprint for the downtown and the first few blocks, then blend the edges into the surrounding terrain. If you want a waterfront, plan the bridge and road connections now so water does not cut off the route between important places.
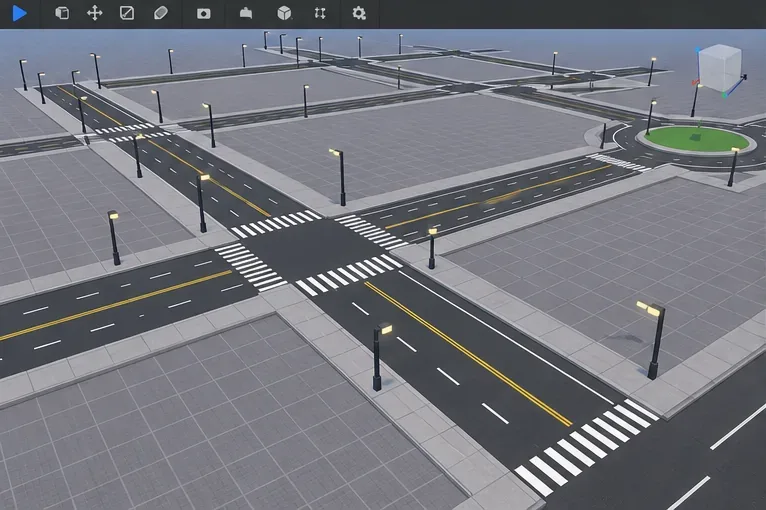
Use basic Parts to create the road surface, sidewalks, curbs, and painted crossings. Studio’s Move, Scale, and Rotate tools let you position and resize parts in the viewport; Roblox’s guide to working with Parts explains these controls and how to anchor objects so they stay in place during play.
Keep street widths and sidewalk heights consistent. If a road curves, use a few clean segments rather than many tiny pieces. Walk or drive the route in a playtest before duplicating it across the whole map.
Make a small set of building shells from Parts: a low shop, a home, an office block, and one taller landmark. Repeat a shared floor height and window rhythm, then vary rooflines, colors, and footprints so the city feels organized instead of copied. Group each finished building into a Model to make it easier to move and duplicate.
Spend detail where players will notice it: street corners, entrances, signs, and the landmark. The Studio Toolbox and Creator Store can supply props and models, but third-party models may contain scripts. Roblox advises creators to inspect unfamiliar assets and their scripts; see the official guidance on third-party asset risks before adding them to a project.
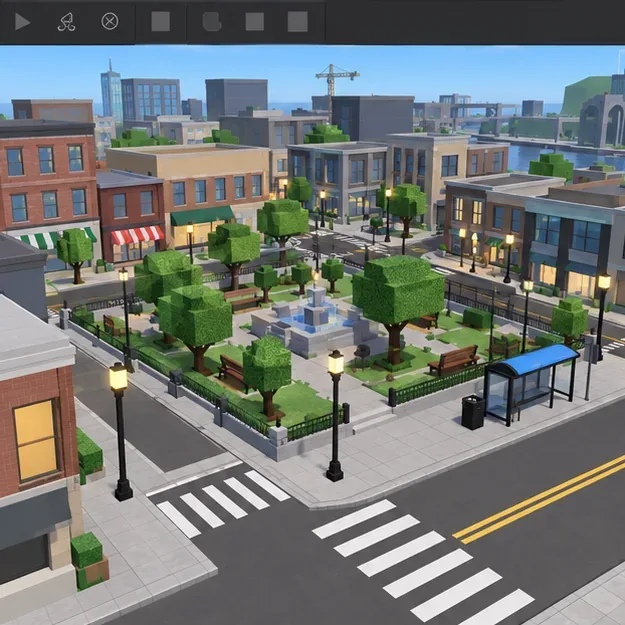
Use parks, benches, trees, bus stops, storefronts, and streetlights to show how each block is used. Keep sidewalks open and put props where they do not obstruct the main route. A single well-designed plaza can make the city feel more memorable than dozens of unrelated decorations.
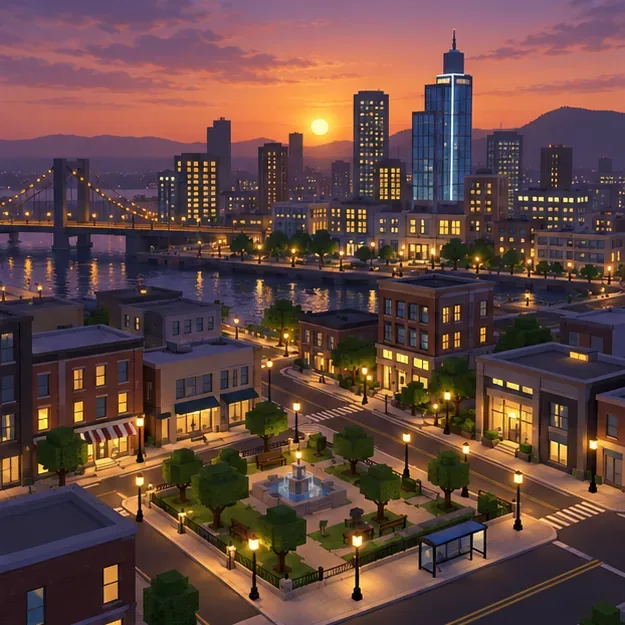
Adjust the Lighting service and test the scene at more than one time of day. A warm evening can make streetlights and windows stand out, while daylight makes street layout and entrances easier to inspect. Use lighting and atmosphere effects sparingly so the road network stays visible. Roblox’s global lighting tutorial covers the current Studio controls.
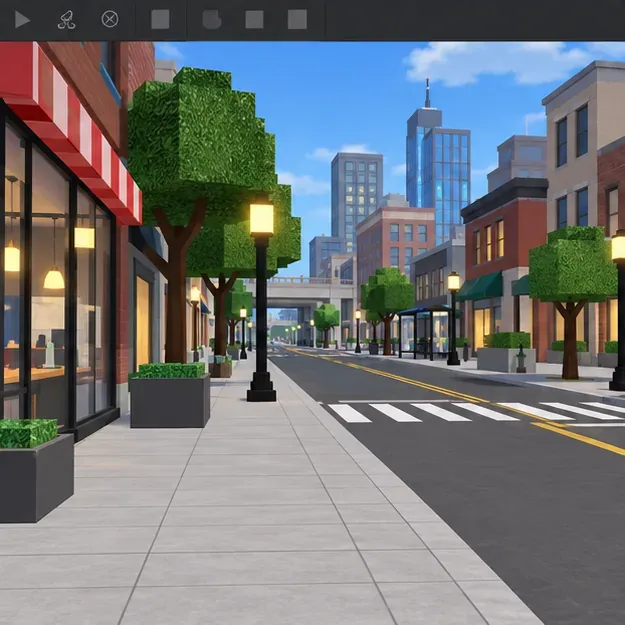
Use Studio’s Test or Test Here option to enter the map as a player. Begin at the spawn and follow the intended route. Check whether players can see where to go, reach each entrance, cross streets safely, and move around buildings without getting stuck. Fix confusing intersections and blocked sidewalks before adding more neighborhoods.
Then check the map on different screen sizes with Studio’s Device Simulator. Remove unnecessary detail if the scene becomes slow, and use Studio’s performance diagnostic tools if you need to investigate frame rate, memory, or loading problems.
When the first version is ready, publish it from Studio and finish the experience details. New experiences are initially accessible only to the creator and people with the appropriate permissions. To release a city publicly, follow the current audience and release steps in Roblox’s publishing documentation; public availability depends on Roblox’s current requirements and the experience’s settings.
| Studio feature | Use it for | Start with |
|---|---|---|
| Parts and transform tools | Roads, sidewalks, building shells | Move, Scale, Rotate, and Anchor |
| Terrain Editor | Hills, water, and landscape edges | Generate a broad base, then refine it |
| Toolbox / Creator Store | Optional props and reusable models | Check unfamiliar models for scripts |
| Test and Device Simulator | Routes and different screen sizes | Walk the map from the spawn |
No. You can plan districts, build roads, create buildings, and add visual props with Studio’s Parts, terrain, and lighting tools. Scripting is useful later for optional features such as elevators, traffic signals, or interactive doors.
Yes, but review each model before using it. Roblox notes that third-party assets can contain malicious scripts, so inspect scripts in unfamiliar models and only add assets you trust.
Build the spawn, one connected street, and one destination such as a plaza or landmark. Once that small route is easy to understand and enjoyable to explore, extend the same layout into additional city blocks.
Fix PUBG stuck on Initializing on Steam with a focused checklist for PC service notices, launch options, game files, downloads, and connection issues.
Fix Brawl Stars stuck at 92% loading with an ordered checklist for service notices, network tests, safe updates, Android cache, and account-safe reinstalling.
Best Dead by Daylight visual filter settings start with a small Gamma lift, neutral color and contrast, and a quick check for dark corners, fog, and bright lights.
Find the Steam and EA app fields for Apex Legends launch options, use EA’s documented FPS command, and see why +exec autoexec.cfg remains unverified.
Reduce input lag on a Nintendo Switch dock for Smash Ultimate with TV Game Mode, a direct HDMI test, controller checks, and online-latency troubleshooting.
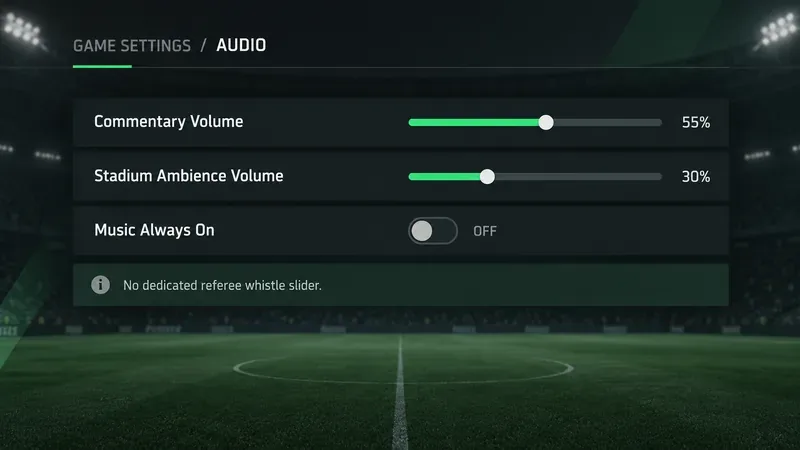
Find the best EA SPORTS FC audio settings for a clearer referee whistle: tune Stadium Ambience and Commentary, then troubleshoot output or timing issues.
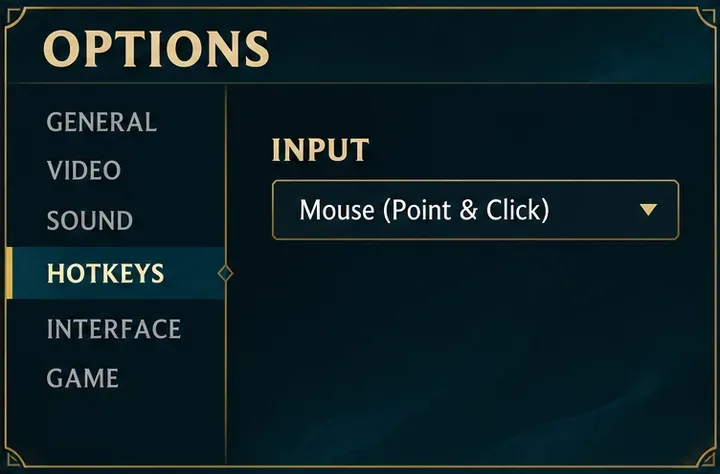
Compare the best Attack Move Click keybinds in League of Legends—A, Shift + right-click, mouse side buttons, and left-click—with setup and kiting tips.
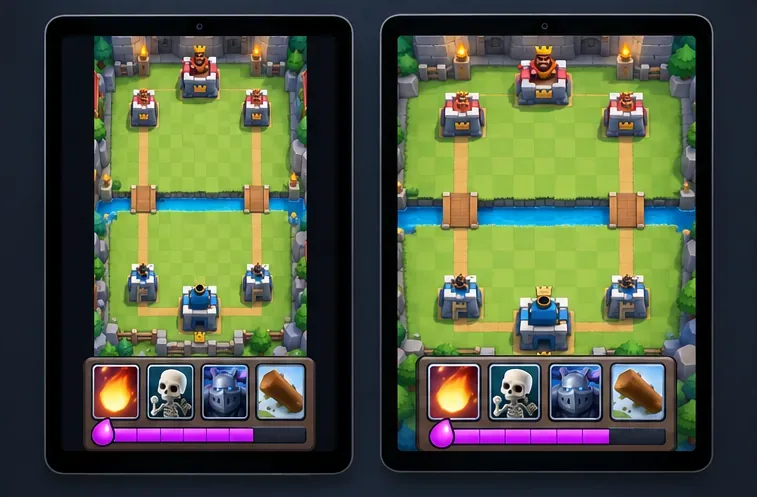
Find the best tablet aspect ratio setup for Clash Royale, compare Android display-fit choices, and check iPad full-screen framing without cropping the arena.
Fix Warzone Dev Error 6068 on startup with safe PC checks for updates, overlays, graphics drivers, game-file repair, and clean boot troubleshooting.
Check your Overwatch 2 overall match win rate with Career Stats, matching game totals, and the right filters—without mistaking hero percentages for match results.