Imagine clutching the win in Free Fire Ranked Mode as the circle closes in. The Final Zone is where legends are made—or dreams shattered. With shrinking safe areas and squads converging, survival demands precision, smarts, and split-second decisions. This guide equips you with battle-tested strategies to outlast opponents and secure those crucial Heroic/Grandmaster points. Ready to thrive? Let's dive in! 🚀
1. Prep Early: Build Your Final Zone Foundation
Success in the Final Zone in Free Fire Ranked Mode starts way before the endgame. Land in high-loot areas like Clock Tower or Brasilia to stock up fast. Prioritize:
- ✅ Level 3 Backpack & Vest for max inventory.
- ⭐ Medkits, Bandages, and Mushrooms—aim for 10+ heals.
- 1️⃣ ARs like SCAR or M4A1 with 4x scopes for mid-long range.
Rotate early to the circle's predicted path. Use vehicles sparingly in late game to avoid noise. Pro tip: Equip a Gloo Wall Gun now—it’s your lifesaver later! 🎯
2. Positioning Mastery: Own the High Ground
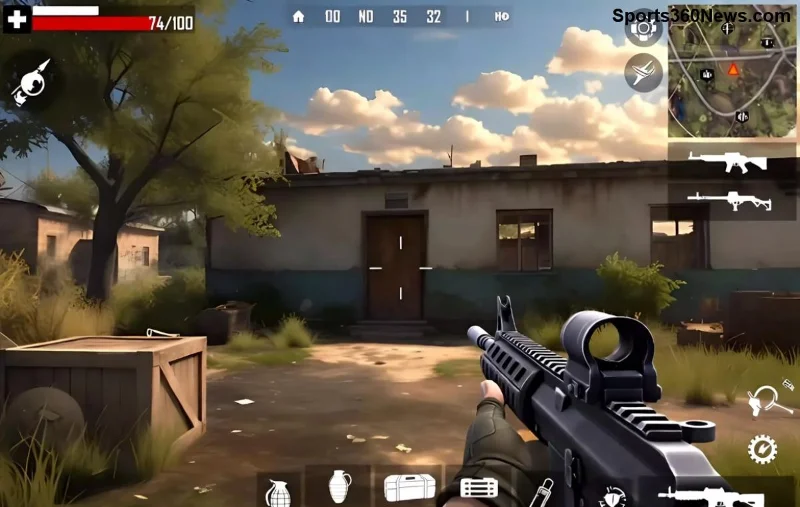
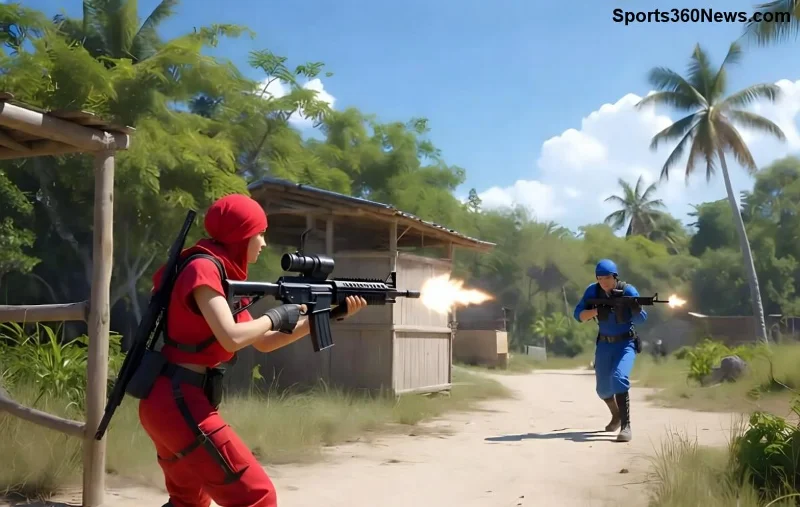
In the Final Zone, terrain is your ally. Scout the circle drop and claim the high ground immediately. Avoid open fields—hug edges with cover like rocks, buildings, or trees.
| Position Type |
Pros |
Cons |
Best For |
| High Hill |
Clear sightlines, hard to flank |
Exposed if no cover |
Sniping squads |
| Building Roof |
Safe from ground fire, jump shots |
Trapped if flanked |
Defensive holds |
| Zone Edge Trees |
Camouflage, quick peeks |
Zone damage risk |
Third-partying fights |
Listen for footsteps and gunfire. Use Free Look (right-click on PC or swipe on mobile) to scan 360°. Stay prone in grass for stealth mode. 💨
3. Resource Management: Heal Smart, Never Panic
The Final Zone in Free Fire Ranked Mode tests your inventory IQ. Zone damage ticks fast—counter it proactively:
- 🔥 Pop a Mushroom every 30s to regen HP/SP.
- 🩹 Use Medkits only below 50% HP; save for revives.
- ⚡ Junkyard/Healing Heart pets for passive recovery.
Ammo conservation: Burst fire, tap for close range. Reload in cover. In 4-man squads, assign roles—one healer, two flankers, one sniper. This keeps everyone topped up! ❤️
![Strategic positioning in Free Fire Final Zone with high ground advantage]()
4. Combat Tactics: Outgun and Outsmart Foes
Fights erupt fast in the Final Zone. Don’t rush—third-party weakened teams first. Key moves:
- ⭐ Gloo Wall spam: Block incoming fire, create instant cover. Pair with grenades for breaches.
- 1️⃣ Crossfire setups: Split squad to pinch enemies.
- ⚠️ Avoid 1v4 sprays—peek, damage, retreat.
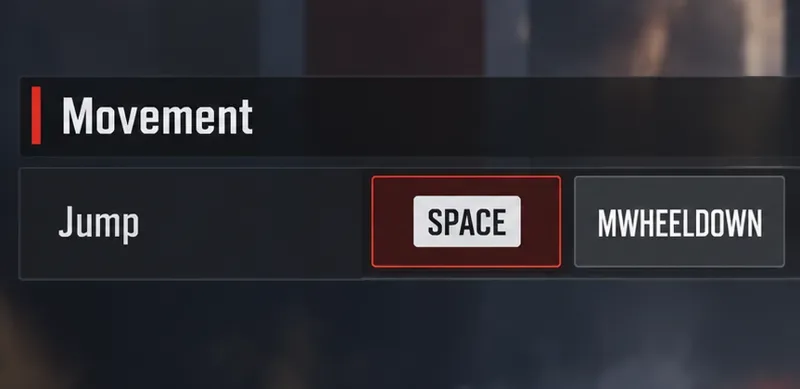
Mobile players: Master claw grip for simultaneous fire + ADS. PC? Bind Gloo Wall to mouse wheel. Sound whoring with headphones reveals hidden campers. Dominate! 🔥
For official Free Fire patch insights, check Garena Free Fire.
5. Top Characters for Endgame Survival
Pick characters synergizing with Ranked Mode Final Zone meta. Here's the elite lineup:
| Character |
Ability |
Why It Wins Final Zone |
| Chrono |
Time Turner shield |
Blocks bullets during pushes/heals |
| Kassie |
Power of Dance speed boost |
Reposition fast, dodge zone |
| Shirou |
Paint Splitter wall pierce |
Flush out campers |
| D-Bee |
Critical Density bullets |
One-clip low-HP foes |
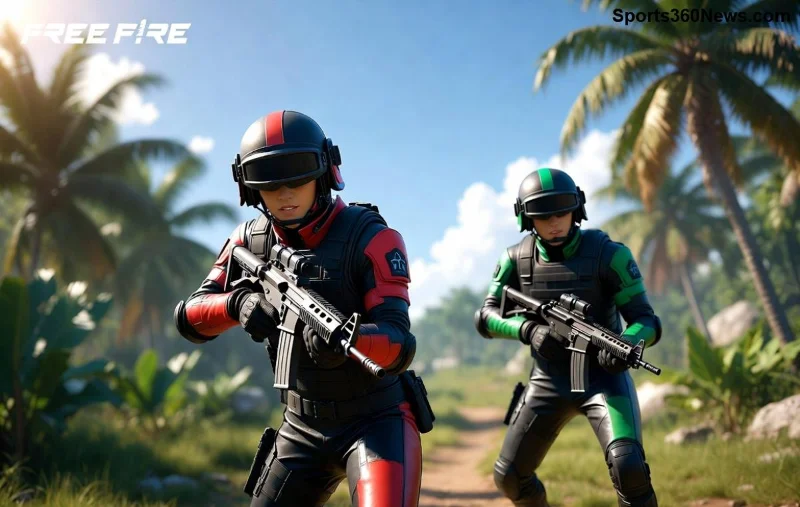
Combo Chrono + Shirou for unbreakable defense + offense. Experiment in casuals first! 🌟
![Pro squad clutching victory in Free Fire Ranked Final Zone]()
6. Dodge These Fatal Mistakes
Even pros slip—avoid these to climb ranks:
- ❌ Panicking into open: Always have an exit.
- ❌ Ignoring mini-zone: It predicts the final drop.
- ❌ Solo wolfing: Squad comms win games (use voice chat).
- ❌ Overhealing: Save slots for ammo.
Practice in Clash Squad for muscle memory. Watch replays to spot errors. You're one tweak from Master rank! 👏
Seal the Victory: Your Final Zone Checklist
Before every drop, recite this:
- High loot & rotates? Check. 🗺️
- Gloo Gun loaded? Check. 🛡️
- Squad roles clear? Check. 👥
- High ground secured? Check. ⛰️
Mastering the Final Zone in Free Fire Ranked Mode turns losses into streaks. Grind these tips, queue up, and watch your leaderboard rise. Share your clutches in comments—what's your go-to character? Let's squad up virtually and conquer! 💪