What Year Did Fortnite Come Out? (Full Launch History)
")
Fortnite came out in 2017. Learn the exact launch dates for Save the World and Battle Royale, plus the full timeline of chapters and why the game blew up.
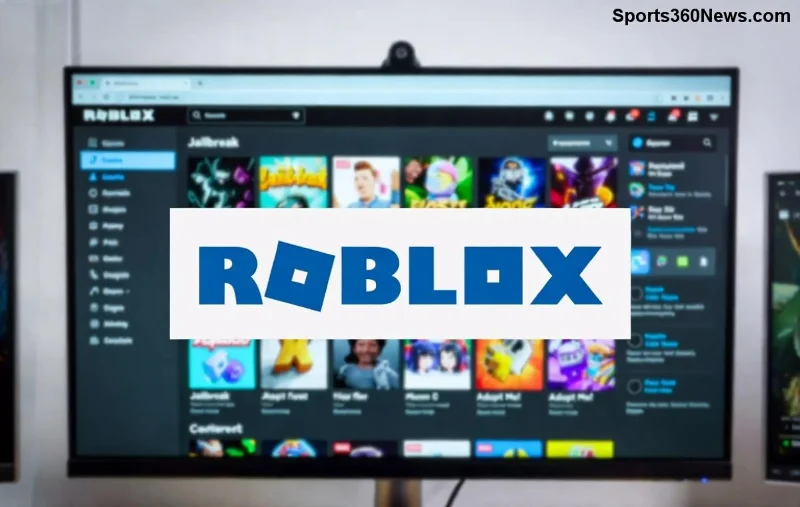
🚀 Imagine crafting unique hats, glasses, or backpacks that thousands of players wear on Roblox. If you're passionate about game design and personalization, learning how to make your own avatar items on Roblox is your ticket to creativity and even earnings. This guide breaks it down simply, from zero experience to uploading your first custom item. Let's dive in and turn your ideas into reality!
Custom avatar items like User-Generated Content (UGC) let you stand out. Players love fresh designs, and top creators earn Robux through sales. With Roblox's latest tools, uploading meshes and accessories is easier than ever. Ready to join the creators? Follow these steps! ⭐
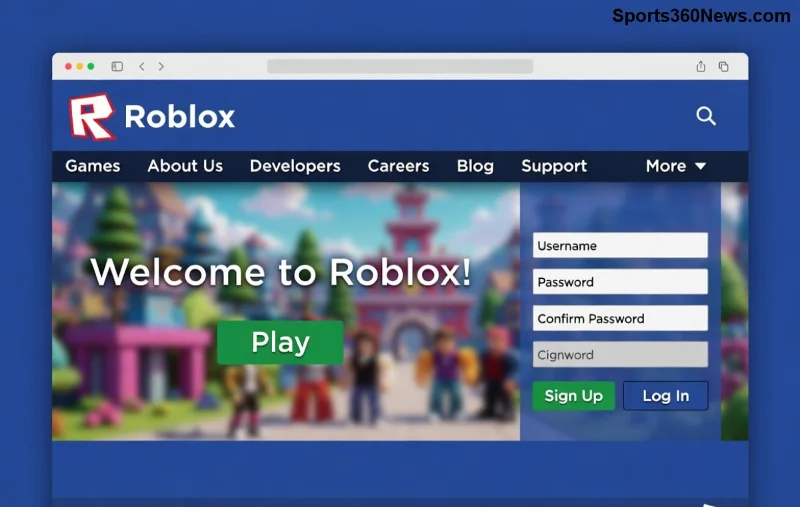
Before jumping into Roblox Studio, ensure you have:
| Requirement | Why Needed | How to Get |
|---|---|---|
| Roblox Premium | Unlocks upload permissions | Roblox.com > Premium tab |
| Roblox Studio | Main creation tool | Download from Creator Dashboard |
| Blender (free) | Model your items | blender.org |
1️⃣ Open Blender and create a new project. Start with a simple mesh like a hat.
✨ Tips: Keep it under 5,000 triangles for Roblox limits. Use UV unwrapping for textures.
Pro tip: Study popular Roblox items for inspiration – think fun, wearable designs!
2️⃣ Launch Roblox Studio and create a new place.
Test fit: Use the Avatar previewer to ensure it attaches properly (Hat, Face, etc.).
3️⃣ Time to publish!
✅ Approved? It's live in the Avatar Shop! Share with friends for feedback.
Level up your creations:
❌ Oversized meshes (max 10 studs).
❌ Poor attachment points (use "HatAttachment").
❌ Skipping moderation guidelines – read Roblox's Community Standards.
Once live, set a price! Limited items sell out fast. Promote via groups, Discord, or Roblox forums. Top UGC creators earn thousands monthly. Track sales in Creator Dashboard. What's your first item idea? Share in comments! 👇
🎉 You've got the blueprint – now make your own avatar items on Roblox and join the creator revolution. Experiment, iterate, and watch your designs come alive. Got questions? Drop them below. Happy crafting! 🚀
Fortnite came out in 2017. Learn the exact launch dates for Save the World and Battle Royale, plus the full timeline of chapters and why the game blew up.
Fortnite Crew is a monthly subscription that gives you 1,000 V-Bucks, an exclusive Crew Pack skin, and the current Battle Pass every month. Here's exactly what you get.
The Best Way to Plant Grass Seed explained with plant choices, planting steps, care tips, mistakes to avoid, and FAQ answers for a healthier garden.
The best way to start Stardew Valley: pick the right farm, plant crops fast, mine on rainy days, and manage your energy. Six tips every new player needs.
Popular Summer Flowers to Plant explained with plant choices, planting steps, care tips, mistakes to avoid, and FAQ answers for a healthier garden.
Looking for the best sword in Blox Fruits? We rank the top blades, explain the end-game Cursed Dual Katana, and help you pick the right sword for your playstyle.
The Longest-Blooming Annuals explained with plant choices, planting steps, care tips, mistakes to avoid, and FAQ answers for a healthier garden.
How to play Fortnite on a PC: download the Epic Games Launcher, create a free account, install the game, set up your graphics and controls, and drop into your first match.
A complete guide to mining in Stardew Valley — find the Mines, collect ore, upgrade your pickaxe, and conquer the Skull Cavern for Iridium.
Learn how to get free V-Bucks in Fortnite through the Battle Pass free track, Save the World missions, daily quests, and seasonal events — no scams.
")

")

")

")
")
")