Home
» 🎮 Esports
»
Ultimate Beginner's Guide: How to Create Your First Roblox Game on Roblox—No Coding Required
Ultimate Beginner's Guide: How to Create Your First Roblox Game on Roblox—No Coding Required
Ultimate Beginner's Guide: How to Create Your First Roblox Game on Roblox—No Coding Required
Yes—you can create your first Roblox game without coding. Roblox Studio lets you start from a template, arrange built-in parts into a small obstacle course, and test it with your avatar. This beginner guide builds a simple obby using the editor's visual tools. You will not need to write a script, though custom features such as scoreboards, checkpoints, and win messages usually require scripting or a template that already includes them.
Before You Start: Get Roblox Studio
Roblox Studio is Roblox's free creation app for Windows and Mac. Sign in with your Roblox account, then download and launch Studio from Roblox's official setup instructions. Studio is not a phone or tablet app, so plan to build on a supported computer. Its central 3D viewport shows your world; the Explorer lists objects, and Properties lets you edit the selected object.
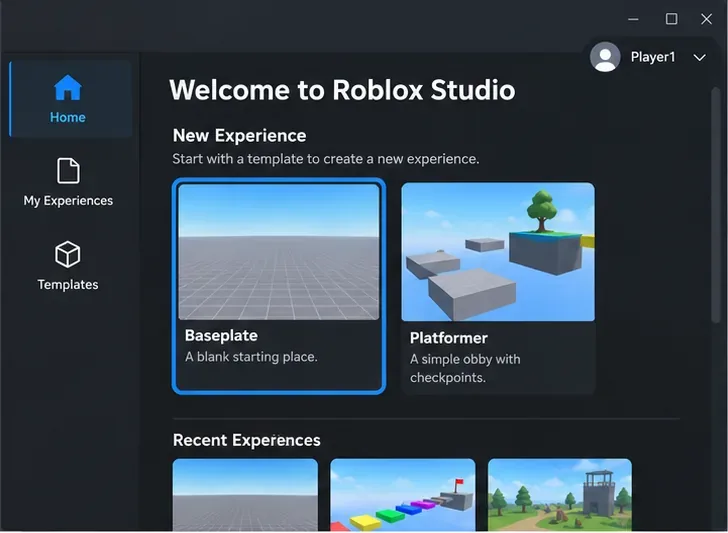
The Studio start screen presents a blank Baseplate and a Platformer template as starting points.
Step 1: Choose a Template for Your First Roblox Game
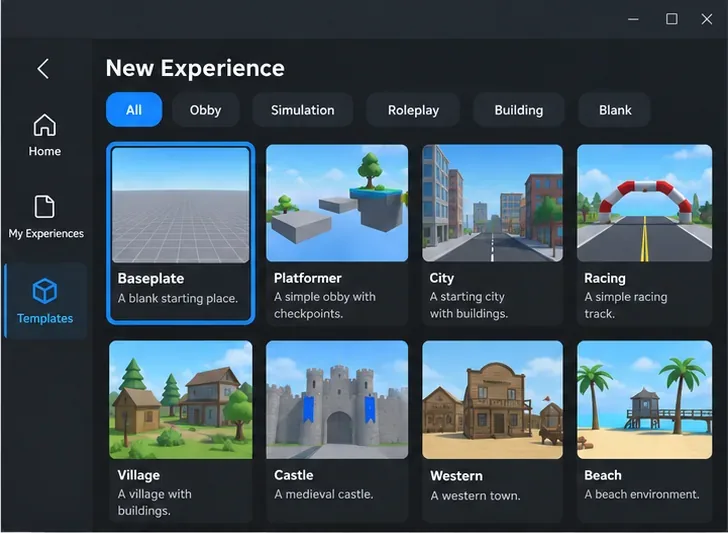
On Studio's start screen, open New Experience and choose Baseplate for a clean, simple obby. Roblox's default Baseplate project includes a flat starting area and a SpawnLocation, so you can begin placing obstacles without building the ground or writing spawn code. If you prefer to explore an existing game, Studio also offers templates such as Platformer and Racing; the available selection can change.
Give your project a clear working name, such as “Sky Steps Obby.” A template is a starting point, not a finished game: change its layout and test that the route works before sharing it. Roblox's official experience guide explains how templates help new creators get started.
Choose Baseplate for a custom obstacle course, or start from a template with more built-in content.
Step 2: Plan a Tiny, Playable Obby
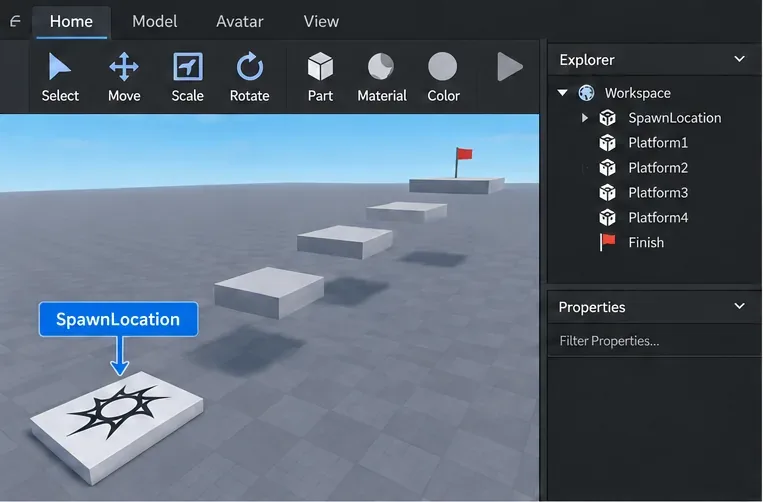
Before adding detail, decide what the player does from start to finish. For a first no-code Roblox obby, make a short route: spawn, cross a handful of platforms, and reach a visible finish marker. Five to eight jumps are enough to test the idea. Use generous gaps at first, keep the next landing visible, and avoid traps that require custom scripts.
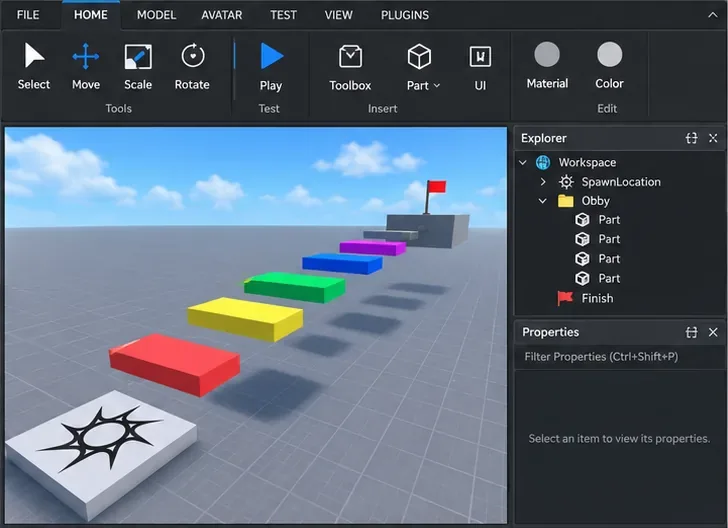
In the Home toolbar, use Part to add a basic block. Add several blocks and spread them into a path. The first version can use plain shapes; a clear route is more useful than elaborate decoration. A bright final platform or flag can mark the endpoint, but it will not automatically display a victory screen unless you add a scripted or prebuilt feature for that.
Block out a short route with a clear start, safe landings, and a visible finish.
Step 3: Shape Platforms and Set the Spawn Point
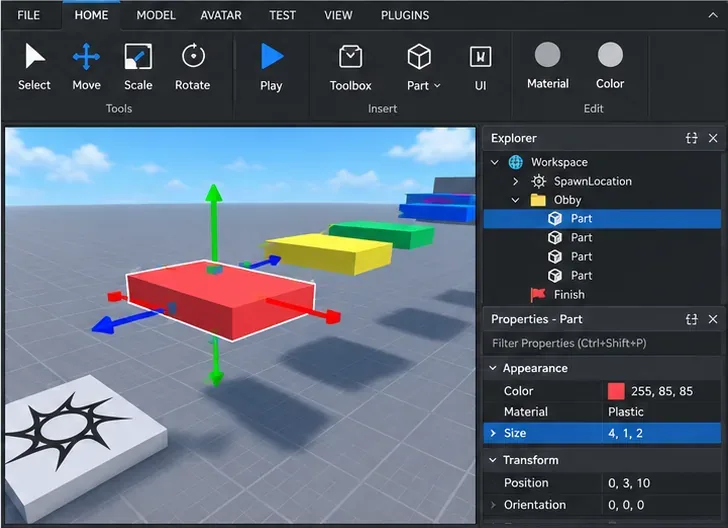
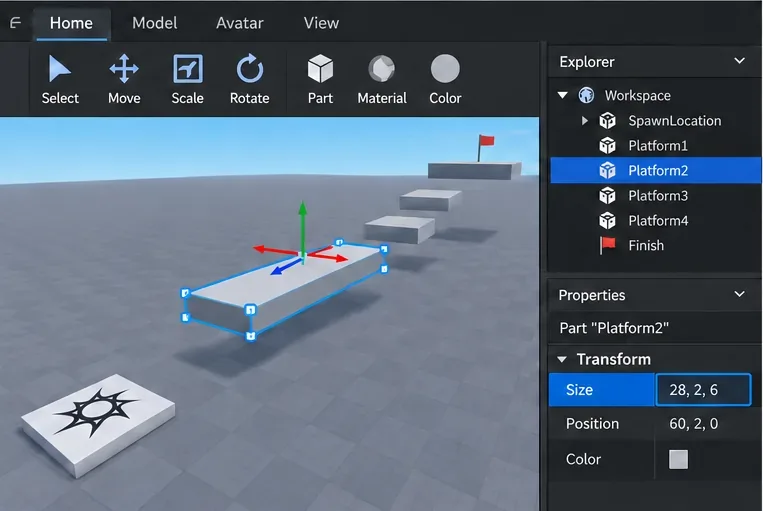
Select a block in the 3D view or in Explorer. Use Move to place it, Scale to make it wider or narrower, and the Properties window to adjust values such as size, color, and material. Keep early platforms wide enough that a new player can land comfortably. You can duplicate and reposition a block to build a consistent path, then vary the distance or color to signal a change in difficulty.
Leave the Baseplate's SpawnLocation near the beginning of the course. Put the first obstacle close enough that a player can see where to go, and make sure the spawn area itself is safe. If you move the spawn, select it in Explorer and reposition it with the same visual tools. A stable spawn and a readable route make a simple experience feel intentional.
Use the visual tools and Properties window to resize and color each platform without editing code.Keep the SpawnLocation at the start so players enter the course in the intended place.
Step 4: Playtest, Then Make One Improvement
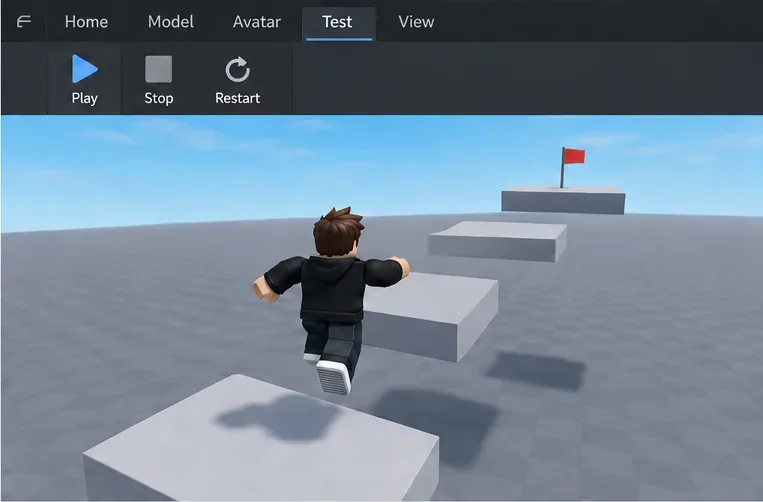
Test the route before adding decoration. In Studio, choose Test and click Play, or press F5. Your avatar enters the experience at the spawn point. Try every jump, watch for platforms that are too far apart, and check whether the finish is easy to recognize. Stop the test when you are done; Test Here is useful when you want to start near the current camera position.
If a jump feels unfair, move the next platform closer or scale it wider. If players could lose their way, change the platform colors or make the path more direct. Make one change at a time and test again. This simple loop—build, play, adjust—is the fastest way to make a first Roblox game feel better without coding. Roblox documents the current Studio testing modes, including Test, Test Here, and Run.
Play the course as a player and confirm each jump is reachable.Use what you notice during playtesting to make a specific, measurable adjustment.
Step 5: Save Your Experience and Understand Public Release
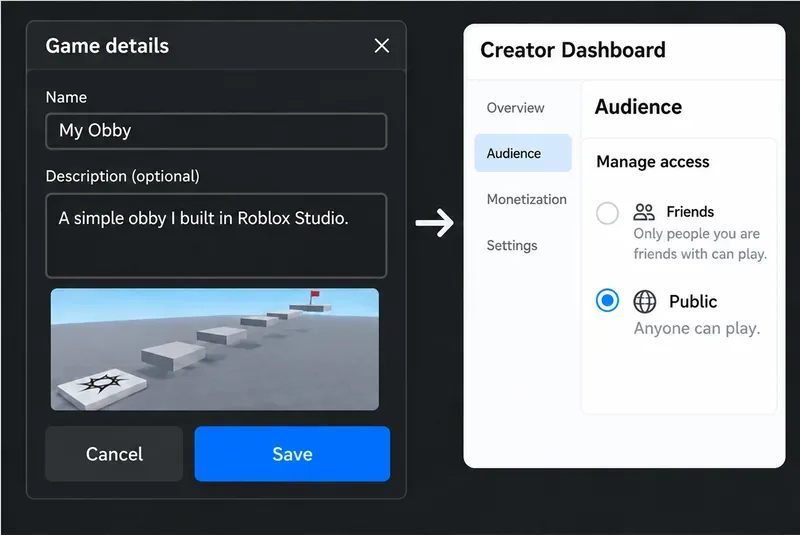
When you are ready to save your work to Roblox, stop the playtest, then use Studio's File > Publish to Roblox or File > Publish option, depending on the current interface. Enter a name and a short description in the experience details window and select Save. Roblox's official test-and-save guide explains that publishing connects the project to your account and stores it in Roblox's cloud. You can add an icon and thumbnail to help players understand what the experience is about.
Saving is not the same as making the experience public. To change who can play, open the experience in Creator Dashboard and review its audience access settings. As of October 2026, Roblox's release rules require an account in good standing that is at least two days old, an age check, and responses to the Maturity & Compliance Questionnaire for release to age-checked users 16 and older or Trusted Friends. Reaching younger audiences has additional requirements, including account verification, two-factor authentication, an eligible subscription or applicable refundable fee, a qualifying content rating, and Roblox's evaluation. Access and recommendation eligibility can also depend on regional and age settings. Check Roblox's current publishing and release requirements before planning a public launch; they can change.
Save the project in Studio first, then review audience access separately in Creator Dashboard; the illustrated screens are explanatory, not captured screenshots.
What to Build Next
Your first experience does not need a shop, badges, or a leaderboard. Finish a small course, make sure it is possible to complete, and ask a friend to try it if your account's sharing settings allow. Once the basics feel comfortable, follow Roblox's official creator tutorials to learn more about building, interface design, and Luau scripting. Starting with a focused, playable idea is a practical way to learn how to make a Roblox game without coding before adding systems that need code.
Quick Answers for New Roblox Creators
Can I make a Roblox game without coding?
Yes. You can create and playtest a simple world or obstacle course with templates and built-in parts. Custom mechanics such as checkpoints, scoring, or a win screen may need scripts unless your chosen template already provides them.
Can I create a Roblox game on a phone?
Roblox Studio is currently available for Windows and Mac computers. You can play Roblox experiences on other devices, but Studio creation uses a supported computer.
Does publishing automatically make my game public?
No. Publishing saves the experience to Roblox. Audience access and public release are separate settings and may be subject to Roblox's current eligibility and content-review rules.