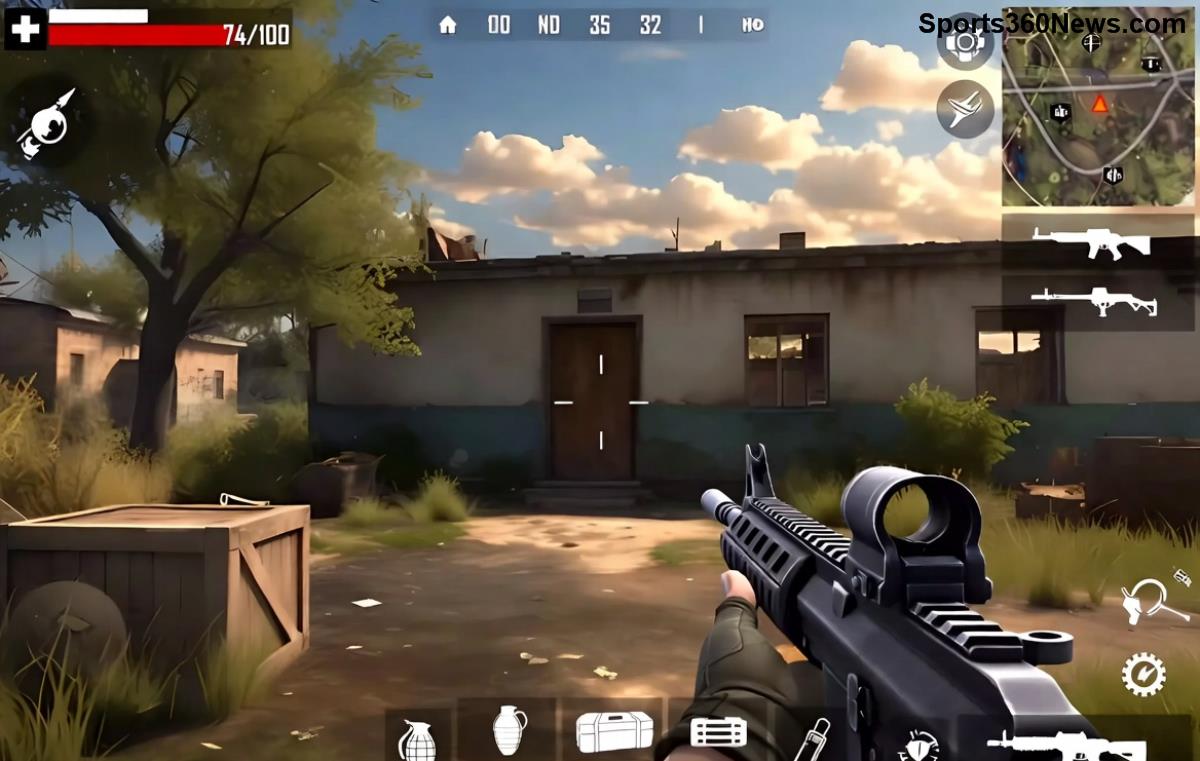
Ever wondered why those popping numbers on screen in Free Fire battles flash yellow or red? If you're grinding for Booyahs, understanding Red Damage vs Yellow Damage in Free Fire is a game-changer. These color-coded damage indicators reveal how your shots truly impact enemies—helping you prioritize shots, choose weapons, and outplay opponents. Stick around as we break it down simply, with pro insights to boost your K/D ratio! 👊
What is Yellow Damage in Free Fire?
Yellow Damage in Free Fire represents the damage absorbed by an enemy's armor or vest. It's the "soak" phase where your bullets chip away at their protective gear before touching their actual health (HP).
- ⭐ Appears first when shooting armored foes.
- 👉 Reduces vest durability—Level 3 vests eat more Yellow Damage.
- 😎 Common with body shots using SMGs or ARs like the SCAR.
Pro tip: High Yellow Damage dealers excel in mid-range fights but struggle against low-armor targets. Imagine spraying an MP40—watch yellow numbers explode, but real kills need more!

What is Red Damage in Free Fire?
Red Damage is the real killer—the damage that directly drains an enemy's HP once their vest is depleted or bypassed. This is pure pain for opponents, often from headshots, backstabs, or weapons ignoring armor.
- 🔥 Flashes bold red for maximum impact.
- 👉 Bypasses armor via snipers (AWM), shotguns, or precise head taps.
- 💥 Headshots amplify it—double or triple values!
Craving those one-tap finishes? Focus on Red Damage with the M82B or Woodpecker for instant downs. It's what separates casuals from pros in Clash Squad or Battle Royale.
Red Damage vs Yellow Damage: Side-by-Side Comparison
To make Red Damage vs Yellow Damage in Free Fire crystal clear, here's a quick breakdown:
| Aspect |
Yellow Damage |
Red Damage |
| Targets |
Armor/Vest |
Direct HP |
| Color on Screen |
Yellow/Gold |
Bright Red |
| When It Appears |
Body shots on armored enemies |
After vest breaks, headshots, or armor-piercing |
| Kill Potential |
Low (preps for kill) |
High (direct downs) |
| Best Weapons |
MP40, AK, M4A1 |
AWM, M1014, Desert Eagle |
This table is your cheat sheet—bookmark it for late-game clutches! Notice how Red Damage always trumps for finishes?

Why Master Red Damage vs Yellow Damage for Pro Gameplay?
In intense Free Fire matches, ignoring these means wasting bullets. Veterans scan for yellow first (strip armor), then hammer red for the kill. It sharpens aim, loadout choices, and positioning—turning 50% win rates into 80% Booyah hauls!
Curious how? Dive into these actionable tips...
5 Pro Tips to Maximize Red Damage and Minimize Wasted Yellow Damage ⭐
- 👉 Target Headshots Early: Use 4x scopes on ARs—yellow on body, red on noggin!
- 🔥 Pair Weapons Smartly: MP40 for yellow stripping, then shotgun for red bursts.
- 💣 Exploit Abilities: DJ Alok heals while you focus red; K (Clu) reveals for easy head taps.
- 🛡️ Counter Enemy Vests: Grenades melt level 3 vests, forcing pure red damage.
- 🏆 Practice in Training Island: Track numbers—aim for 70% red in drills.
Implement these, and watch enemies panic as red numbers skyrocket. Teammates will call you the squad carry! 😎
Common Myths Busted
- ❌ Myth: All damage is equal. Truth: Red = instant threat.
- ❌ Myth: Yellow is useless. Truth: It's setup for red kills.
For deeper dives, check Garena's official guides: Free Fire Official Site.
Final Thoughts: Level Up Your Free Fire Game Today!
Grasping Red Damage vs Yellow Damage in Free Fire isn't just trivia—it's your edge in Bermuda, Purgatory, or any map. Prioritize red for kills, use yellow wisely, and stack those wins. Drop a squad invite and test it now—what's your go-to red dealer? Share below and Booyah on! 🎉
Ready for more? Explore Free Fire weapon tier lists next—link in bio!
