Home
» 🎮 Esports
»
Minecraft Overlaying Rendering Error: Fix Vex Ghosting and Transparency Issues
Minecraft Overlaying Rendering Error: Fix Vex Ghosting and Transparency Issues
Minecraft Overlaying Rendering Error: Fix Vex Ghosting and Transparency Issues
If a Vex looks doubled, flickers, or leaves a translucent copy behind, start by testing Improved Transparency in Minecraft Java Edition 26.3. Then launch a clean vanilla profile with shaders, mods, and custom resource packs turned off. These checks help identify whether the Minecraft overlaying rendering error is a transparency artifact, a client-side mod or driver conflict, or a multiplayer issue.
“Overlaying Rendering Error: Visual Vexes” is not a Minecraft error code. It describes a visual symptom, so there is no single guaranteed fix for every setup. The steps below use reversible tests and current official guidance; they do not assume that every ghost image is a Vex-specific game bug.
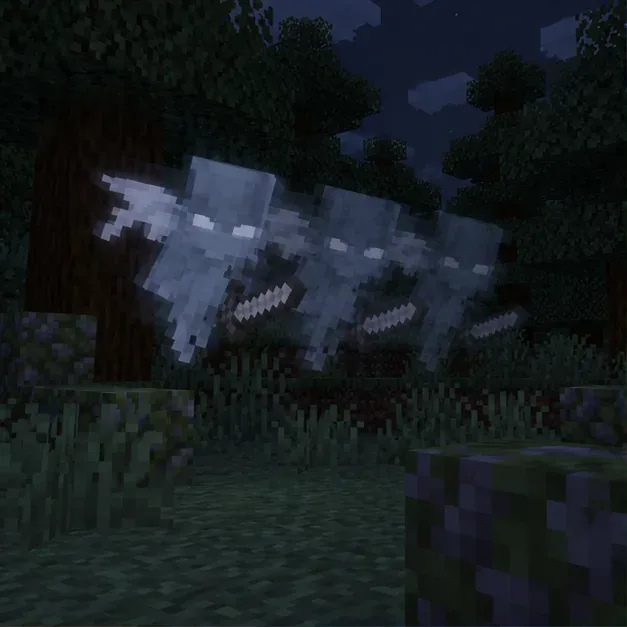
Illustration of offset translucent silhouettes; compare this ghosting pattern with a clean, single-model render.
Tell a rendering artifact from extra entities
Before changing settings, check whether the image is actually being drawn twice or whether multiple Vexes are present. A rendering artifact often looks like one mob with faint, overlapping edges that move in lockstep. Real mobs can separate, attack from different positions, and remain distinct when you change your camera angle.
What you notice
Likely area to check
First useful test
Only your screen shows a transparent trail
Client rendering, shader, pack, or graphics driver
Compare Improved Transparency on and off
The issue disappears in a clean profile
A mod, shader, or resource pack in the original profile
Re-enable add-ons one at a time
Other players see the same extra or misplaced mobs
World, server, plugin, or mod synchronization
Compare the same scene from another client
A screenshot can help: if the ghosting appears in the captured game image, the artifact is likely present in the rendered frame. If it appears only on your display, also check monitor settings, overlays, and the graphics driver. This is a diagnostic clue, not proof of a particular cause.
Step 1: Test Improved Transparency in Java 26.3
Mojang’s Minecraft Java Edition 26.3 release notes describe a change to the “Improved Transparency” video setting. It now uses order-independent transparency to address major translucency-related visual issues. That makes it a relevant first test when a mob’s semi-transparent parts appear to overlap incorrectly, although the notes do not promise a Vex-specific fix.
Compare the same scene in both modes
Open the Minecraft Launcher and start the latest stable Java release, rather than an old 1.21.1 profile.
Open Options → Video Settings and find Improved Transparency.
Turn it on, revisit the same scene, and compare the Vex’s edges. If the image gets worse or performance drops noticeably, turn it off and compare again.
The 26.3 notes say this mode can have a higher performance cost and may introduce minor visual artifacts of its own. Treat it as an A/B test, not a universal performance boost. The notes also list a rebindable F3 + X debug shortcut for toggling the setting; use the video menu if that shortcut is unavailable or has been changed.
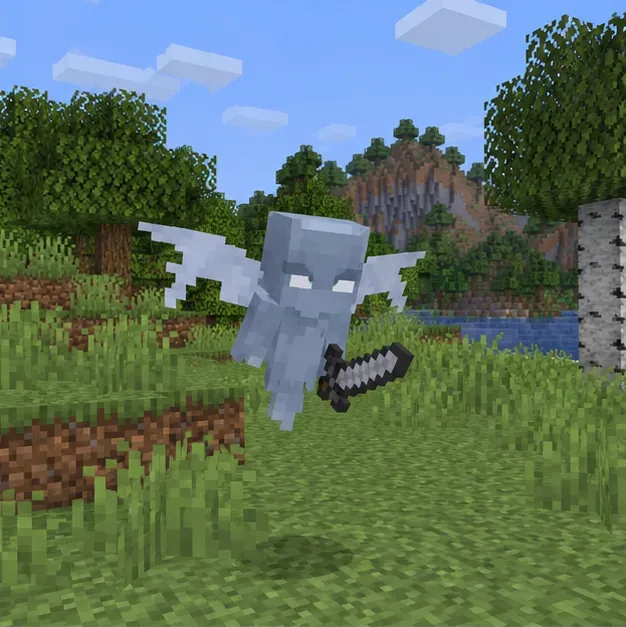
Illustration of one clearly rendered winged mob, a useful baseline when you repeat the same Vex scene after each change.
Step 2: Isolate shaders, resource packs, and mods
If the transparency test does not help, check the add-ons that change entity rendering. A custom Vex texture, shader, entity model, or renderer mod can interact differently after a game update. Mojang’s Java Edition mod support page notes that modding is not officially supported by Minecraft Support, so troubleshooting needs to isolate the modded components first.
Use a clean profile as the baseline
Close the game and create a temporary vanilla installation/profile for the same release. Keep it separate from your regular game directory.
In that profile, use no mods, shaders, or custom resource packs. Test the same world if safe, or reproduce the scene in a new Creative world.
If the clean profile looks normal, return to your usual profile and enable one pack or mod at a time. Test after each change so you can identify the first one that brings the artifact back.
Bring add-ons back one at a time
Check that every renderer, shader loader, and mod targets the exact Minecraft version and loader you launch. Do not delete the whole .minecraft folder or its config directory as a first step; that can remove settings or local data without identifying the cause. The official new-installation troubleshooting guide explains why a separate installation can help test whether an existing profile’s settings or downloads are involved.
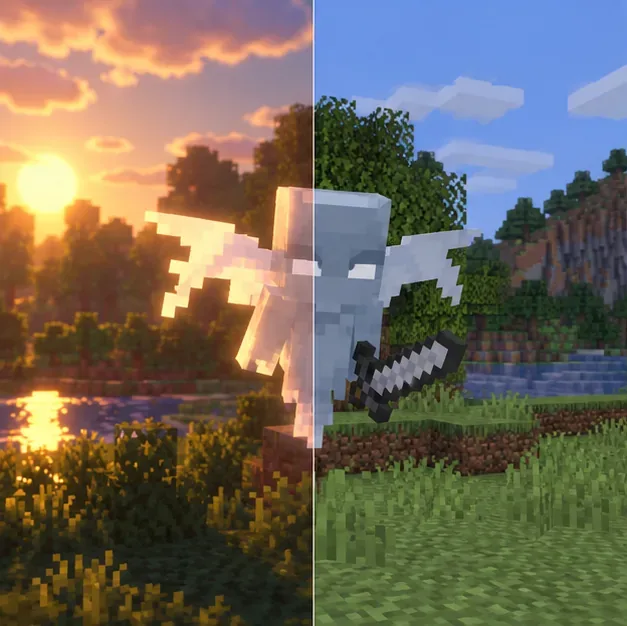
Illustration comparing shader bloom with neutral lighting; change one visual add-on at a time so a lighting change is not mistaken for a model fix.
Step 3: Update graphics software and reduce load for testing
Update from the graphics manufacturer
Outdated graphics software can cause rendering glitches or performance problems. Minecraft’s Java video and graphics troubleshooting page recommends checking software and drivers when performance or graphics issues occur. Get the driver for your exact GPU from its manufacturer: NVIDIA driver downloads, AMD Support, or Intel Download Center. Restart the computer after installation, then repeat the same test scene.
Use lower settings only as a diagnostic
For diagnosis, temporarily disable shaders and lower render distance if the game is also stuttering. Lowering distance can reduce graphics workload, but it does not repair a transparency-sorting problem by itself. Avoid copying old JVM arguments or installing a separate Java build to fix a visual artifact. Minecraft version 26.1’s official release notes identify Microsoft OpenJDK 25 as the included Java distribution; keep the launcher’s version-matched runtime unless the documentation for your custom launcher or modpack says otherwise.
Step 4: Compare clients before changing the world or server
Collect evidence before filing a report
Join the same world from a second computer or ask another player to inspect the same Vex. If only one player sees ghosting, continue with that player’s graphics settings, profile, and mods. If everyone sees the same unusual entity behavior, check whether the world uses server-side mods, plugins, or a custom pack, and compare it in a separate vanilla world. This narrows the problem; it does not establish that the server is at fault.
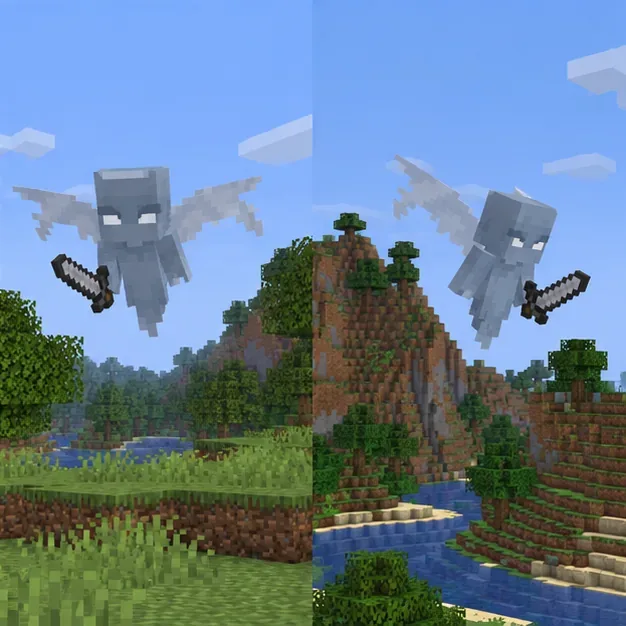
Illustration of two client views; ask another player to inspect the same scene to separate local rendering from shared behavior.
If the problem remains, record the exact game version, operating system, GPU model, driver version, loader, and list of active visual mods. Note whether Improved Transparency changes the symptom and whether a second client sees it. Attach a screenshot and the relevant latest.log or crash report when filing a reproducible issue through the official Minecraft issue tracker. Do not label it with an unrelated ticket number or expect a specific log phrase such as “VexModel”; include the evidence you actually captured.
Keep the fix stable
Keep a separate vanilla profile for quick comparisons after Minecraft updates.
Update the game, loader, renderer, and resource packs as a compatible set.
Re-enable add-ons one at a time after testing, and keep a backup before changing a modded world.
Use render-distance changes to test performance, not as proof that the Vex model itself is fixed.
These instructions apply to Minecraft Java Edition. Bedrock Edition has different graphics settings and does not use Java mods; use the edition-specific guidance in Minecraft Help if the same symptom appears there. The practical fix for a Minecraft vex rendering error depends on which test changes the image: transparency mode, a clean profile, a current GPU driver, or another client seeing the same behavior.